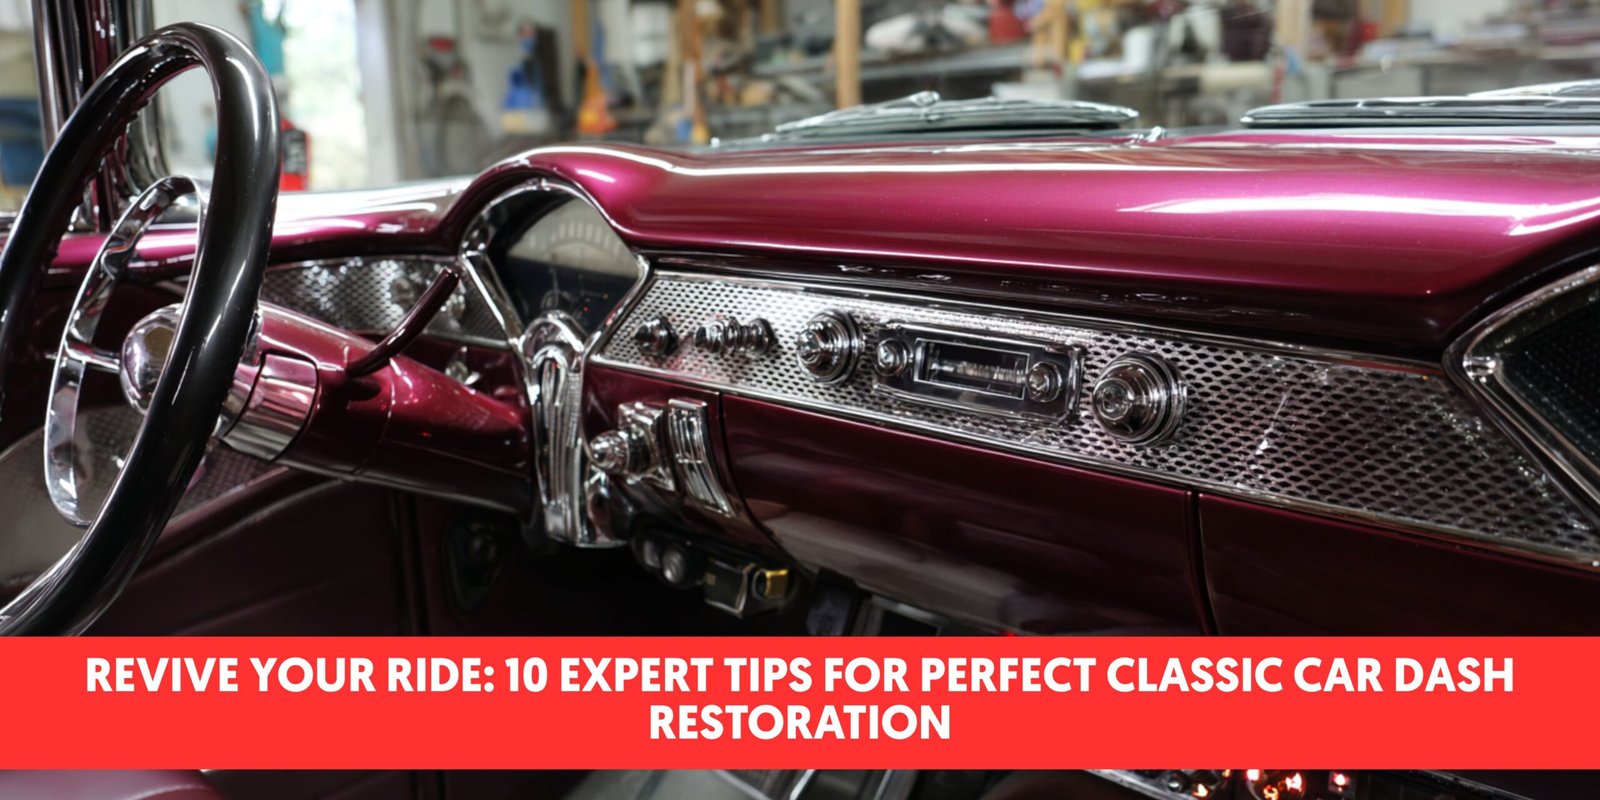
Looking to restore a classic car dashboard to its former glory? Your vehicle’s command center isn’t just functional—it’s the face of your car’s interior and a testament to period-exact design. Over time, ultraviolet rays, temperature fluctuations, and general wear take their toll, resulting in unsightly cracks, fading, and warping.
A meticulous dash restoration involves specialized techniques customized to your dashboard’s materials. For vinyl or plastic surfaces, the process typically includes thorough cleaning, filling cracks, sanding, texturing, and redyeing to match original factory finishes. Wood grain dashes require careful veneer repair or replacement followed by intricate lacquering and polishing. Throughout the process, maintaining the functionality and authentic appearance of gauges, switches, and ventilation components ensures both electrical integrity and visual fidelity.
Understanding Classic Car Dashboard Restoration
Classic car dashboard restoration involves revitalizing the command center of your vintage vehicle. The dashboard serves dual purposes – displaying crucial driving information and providing protection in case of forward collisions. Over time, exposure to ultraviolet rays, temperature fluctuations, and general wear causes unsightly cracks, fading, and warping that diminish your classic car’s interior appeal.
Restoration techniques vary depending on your dashboard’s material. Vinyl or plastic dashboards require thorough cleaning to remove contaminants, followed by applying specialized fillers to address cracks and imperfections. The process continues with careful sanding to smooth repaired surfaces before precise texturing and redyeing to match original factory finishes.
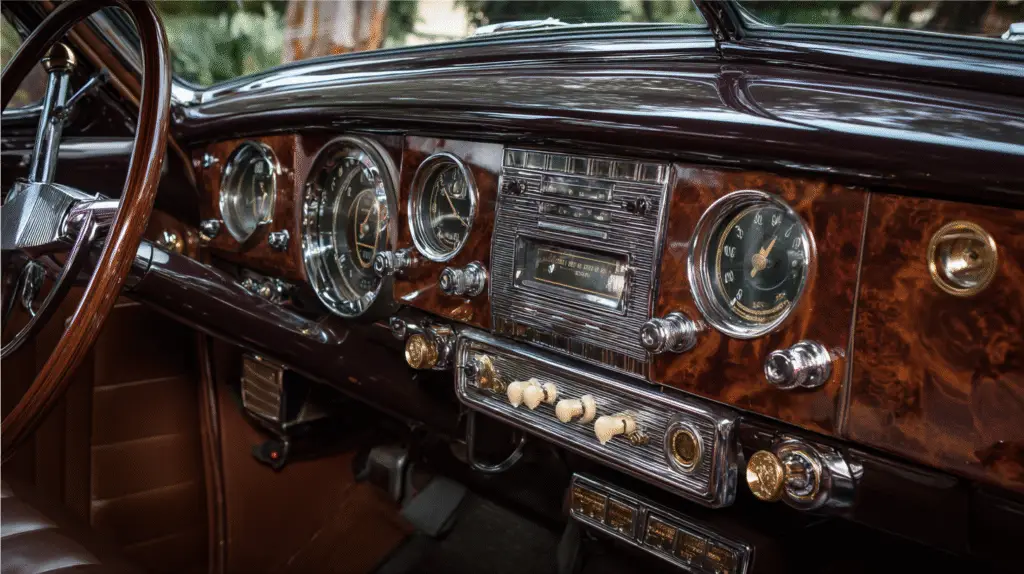
Wood grain dashboards demand a different approach. These elegant features undergo careful veneer repair or replacement, followed by intricate lacquering and polishing to restore their natural beauty. Many classic car enthusiasts prefer preserving original wooden dashboards rather than replacing them with modern, inferior-quality alternatives that often don’t match the authentic color or craftsmanship.
Beyond aesthetics, proper dashboard restoration ensures the functionality of original gauges, switches, and ventilation components. This attention to detail intertwines electrical integrity with visual fidelity, resulting in a dashboard that appears factory-fresh while maintaining the vehicle’s authenticity. A meticulously restored dashboard significantly enhances your classic car’s interior presentation and contributes substantially to both its intrinsic and market value.
Professional restorers like Simon Lorkin understand the investment of time, effort, and money that goes into classic car restoration. They recognize that dashboard and interior trim restoration provides the finishing touch that transforms how you feel about your treasured vehicle. Traditional craftsmanship skills bring out the interior’s beauty by restoring original components rather than replacing them with mass-produced alternatives.
Common Dashboard Materials in Vintage Automobiles
Classic car dashboards incorporate several materials that define their era-exact charm and functionality. Each material plays a crucial role in the overall aesthetic and authenticity of the vehicle’s interior, requiring specialized restoration approaches to preserve their unique characteristics.
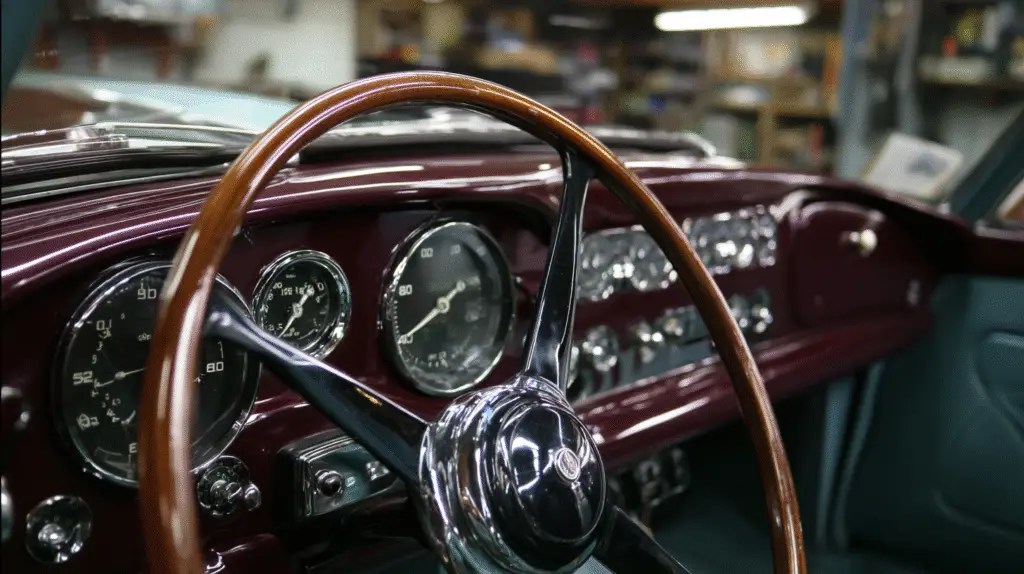
Wood Veneers and Their Importance
Wood veneers represent the epitome of luxury and craftsmanship in vintage automobile dashboards. These thin layers of wood, typically measuring around 0.6mm in thickness, provide a warm, elegant aesthetic that’s impossible to replicate with synthetic materials. Over time, exposure to moisture and sunlight causes warping, cracking, or fading of wooden dashboards, necessitating careful restoration techniques.
The restoration process for wood veneer dashboards involves several precise steps. First, removal of the existing veneer using controlled heat and solvent application exposes the underlying surface. Next, repairing damaged woodwork by filling chips and treating rot prepares the foundation for new materials. The application of new veneer requires skilled craftsmanship, using high-quality wood glue and customized pressing methods for curved or flat surfaces.
Wood veneer dashboard restoration goes beyond mere aesthetics—it preserves the vehicle’s historical authenticity and significantly enhances its intrinsic value. The finishing process includes multiple rounds of sanding, filing, and potentially hand-painting edges to achieve an authentic yet refreshed appearance that maintains the dashboard’s original character.
Plastic, Metal, and Other Dashboard Components
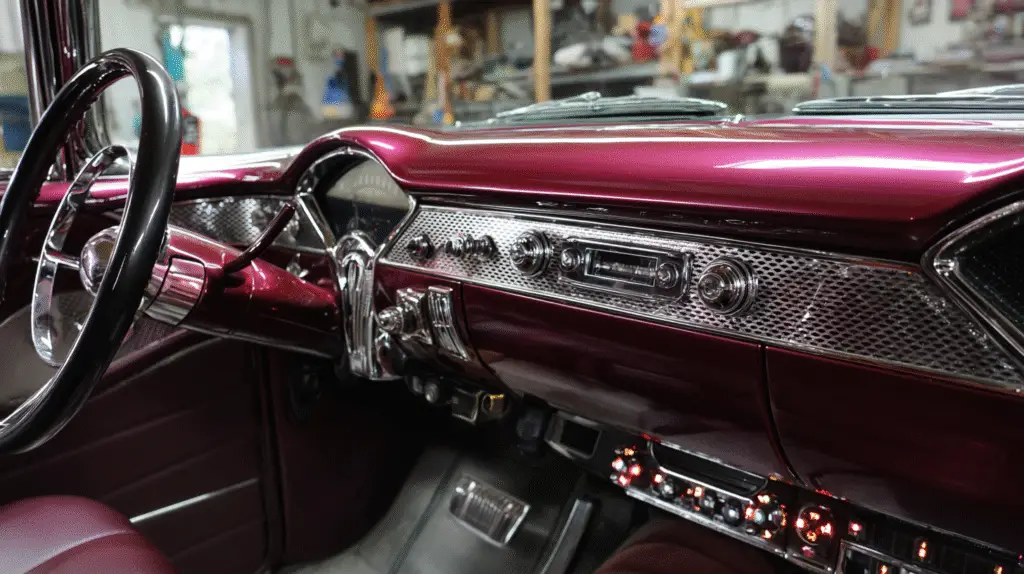
Beyond the wooden elements, classic car dashboards feature various components made from plastic and metal that complete the interior’s functional design. Metal parts such as trim pieces, bezels, and instrument surrounds can be effectively restored using modern metalworking techniques including plasma cutting and soda blasting to remove corrosion and restore original finishes.
Plastic components present unique challenges in classic car dash restoration. Knobs, switches, and other control elements often become brittle or discolored with age. While many plastic parts can be refurbished through careful cleaning and polishing, severely damaged items sometimes require replacement to maintain both functionality and period-correct appearance.
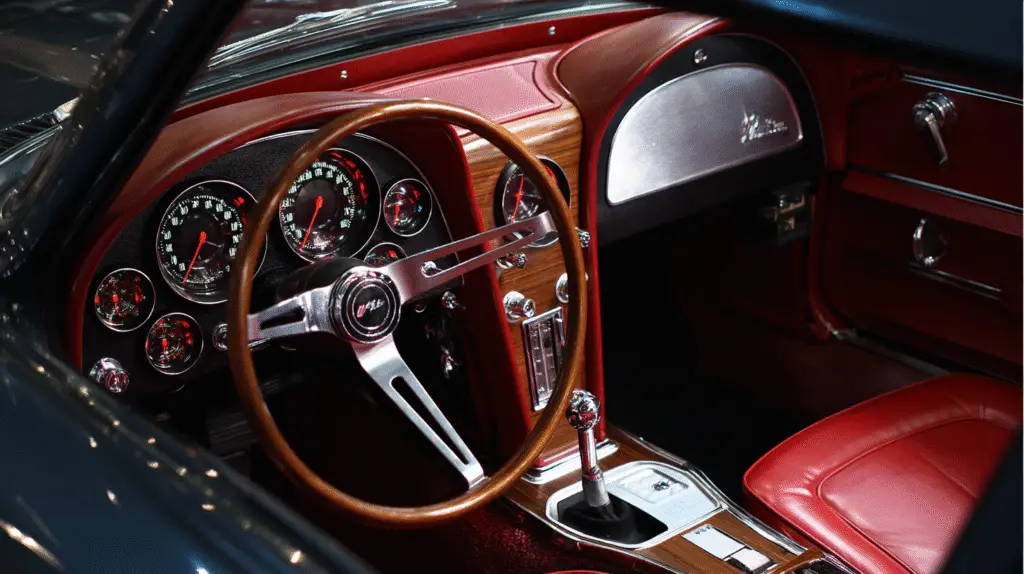
Gauges and instruments form the practical heart of any dashboard, combining glass, metal, and various mechanisms. Restoring these elements demands attention to both mechanical functionality and visual authenticity, ensuring that speedometers, tachometers, and other displays work correctly while maintaining their original appearance.
The integration of these various materials—wood, plastic, and metal—creates the distinctive character of vintage automobile dashboards. Proper classic car dash restoration respects the unique properties of each material, employing specialized techniques to preserve or revive their original qualities while ensuring the dashboard remains both beautiful and functional for years to come.
Assessing Your Dashboard’s Condition
A thorough inspection of your classic car’s dashboard reveals critical issues that determine your restoration approach. Evaluating the current state of your dashboard helps identify exact damage patterns and develop an effective restoration strategy.
Identifying Damage Types
Classic car dashboards typically suffer from distinct forms of deterioration depending on their construction materials. Veneer dashboards commonly exhibit cracked or rotten wood, chips, holes, and worn lacquer finishes that compromise their structural integrity. Dash pads made from vinyl or foam frequently develop cracks, fading, or deformation that requires extensive rebuilding of the foam foundation and surface refinishing. Discolored surfaces indicate prolonged sun exposure, while structural issues might manifest as warping or separating layers. Environmental factors like temperature fluctuations and UV rays accelerate dashboard deterioration, creating a pattern of damage unique to vintage vehicles.
Determining Whether to Restore or Replace
The extent of damage dictates whether restoration or replacement offers the optimal solution for your classic car dashboard. Minor damage—small cracks, fading, or surface wear—typically makes restoration the preferred option to preserve the vehicle’s originality and historical value. Severely damaged veneer with rotten wood or missing sections may require partial replacement using original patterns to maintain authenticity. Dash pads with extensive structural damage often need complete foam reconstruction and new vinyl application to restore original contours and texture. Replacement becomes necessary only when damage compromises safety or structural integrity beyond repair. Preserving original components whenever possible enhances both the aesthetic appeal and market value of your classic car, making thoughtful assessment crucial to maintaining your vehicle’s character and worth.
The Restoration Process

Classic car dash restoration transforms worn, damaged dashboards into authentic, beautiful centerpieces of vintage vehicle interiors. This meticulous process involves several key stages that require attention to detail and specialized techniques to preserve historical authenticity.
Removing the Dashboard
Dashboard removal marks the first critical step in the restoration journey. You’ll need to carefully disconnect and remove all wiring, gauges, switches, and trim components while documenting their positions for accurate reassembly later. For wooden dashboards, the existing veneer and lacquer finishes require removal using a combination of heat, selected solvents, and progressive sanding techniques to create a smooth base surface for restoration work. Taking photographs before disassembly helps track the original configuration of all components.
Cleaning and Surface Preparation
Surface preparation creates the foundation for successful classic car dash restoration. The dashboard surface requires thorough cleaning to eliminate dirt, grime, and any residual adhesives that have accumulated over decades. Old finishes must be sanded down with progressive grits of sandpaper, creating a smooth surface without causing scratches that might show through new materials. This meticulous cleaning and preparation ensures proper adhesion of new materials and finishes, setting the stage for repairs and refinishing.
Repairing Structural Damage
Structural repairs address the common issues plaguing vintage dashboards. Wood veneer dashboards often need patching or replacement of damaged sections that have developed cracks, holes, or rot over time. Vinyl dash pads typically require foam reconstruction and application of specialized filler compounds to address cracks and holes, followed by careful sanding to achieve a seamless finish. Metal elements showing rust or corrosion need appropriate treatment or replacement to maintain structural integrity. Each repair technique respects the original materials while ensuring longevity.
Refinishing Techniques
Refinishing techniques vary dramatically based on dashboard materials. Wood dashboards receive new veneer approximately 0.6mm thick, bonded with high-quality glue using vacuum or screw pressing methods to ensure proper adhesion. Each piece is then carefully filed and hand-sanded to create a flat, uniform surface, with edges often hand-painted to match or customize colors. Vinyl dash pads undergo restoration using vacuum-forming techniques that faithfully replicate factory textures and matched colors for an original appearance. The final step involves applying lacquer and protective coatings to seal and enhance the finish, protecting your classic dashboard from future damage while preserving its authentic character.
Wood Veneer Restoration Techniques

Wood veneer restoration transforms the entire look and feel of classic car interiors, adding important value to the vehicle. The process requires careful assessment, precise repair work, and meticulous finishing to preserve authenticity while improving beauty.
Stripping Old Finishes
Removing old finishes begins with a combination of heat and selected solvents to carefully lift the existing veneer from the dashboard. After veneer removal, the lacquer finish must be sanded away using various grades of sandpaper until you’ve created a smooth surface without visible scratches. This critical preparation stage determines the quality of the final restoration, as any imperfections left behind will show through in the finished product. Professional restorers recognize that patience during this phase prevents damage to the underlying structure that serves as the foundation for your restored dashboard.
Veneer Replacement Methods
Veneer replacement involves choosing appropriate materials, typically around 0.6mm thick, and applying them with high-quality wood glue. For curved dashboard sections, vacuum pressing techniques ensure proper adhesion, while screw pressing works effectively for flat surfaces. When examining your classic car’s dashboard, look for veneer that’s “blown” in the middle or coming loose around the edges—these issues can sometimes be resolved through restoration processes that save the original veneer and maintain authenticity. In cases where veneer is too damaged or rotten, complete replacement becomes necessary, with careful attention to matching the original grain pattern as closely as possible.
Lacquering and Polishing Process
Lacquering protects the restored veneer while improving its natural beauty through multiple applications of finish. Traditional restoration applies up to 20 micron-thin coats of water-based UV-safe lacquer, with hand sanding between layers to create an exceptionally smooth surface. This method differs from modern thick, glassy finishes, instead creating a refined texture that allows you to appreciate the warmth and character of the wood. Burl veneer dashboards often require grain fillers and multiple sealer coats before final polishing to achieve depth and luster. The finishing touch involves hand-polishing to bring out the warm honey colors associated with well-restored classic car dashboards, resulting in a surface so fine it feels like touching the real wood beneath the protective coating.
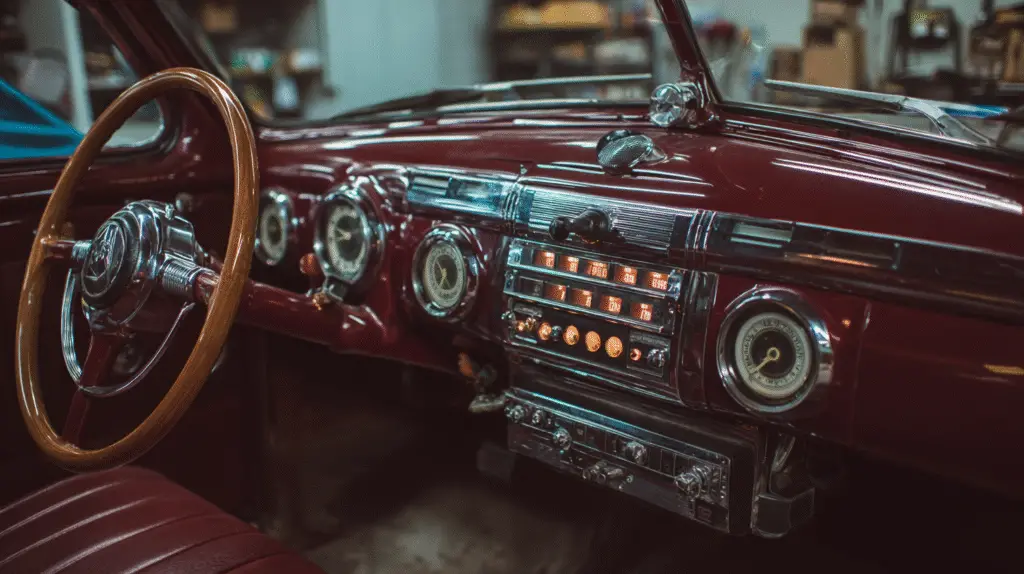
Gauge and Instrument Cluster Restoration
The instrument cluster serves as the heart of your classic car’s dashboard, housing vital gauges that monitor your vehicle’s performance. Restoring this crucial component requires meticulous attention to detail and specialized techniques to ensure both functionality and period-correct aesthetics.
Repairing Electrical Components
Electrical restoration behind the dashboard ensures accurate readings and proper functionality of all gauges and warning lights. Faulty wiring often causes erratic gauge behavior or complete failure, requiring careful diagnosis and repair. Corroded connections, broken wires, and degraded sensors typically contribute to electrical issues in classic car dashboards. The restoration process involves tracing circuits, replacing damaged wiring with period-correct materials, and testing connections to verify proper communication between sensors and gauge displays. Addressing these electrical components prevents inaccurate readings that might lead to mechanical damage or create safety hazards while driving your classic car. Each connection must be secured properly to eliminate intermittent problems that plague partially restored instrument clusters.
Restoring Gauge Faces and Bezels
Gauge faces in classic car dashboards frequently suffer from fading, discoloration, or physical damage over decades of use. The restoration process begins with careful removal of original gauge faces, followed by thorough cleaning of the underlying components. Re-silkscreening new faces requires matching original fonts, colors, and markings precisely to maintain authenticity. Bezels surrounding these gauges, typically made from plastic or chrome-plated materials, receive specialized treatment through polishing or refinishing techniques. Chrome bezels undergo careful cleaning and replating to restore their original shine, while plastic bezels benefit from polishing compounds specifically formulated for vintage materials. The meticulous restoration of these components preserves the dashboard’s classic appearance while ensuring readability of critical information. Each restored gauge and bezel contributes significantly to the overall classic car dash restoration, improving both the vehicle’s aesthetic appeal and functional reliability.
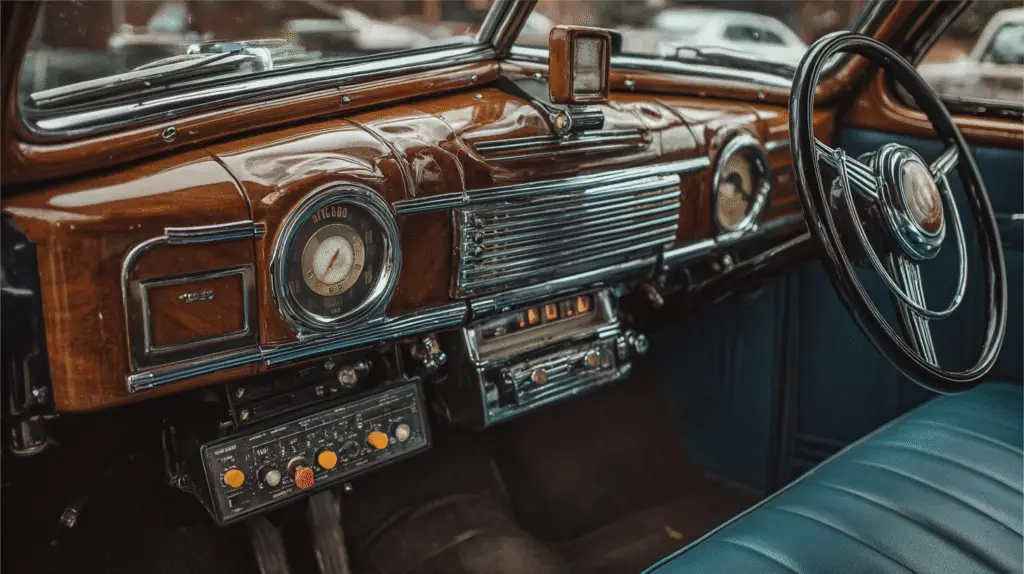
Upholstered Dashboard Restoration
Upholstered dashboards represent a distinctive element in many classic cars, combining functionality with period-exact comfort and style. These padded surfaces require specialized restoration techniques to return them to their original glory while maintaining authenticity.
Material Selection for Authenticity
Material selection forms the foundation of authentic upholstered dashboard restoration. When choosing materials for your classic car dash restoration project, prioritize those that match the original specifications in both appearance and function. Wood selections must withstand temperature fluctuations and humidity changes that dashboards routinely experience. High-density foam provides the necessary strength and durability for padding, ensuring your restored dashboard maintains its shape for years to come. Vinyl coverings require careful selection to match the original texture and color patterns, creating a seamless integration with the rest of the interior. Each material choice directly impacts both the aesthetic appeal and historical accuracy of your restoration project.
Padding and Covering Techniques
Padding and covering techniques transform raw materials into a factory-original appearance for upholstered dashboards. The restoration process begins with a comprehensive assessment, inspecting for cracks, fading, and structural issues to develop a detailed restoration plan. Foam attachment involves gluing high-density foam to metal substrates or existing foam bases, carefully shaping it to reconstruct the original contours. Upholstery application requires special contact cement, allowing it to reach the proper tack before applying the vinyl covering. Vacuum forming techniques create a smooth, professional finish that mimics factory production methods. Custom color matching ensures the restored dashboard blends perfectly with your classic car’s interior color scheme. These specialized techniques preserve the dashboard’s authentic character while providing the durability needed for modern use.
Preserving Originality vs. Modern Upgrades

Classic car dash restoration balances preserving originality with incorporating modern upgrades to maintain authenticity while improving functionality. This delicate balance requires careful consideration of period-correct elements and subtle contemporary enhancements that don’t compromise the vintage character of your vehicle.
Period-Correct Modifications
Period-correct modification forms the cornerstone of authentic classic car dash restoration, focusing on upgrades that match your car’s original era in both style and function. Restoration experts carefully remove old veneer using heat and solvents, followed by meticulous sanding and repairs to the woodwork to address cracks, chips, or rot. Missing components are remanufactured based on original designs to maintain historic accuracy rather than replacing them with modern alternatives. High-quality veneers are hand-bonded and finished to replicate the original appearance, with careful attention to veneer thickness, color matching, and application techniques that faithfully reproduce factory standards. This approach preserves your classic car’s vintage charm and authenticity by utilizing original tooling or faithfully reproduced components wherever possible.
Subtle Modern Improvements
Subtle modern improvements can enhance your classic car’s dashboard without compromising its authentic appearance. Restoration professionals incorporate corrosion-resistant metals, eco-friendly paints, and synthetic fabrics that withstand wear and environmental changes better than original materials. These discreet upgrades might include improved electrical wiring hidden behind the dash, modern gauges or infotainment systems integrated to maintain the original aesthetic, or enhanced climate controls that improve driving comfort. Modern restoration tools like paintless dent repair and soda blasting help maintain original paint and metalwork without damaging finishes. These techniques enhance longevity and functionality while keeping your dashboard’s classic aesthetic intact, allowing you to enjoy a driving experience that feels both authentic and reliable. The goal remains preserving the dashboard’s historical significance while making thoughtful improvements that respect its original character.
Tools and Materials Needed for Dashboard Restoration
Classic car dash restoration requires a comprehensive toolkit to achieve professional results. Your success depends on having the right equipment for each stage of the restoration process, from initial disassembly to final finishing touches.
Cleaning Supplies
Proper cleaning forms the foundation of any successful dashboard restoration. Soft microfiber cloths prevent scratching delicate surfaces while removing decades of accumulated grime. Gentle automotive cleaners specifically formulated for vintage materials preserve the integrity of original components. Detail brushes with various bristle sizes reach into tight spaces around gauges and switches, extracting dirt without causing damage to surrounding surfaces.
Repair Materials
Dashboard repair kits contain specialized fillers and compounds essential for addressing structural damage. These purpose-made products bond effectively with vinyl, plastic, or wooden dashboard materials to repair cracks, splits, and holes. High-quality wood glue becomes indispensable when working with wooden dashboards, creating strong bonds between veneer layers and base materials. Wood veneers approximately 0.6mm thick match original specifications, ensuring authentic appearance and proper fit.
Sanding and Shaping Tools
Multiple grades of sandpaper enable progressive surface refinement during restoration. Starting with coarse 40-grit paper removes old finishes and major imperfections, while gradually working up to fine 120-grit creates the smooth foundation needed for new finishes. Power tools equipped with polishing and sanding attachments speed up larger areas while maintaining precision. Angle grinders prove invaluable for shaping metal components or removing rust from structural elements.
Pressing and Bonding Equipment
Specialized pressing tools ensure proper adhesion during veneer application. Vacuum presses conform perfectly to curved dashboard surfaces, distributing pressure evenly across complex shapes. Screw presses provide the consistent, firm pressure needed for bonding veneer to flat dashboard sections. Heat sources carefully applied help remove old veneer and lacquer finishes without damaging the underlying structure.
Finishing Supplies
Paints and finishes matched to original factory specifications restore authentic color and texture to dashboard surfaces. UV-resistant formulations prevent future sun damage and fading, extending the life of your restoration work. Appropriate solvents safely remove stubborn adhesives and old finish materials without compromising the dashboard’s integrity.
Replacement Components
Authentic or high-quality reproduction gauges preserve the dashboard’s period-correct appearance and functionality. Original-style switches and knobs maintain the tactile experience of driving a classic automobile. Trim pieces precisely matched to your vehicle’s make, model, and year ensure a cohesive, factory-fresh appearance that enhances both authenticity and value.
Professional Help vs. DIY Restoration
The Professional Approach
Professional classic car dash restoration delivers exceptional results through specialized expertise and historical knowledge. Experts follow a meticulous process that begins with careful removal of existing veneer using heat and solvents, followed by thorough sanding and wood repair. They replace missing components based on original designs, ensuring authenticity that closely matches the dashboard’s original appearance. This attention to detail significantly enhances your car’s value, particularly for exhibitions or potential resale.
Restoration professionals save you time and prevent costly mistakes common in amateur work. Their advanced techniques include vacuum pressing for curved veneers and precise hand-sanding for flawless finishes. Professional restorers maintain or even increase your vehicle’s market value, making their services a worthwhile investment even though the higher upfront cost.
Taking the DIY Route
DIY classic car dash restoration appeals to enthusiasts who enjoy hands-on involvement and want personal connection with their restoration project. This approach lets you control the preservation of your car’s authenticity while potentially saving on labor costs. The process typically includes selecting durable wood materials, fixing cracks, refinishing surfaces, and applying protective coatings against environmental damage.
Successfully restoring your dashboard yourself requires thorough condition assessment, safely using heat and solvents for veneer removal, performing repairs on chips or cracks, and carefully sanding and applying finishes. Many car enthusiasts find tremendous satisfaction in learning these skills and completing the work themselves.
Comparing Costs and Results
Professional restoration guarantees precision, authenticity, and value retention but comes with higher initial costs. The investment typically pays off through superior quality finishes and increased vehicle value. DIY restoration offers cost savings on labor but introduces risks of expensive corrections if errors occur.
The challenges of DIY dashboard restoration include acquiring specialized tools, developing necessary skills, and avoiding damage to original parts. The process often consumes more time than initially expected and may not achieve the same level of finish as professional work. Your decision between professional and DIY approaches should balance your budget constraints, personal skills, and restoration goals.
Conclusion
Restoring your classic car’s dashboard is truly a labor of love that transforms the heart of your vehicle’s interior. Whether you choose professional restoration or take the DIY path the reward is a dashboard that honors your car’s heritage while improving its value.
Remember that authenticity matters most in this process. Using period-correct materials and preserving original components whenever possible will maintain your vehicle’s historical integrity.
With patience proper tools and meticulous attention to detail you’ll revitalize both the aesthetic appeal and functionality of your dashboard. The finished product won’t just look stunning – it’ll serve as the command center for many more memorable drives to come.
Your restored dashboard stands as testament to craftsmanship dedication and respect for automotive history.
Frequently Asked Questions
Why is dashboard restoration important for classic cars?
Dashboard restoration is crucial for classic cars as it revitalizes the vehicle’s command center. A properly restored dashboard not only enhances the aesthetic appeal of the interior but also preserves the functionality of essential instruments and controls. Since the dashboard displays driving information and houses various switches, restoring it maintains both the car’s authenticity and market value, ensuring a balance between historical accuracy and driving practicality.
What are common dashboard materials in vintage automobiles?
Vintage automobiles typically feature dashboards made from wood veneer, vinyl, plastic, or metal. Wood veneer dashboards, especially those with burl patterns, provide a luxurious aesthetic but are prone to warping and cracking. Vinyl and plastic dashboards were common in mid-century cars and tend to fade and crack over time. Metal dashboards, more common in earlier vehicles, can corrode but are generally more durable than their counterparts.
How do I assess if my classic car dashboard needs restoration?
Assess your dashboard by thoroughly inspecting for cracks, warping, fading, or loose components. Check wood veneers for delamination or rotting. Examine vinyl surfaces for tears or discoloration. Test all gauges, switches, and controls for functionality. Look for water damage signs or sun fading. This comprehensive evaluation will help determine whether you need minor repairs or complete restoration, guiding your restoration strategy.
Should I restore or replace damaged dashboard components?
When possible, restore original components rather than replacing them. Restoration preserves the vehicle’s authenticity and historical value, which typically enhances market worth. Consider replacement only when components are severely damaged beyond repair or when structural integrity is compromised. For minor to moderate damage, professional restoration techniques can often return components to excellent condition while maintaining the vehicle’s original character.
What does the dashboard restoration process involve?
The dashboard restoration process begins with careful removal and documentation of all components. Next comes thorough cleaning and assessment of damage. Structural repairs follow, addressing cracks, warping, or deterioration. For wood veneers, this might involve veneer replacement and refinishing. Vinyl dashboards require filling, sanding, and redyeing. Finally, all components are refinished and reassembled, with special attention to preserving or restoring gauges and switches to ensure both functionality and period-correct appearance.
How are wood veneer dashboards specifically restored?
Wood veneer restoration begins with stripping old finishes using heat and solvents, followed by careful sanding. Damaged veneer is removed and replaced with period-correct materials, matching grain patterns and wood species. Structural repairs address any underlying wood damage. Multiple thin coats of water-based, UV-safe lacquer are applied to protect the wood while enhancing its natural beauty. The process concludes with fine polishing to achieve the desired sheen.
What’s involved in restoring dashboard gauges and instruments?
Gauge restoration requires disassembling the instrument cluster and carefully cleaning each component. Electrical connections are repaired, with corroded wires replaced and soldered properly. Gauge faces often need re-silkscreening to restore faded markings, while bezels require polishing to remove oxidation. Calibration ensures accurate readings. This meticulous process maintains the vintage appearance while improving functionality and readability of these critical components.
How are upholstered dashboards restored?
Upholstered dashboard restoration begins with removing the old covering and padding. New high-density foam is shaped and glued to match the original contours. Period-correct vinyl or leather is carefully selected to match original specifications. The covering is applied using contact cement or vacuum forming techniques for a factory-original appearance. Custom color matching ensures seamless integration with the interior, balancing authenticity with durability.
Can I modernize my classic car dashboard during restoration?
Yes, but modifications should be period-correct and subtle. Consider upgrades like LED backlighting for gauges, improved electrical connections, or corrosion-resistant materials that don’t alter the dashboard’s appearance. Modern audio systems can be installed behind original faceplates. The key is maintaining the vintage aesthetic while discreetly enhancing functionality. This approach preserves the car’s character while improving reliability and convenience.
What tools and materials are needed for dashboard restoration?
Essential tools include cleaning supplies (degreasers, soft brushes), repair materials (wood fillers, epoxy), sanding equipment (various grit sandpaper, blocks), bonding supplies (clamps, specialized adhesives), finishing materials (stains, lacquers, dyes), and replacement components when necessary. For wood veneers, you’ll need veneer tools and pressing equipment. Specialized measuring tools ensure proper fit, while protective gear safeguards both you and the materials during the restoration process.
What are the benefits of professional dashboard restoration versus DIY?
Professional restoration offers specialized expertise, access to authentic materials, and precision techniques that enhance vehicle value. Professionals bring historical knowledge and specialized tools that ensure factory-accurate results. DIY restoration allows for hands-on involvement and potential cost savings but requires significant skill development and research. The choice depends on your budget, skill level, available time, and the vehicle’s value and historical significance.
Related Posts: