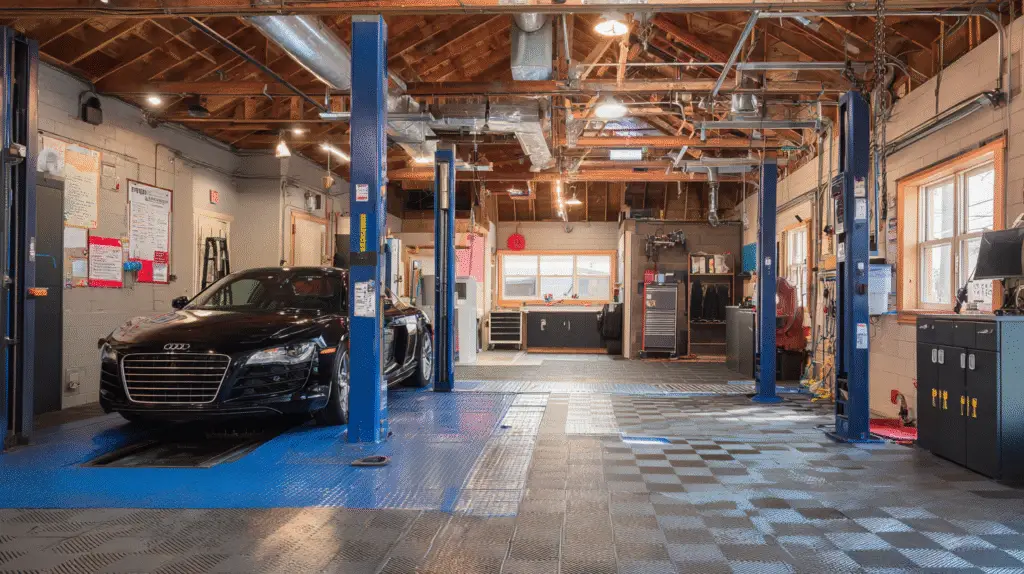
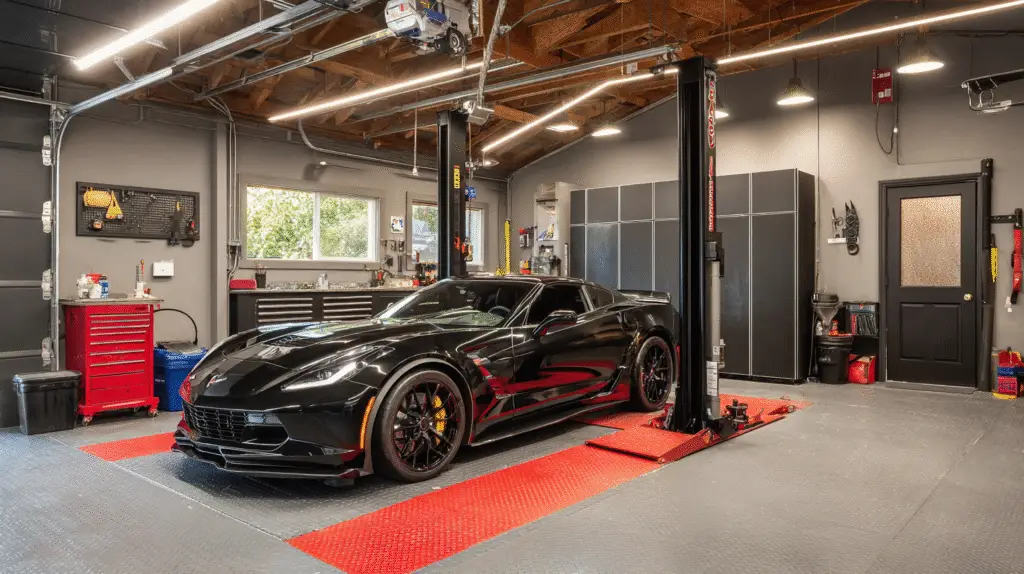
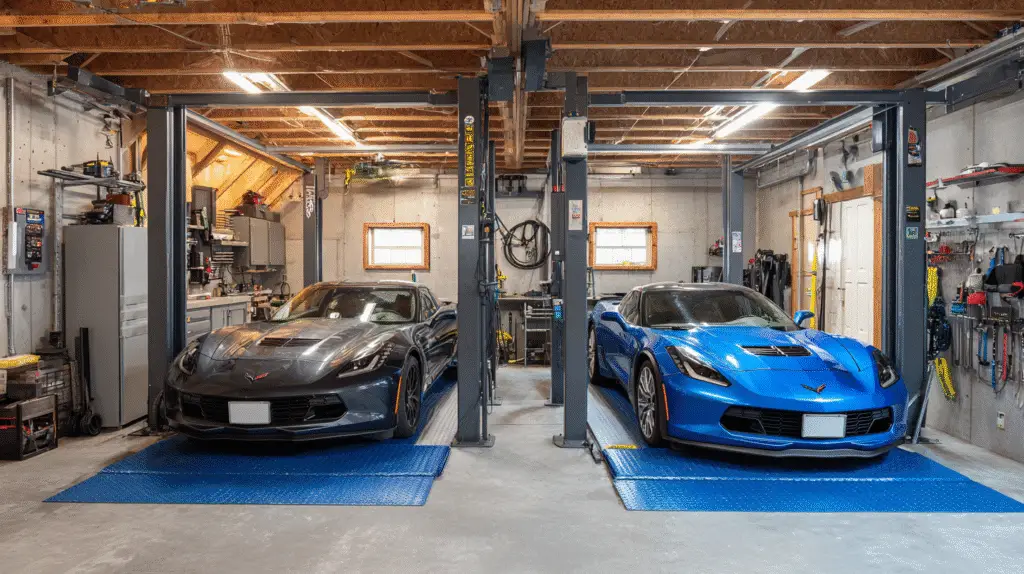
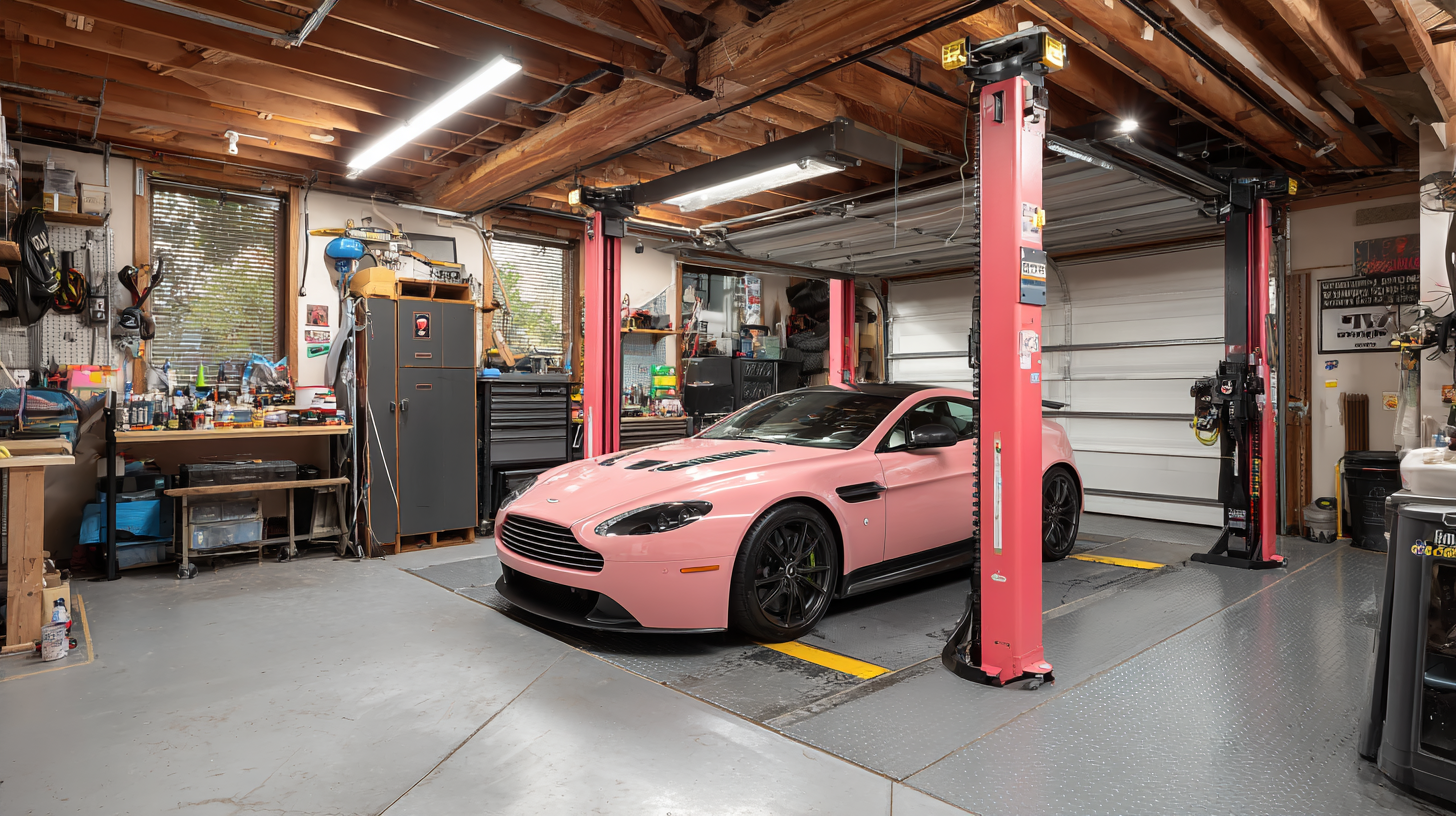
Imagine transforming your garage into a sleek, efficient workspace where every car repair or maintenance task becomes a breeze. That’s the dream, right? Well, a 4 post car lift can be the game-changer you’re looking for. But before you dive into the world of automotive lifts, there’s one crucial question we need to tackle together: How much space do you actually need for a 4 post car lift? It’s not just about fitting the lift into your garage; it’s about optimizing your space for safety, functionality, and, yes, even a bit of bragging rights.
We’ve all been there, trying to make the most out of our garage space, juggling between storage, workspace, and sometimes, a spot to hang out. Adding a 4 post car lift into the mix might seem daunting at first, but we’re here to guide you through the maze of space requirements, ensuring you make an informed decision that elevates your garage from cramped to capacious. So, let’s dive in and discover how to turn your garage into the envy of the neighborhood, shall we?
Evaluating Your Space for a 4 Post Car Lift
Transforming a garage with a 4 post car lift requires us to thoroughly evaluate the space. This ensures not only a perfect fit but also maximizes safety and functionality. Let’s delve into the specifics of how to assess your garage area for this upgrade.
Measuring the Available Space
Firstly, measuring the garage space accurately is crucial. Start by determining the floor area to ensure there’s ample room for the lift and vehicle movement. A standard 4 post car lift typically needs a minimum area slightly larger than the vehicle’s footprint, allowing for comfortable access around the lifted car. For average-sized cars, a space of about 24 feet by 24 feet works well. However, exact dimensions can vary based on the lift model, so refer to the specific 4 post car lift space requirements provided by the manufacturer.
Considering the Height Requirement
Ceiling height plays a pivotal role in accommodating a 4 post car lift. The lift itself can add significant height when a vehicle is raised. To ensure safe operation, a minimum ceiling height of 11 to 12 feet is recommended. This height allows most vehicles to be lifted without coming into contact with the ceiling, thus preempting any potential damage. If planning to work on taller vehicles, or intending to stack two cars, verifying clearance with a higher ceiling requirement becomes even more critical.
Accounting for Width and Length
Finally, consider both the width and the length of the lift, including the space needed for operation and walking around. Most 4 post lifts require a width of about 10 to 12 feet to accommodate the structure and provide enough space for doors to open. Lengthwise, a minimum of 17 to 20 feet ensures that even longer vehicles can be lifted without issue. These measurements ensure a smooth operation and adequate space for mechanics and enthusiasts to work around the vehicle safely.
Materials and Tools Needed

Preparing for the installation of a 4 post car lift involves gathering the correct materials and tools. This ensures a smooth setup process and enhances safety measures.
- Tape Measure – Essential for confirming the 4 post car lift space requirements, ensuring the lift fits precisely in the designated area.
- Level – Guarantees the lift is perfectly horizontal for safe operation.
- Wrench Set – A comprehensive set, including both metric and imperial sizes, for securing bolts and nuts.
- Socket Set – Facilitates efficient assembly, particularly for tight or hard-to-reach connections.
- Drill with Masonry Bits – Necessary for creating anchor holes in concrete floors.
- Hammer – Assists in inserting anchors into the drilled holes.
- Torque Wrench – Ensures bolts are tightened to the manufacturer’s specifications, a critical step for operational safety.
- Safety Glasses – Protects eyes from debris and dust during the installation process.
- Work Gloves – Shields hands from sharp edges and potential friction burns.
- Ear Protection – Recommended when using loud power tools to prevent hearing damage.
- Steel-toed Boots – Protects feet in case of accidental drops of heavy components.
- Hard Hat – Advisable if working with another person or if there’s a risk of objects falling during the installation.
4 Post Car Lift Space Requirements

In transitioning from the tools needed for installing a 4 post car lift to the specific space requirements, it’s crucial to ensure that your garage can accommodate this equipment not just physically but also functionally.
Minimum Space Requirements
The minimum space required for a 4 post car lift primarily depends on the lift’s dimensions and the size of the vehicles it will service. Generally, for a standard lift:
- Height: A minimum clear ceiling height of 11 feet allows for adequate clearance for most residential vehicles, including SUVs and pickups.
- Width: To comfortably fit the lift itself, a width of at least 10 feet is necessary.
- Length: The length should be at least 20 feet to accommodate the lift and provide minimal front and rear clearance.
These dimensions ensure the lift can operate without hindrance, avoiding any structural or operational issues.
Recommended Additional Space for Operation
Beyond the minimum space requirements, additional space enhances safety and functionality:
- Operational Clearance: An additional 3 to 5 feet on all sides of the lift allows for safe and easy movement around the vehicle. This extra space is essential for opening vehicle doors and positioning equipment like tool chests, jacks, and workbenches.
- Ceiling Clearance: If using the lift for storage purposes, ensuring at least 13 feet of ceiling height can accommodate stacked vehicles or taller vehicles such as vans.
Considering these additional space recommendations enhances the usability of the lift and ensures a more versatile and functional workspace.
Adjusting for Vehicle Size and Type
The size and type of vehicles you plan to lift significantly impact the space requirements:
- Compact cars and Sedans: May require less length and height clearance, allowing for slightly reduced space requirements.
- SUVs and Trucks: Require both increased height and length to accommodate their larger size safely.
- Specialty Vehicles: Custom or unusually large vehicles might necessitate specific adjustments to both the lift and the surrounding space to ensure safe operation.
Adjusting the 4 post car lift space requirements based on the vehicle types ensures that the lift serves its intended purpose effectively, providing a safe, efficient workspace for all vehicle maintenance needs.
Preparing Your Space

After identifying the 4 post car lift space requirements, the next crucial step involves preparing your garage or workspace effectively. This ensures not only a seamless installation but also guarantees safety and efficiency during use.
Clearing the Area
Start by removing any unnecessary equipment, tools, or clutter from the intended installation area. This includes checking for overhead obstructions like lights or wiring that might interfere with the lift’s operation. Ensure the area extends a few feet beyond the actual dimensions of the lift on all sides, providing ample space for movement.
- Remove items such as workbenches, storage cabinets, and floor-standing tools that occupy potential lift space.
- Check and clear the overhead space for any potential obstructions.
- Secure a perimeter larger than the lift’s dimensions to allow for unrestricted movement around the vehicle.
Floor Requirements and Preparations
The floor where the 4 post car lift will be installed must be concrete, with a minimum thickness and strength capable of supporting the combined weight of the lift and any vehicle it will hold. Consult the lift’s manufacturer for specific requirements regarding floor thickness and concrete strength.
- Inspect the concrete floor for cracks or defects. Repair any significant damage to ensure the surface is even and strong.
- Determine the floor’s thickness and confirm it meets or exceeds the manufacturer’s recommendations.
- Consider professional evaluation of the floor’s condition and strength if uncertainties arise.
Environmental Conditions
Maintain a well-ventilated area with sufficient lighting to promote safety and visibility during lift operations. The temperature and humidity levels should also be regulated to prevent any adverse effects on the lift mechanism or the vehicle.
- Ensure adequate ventilation to avoid buildup of exhaust fumes or other hazardous gases.
- Install sufficient lighting to illuminate the entire working area clearly.
- Control temperature and humidity to prevent condensation on the lift and vehicle, which may lead to corrosion over time.
By meticulously preparing your space considering these guidelines, the installation of your 4 post car lift will proceed smoothly, bolstering safety and efficiency in your vehicle maintenance tasks.
Installation Process Overview
After ensuring the space meets the 4 post car lift space requirements and preparing the area, it’s time to focus on the actual setup. The installation process involves a series of precise steps that demand attention to detail to guarantee the lift’s safety and functionality.
Step-by-Step Installation Guide
- Unpack and Organize Components: Begin by carefully unpacking all the lift components. Arrange them systematically to streamline the installation process.
- Assemble Frame and Posts: Erect the main frame and posts according to the manufacturer’s instructions. Each section connects at specific points, which are crucial for the lift’s stability.
- Secure Posts and Frame to Floor: Utilize the provided bolts to anchor the posts and frame securely to the garage floor. Ensure the floor material and conditions are suitable for the hardware.
- Install Hydraulic System: Fit the hydraulic pump, hoses, and fluid reservoir. After assembly, fill the reservoir with the recommended hydraulic fluid.
- Attach Lift Platforms and Ramps: Place the platforms and ramps on the frame, securing them as indicated in the guide. Double-check their alignment for even lifting.
- Connect Electrical Components: Depending on the model, connect any necessary electrical wiring for operation. This step may require a professional electrician if specific wiring adaptations are needed.
- Final Assembly: Complete the installation by attaching any remaining parts, such as cables, safety locks, and controls, ensuring every piece is properly tightened and in place.
- Inspect All Connections: Review every bolt, hose, and electrical connection to confirm they are tight and correctly installed.
- Test Hydraulic System: Activate the hydraulic system without a load to check for any leaks or malfunctions. Observe the system’s response to ensure smooth operation.
- Load Testing: Conduct a load test using a vehicle that does not exceed the lift’s rated capacity. This test verifies the lift’s capability to safely raise and lower the vehicle.
- Check Safety Features: Test all safety locks and mechanisms to ensure they engage and disengage appropriately. This step is critical for preventing accidents.
- Regular Maintenance: Establish a routine maintenance schedule to inspect the lift periodically for wear and tear, ensuring its long-term functionality and safety.
By following this detailed guide, the installation and testing of a 4 post car lift will not only meet the necessary 4 post car lift space requirements but will also provide a safe, efficient means for vehicle maintenance.
Tips for Maximizing Space and Efficiency
Maximizing space and efficiency is crucial when incorporating a 4 post car lift into your garage. By employing smart strategies, you can ensure every square foot of your space serves a purpose while maintaining safety and ease of operation.
Efficient Use of Space Around the Lift
Allocating enough space around the lift enhances safety and accessibility. Optimize this space by:
- Positioning the lift in the center if it’s the sole equipment, ensuring equal space on all sides for movement.
- Placing essential tools and equipment within reach but out of walking paths to reduce clutter and prevent accidents.
- Designating clear zones for operation and maintenance activities ensures unimpeded access to the lift’s control panel and vehicle.
This approach guarantees the efficient use of space around the lift, allowing for a safer and more productive work environment.
Incorporating Storage Solutions
Effective storage solutions are key in maintaining a clean and organized space. Implement these strategies:
- Installing overhead shelves or cabinets near the lift for storing tools and equipment, optimizing vertical space.
- Using mobile tool carts that can be easily moved away when not in use, keeping the area around the lift clear.
- Designating specific spots for common tools and maintenance items ensures they are always within easy reach but not in the way.
By incorporating these storage solutions, you maintain orderly space, making it easier to focus on the task at hand without unnecessary distractions.
Adjusting Layout for Multiple Lifts
In environments with multiple lifts, optimizing the layout is critical for efficient use of space and operational flow. Achieve this by:
- Spacing lifts at least 3 feet apart from each other, allowing for ample room to move around and between vehicles safely.
- Aligning lifts in a row or in an alternating pattern to maximize available space, depending on the garage’s shape and size.
- Creating designated work zones around each lift, ensuring that each area has its own set of tools and equipment to prevent cross-garage traffic.
Adjusting the layout for multiple lifts facilitates a smooth workflow, increases safety, and maximizes the efficiency of the space and resources available.
Troubleshooting and Maintenance
After ensuring the 4 post car lift space requirements are met and optimizing the garage layout, focusing on troubleshooting and maintenance becomes crucial for prolonged safe operation and efficiency.
Common Installation Issues and Solutions
Misalignment
Misalignment often occurs if the lift is not installed on a perfectly level surface. To solve this, use a laser level to check the alignment of all posts and platforms before finalizing the installation. Adjust the height of each post as necessary to ensure level alignment.
Insufficient Space
If the cleared space does not meet the 4 post car lift space requirements, it may result in restricted access to the vehicle or equipment. Double-check the space requirements including height, width, and depth. Rearrangement of the garage layout or removal of unnecessary items might be required to free up space.
Electrical Issues
Improper wiring or inadequate power supply can cause the lift to malfunction. Ensure that all electrical connections are properly installed according to the manufacturer’s specifications and that the power supply matches the lift’s needs.
Routine Maintenance Tips
Regular Inspection
Conduct regular inspections of all lift components, such as cables, pulleys, and locks, for signs of wear or damage. Replace any worn parts immediately to prevent accidents.
Lubrication
Lubricate moving parts regularly to reduce friction and wear. Use the recommended type of lubricant for your lift, focusing on pivot points, slide blocks, and pulleys.
Tighten Bolts and Anchors
Check and tighten all bolts and anchors periodically to ensure the lift’s stability and safety. Loose bolts can lead to structural instability and increase the risk of an accident.
Dealing with Hydraulic System Issues
Leaks
Inspect hydraulic lines and fittings for signs of leaks. Tighten connections or replace damaged hoses as needed. Hydraulic fluid levels should be checked and replenished with the correct type of fluid.
Pressure Problems
If the lift moves unevenly or fails to reach its full height, check the hydraulic system’s pressure levels. Adjust the pressure according to the manufacturer’s instructions or consult a professional for more complex issues.
Cleaning Hydraulic Components
Keep hydraulic components clean from dirt and debris, which can cause blockages and degrade system performance. Regular cleaning helps maintain efficient operation and prolongs the lifespan of the hydraulic system.
Conclusion
We’ve walked through the essentials of preparing for and maintaining a 4 post car lift, from the initial space considerations to the nitty-gritty of troubleshooting and upkeep. Remember, it’s not just about having enough room; it’s about making every inch count for a safe and efficient workspace. By following our guide, you’re setting yourself up for a smoother experience, whether it’s installation day or years down the line with routine maintenance. Let’s keep those lifts running smoothly and safely, ensuring our vehicles are hoisted without a hitch. Happy lifting!
Related Posts:
