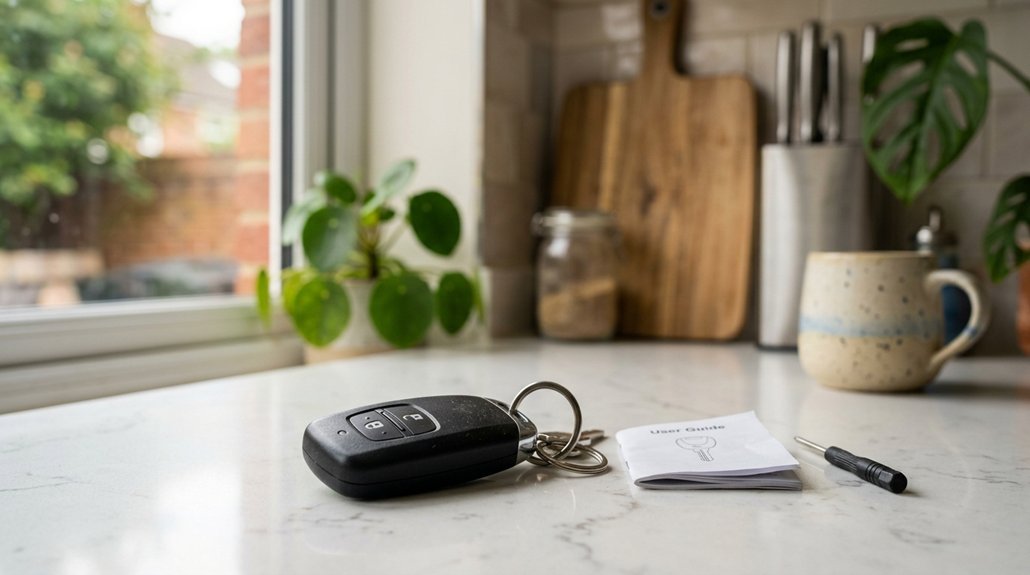
I sit in my driveway, the amber glow of my car’s dome light fading as I press the unlock button again: nothing. That tiny CR2032 cell, barely three millimeters thick and twenty across, holds the power to strand you or save your evening.
I’ve swapped dozens of these coin cells, from Hondas with their clever slide releases to screw-back housings that demand a jeweler’s Phillips. The difference between a two-minute fix and a scratched fob comes down to technique, not force.
How to Identify Your Honda Key Fob Battery and Tools
Where do I even start when my Honda key fob starts getting sluggish? I’ve learned that most Honda key fobs use a flat circular 3-volt battery, specifically a CR2032. When I’m identifying the correct replacement, I pop open my fob and check the existing battery’s size and markings. This battery type works across many Honda models, including the CR-V, so I don’t worry about compatibility.
I make sure I have a small flathead screwdriver on hand for prying open the case. For supplies, I can grab batteries at hardware stores in the Torrington area. However, I prefer visiting Honda of Watertown Parts Center since they stock genuine Honda key fob batteries. Their service team knows exactly what I need, saving me from second-guessing my purchase.
Recommended Products

COMPATIBLE WITH AIRTAG & KEY FOBS: Works with Apple AirTag, all major car key fobs (Toyota, Honda, BMW, Ford, Chevrolet, Lexus), fitness trackers, glucose monitors, tire pressure sensors, and any CR2032 / 3V lithium coin battery device.

10 pack of Energizer CR2032 Batteries (CR2032 3V Lithium Battery compatible with Apple AirTags and Key Fobs)

COMPATIBLE WITH AIRTAG & KEY FOBS: Works with Apple AirTag, all major car key fobs (Toyota, Honda, BMW, Ford, Chevrolet, Lexus), fitness trackers, glucose monitors, tire pressure sensors, and any CR2032 / 3V lithium coin battery device.
How to Open Your Honda Key Fob (Button Release)
Now that I’ve got my CR2032 battery and small flathead screwdriver ready, I’m moving on to actually getting inside the fob.
I’m pressing the button on my Honda key fob to release the metal key, then sliding it out completely. This exposes the seam where the two halves meet. I keep my thumb pressed firmly above where the battery sits to prevent the halves from flying apart when I pry them open.
Here’s what I’m doing to get inside:
- Pressing the release button to free the metal key blade
- Sliding the key out smoothly once the mechanism engages
- Using the key itself or my flathead screwdriver to gently pry at the seam
- Applying steady pressure with my thumb on top to control the separation
- Watching for the old battery’s orientation before I touch anything
I’m noting which side faces up, positive or negative, so I don’t guess later.
Recommended Products
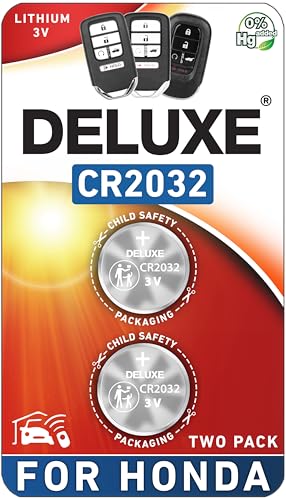
CONFIRM FIT - **Please confirm compatibility using the fitment guide located in the product images**

COMPATIBLE WITH AIRTAG & KEY FOBS: Works with Apple AirTag, all major car key fobs (Toyota, Honda, BMW, Ford, Chevrolet, Lexus), fitness trackers, glucose monitors, tire pressure sensors, and any CR2032 / 3V lithium coin battery device.

*Please check the second product image to confirm compatibility (Installation Videos + Tools Included)*
How to Open a Screw-Type Honda Key Fob
I’ll locate that tiny screw first, usually hiding near the key ring hole, and grab a small flathead screwdriver, about 2-3mm wide, to back it out without stripping the head. Once that screw’s free, I’ll gently pry the halves apart, feeling for the snap-fit clips that hold everything tight, and lift the top cover to expose the battery tray underneath.
Reassembly means lining up those plastic tabs, pressing until I hear a solid click, and threading that screw back in snug, not overtightened, before I walk outside and test every button from 10 feet away to make sure I’m not locked out.
Recommended Products

IN THE BOX: 10-pack of CR2032 3 volt lithium coin cell batteries; replacement for BR2032, DL2032, and ECR2032

3V LITHIUM COIN 2032 BATTERY PACK: One 2 pack of Energizer lithium 2032 Batteries. Packaging may vary

COMPATIBLE WITH AIRTAG & KEY FOBS: Works with Apple AirTag, all major car key fobs (Toyota, Honda, BMW, Ford, Chevrolet, Lexus), fitness trackers, glucose monitors, tire pressure sensors, and any CR2032 / 3V lithium coin battery device.
Locating the Screw
A small screw, usually Phillips or flathead, sits on the back or side of certain Honda key fobs, and spotting it early saves you from prying at seams that won’t budge. I’ve learned this the hard way, and trust me, you’ll want to grab a flashlight and inspect your fob before doing anything else.
Here’s what I check every time:
- Flip the fob over and scan the back panel for a tiny metal fastener, typically 2-3mm in diameter
- Check both side edges if the back looks smooth, as some models hide screws there
- Note whether it’s a Phillips (+) or flathead (-) head, this determines your tool choice
- Look for a small notch near the screw, this indicates where the halves separate later
- Find a clean, flat surface with good lighting, screws this small disappear on carpet
Once I’ve located it, I’m ready to proceed with removal.
Removing and Reassembling
I pop out the screw with a small flathead screwdriver, turning slowly to avoid stripping the tiny head. Once it’s free, I gently pry the fob halves apart using the same tool, working around the seam until they separate. Inside, I spot the CR2032 battery, noting the plus side faces up, a detail that saves headaches later.
I swap in the fresh battery, keeping that orientation intact. Reassembly demands precision: I align the halves so the screw holes match perfectly, then press until I hear a satisfying snap. I reinsert and tighten the screw snugly, not overtightened.
Finally, I stand near my Honda and test every button. Lock, unlock, trunk, panic, all respond instantly. This 5-minute fix restores full functionality without dealer costs.
How to Remove the Old Battery and Check Orientation
Where exactly does that battery hide once you’ve got the fob open? I keep my thumb pressed firmly above it so the fob halves don’t shift while I’m working. That small, coin-shaped cell sits right there in the center, usually a CR2032 or similar 3-volt lithium.
That small, coin-shaped cell sits right there in the center, usually a CR2032 or similar 3-volt lithium.
Here’s what I do next:
- I press and slide the release button to eject the metal key first
- I pry the case open with a flathead screwdriver or the key itself
- I stabilize both halves with my thumb positioned above the battery
- I pop out the dead battery with gentle pressure from my finger
- I memorize which side faces up, positive or negative, before it leaves my hand
I never touch the terminals directly. Skin oils cause corrosion and weaken performance. I note the orientation precisely so I don’t guess later.
Recommended Products

12” OAL with a straight blade for all striking applications
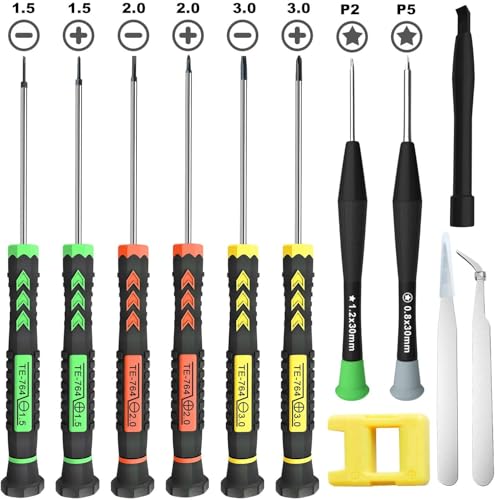
[Package Includes] – 1 x 3.0 Flathead Screwdriver, 1 x 2.0 Flathead Screwdriver, 1 x 1.5 Flathead Screwdriver, 1 x 3.0 Phillips Screwdriver, 1 x 2.0 Phillips Screwdriver, 1 x 1.5 Phillips Screwdriver, 1 x Pentalobe 2 Screwdriver, 1 x Pentalobe 5 Screwdriver, 1 x Helper Stick, 2 x Tweezers, 1 x Magnetizer & Demagnetizer Tool

【Precision screwdriver set】-- 40Pcs screwdriver set has 30 CRV screwdriver bits which are phillips PH000(+1.2) PH000(+1.5) PH00(+2.0) PH0(+3.0) PH1(+4.0), flathead -0.8 -1.2 -1.5 -2.5 -3.0, torx T1 T2 T3 T4 T5, torx security TR6 TR7 TR8 TR9 TR10 TR15 TR20, triwing Y000(Y0.6) Y00(Y1.5) Y0(Y2.5) Y1(Y3.0), pentalobe P2(0.8) P5(1.2) P6(1.5), MID 2.5, with a screwdriver handle, a double-ended spudger, a long spudger, 3 triangle spudgers, Tweezers, a cleaning brush and a suction cup with SIM card thimble.
How to Insert the New Honda Key Fob Battery Safely
I’ll handle the new CR2032 battery by its edges, keeping my fingers away from the flat metal terminals to prevent skin oils from corroding the contacts and shortening the battery’s lifespan. I line up the positive side facing outward, matching the plus sign marking I spotted when I pulled the old battery out, and press it firmly into the clip until it clicks into place.
Once the new battery is seated, I snap the fob halves back together, making sure the seam is tight all around before I walk over to my Honda to test every button.
Recommended Products

Our CR2032 batteries deliver the long lasting power and longer battery life. High Capacity 240mAh, Diameter 20mm, Height 3.2mm, Weight 3.0g. These CR2032 coin cell batteries have full 3 Volts Charge, 10 Years Shelf Life. UL, REACH and RoHS Certified. The CR2032 battery is an excellent choice for the remote that controls small tea light candles, flameless tea light candles, artificial votive candles, LED Lamps that we put out during Christmas, New Year or other Holidays

Avoid expensive dealer service charges and easily replace your key fob battery yourself

Elite Batteries Replacement are compatible with most 2003-2024 Volkswagen key fobs remotes. Possiblly compatible with VW key fobs before 2003; check fitment guide.
Proper Battery Handling
Why risk a failed fob when a simple slip-up with battery handling can cost you another trip to the parts store? I’ve learned that treating the battery right keeps your Honda key fob running strong for years.
Here’s what I always do:
- I grab the battery by its edges, never touching the terminals, since skin oils cause corrosion that kills power early
- I match the old battery’s position exactly, letting those + and – markings inside guide me
- I apply gentle, even pressure when snapping the halves together, listening for that satisfying click
- I keep a small flathead handy for screw-back fobs, removing it first before standard insertion
- I test every button near my vehicle immediately, confirming full function before walking away
Handle it right, and you’ll belong to the group who never gets stranded.
Correct Battery Orientation
The moment of truth comes when you slide that new battery into place. I grip the edges carefully, never touching the terminals, because skin oils cause corrosion that kills performance early. The positive (+) side must face up, matching the markings inside the fob exactly like the old battery sat.
I align those + and – symbols with the metal contacts, pressing my thumb just above to keep both halves steady while I work. This prevents the battery from shifting, which would break the connection. Once seated, I snap the case together gently, no forcing required.
I test immediately, standing beside my Honda, hitting lock and unlock to confirm response. Clean install, full power, zero guesswork: that’s the standard I hold myself to, and you should too.
How to Close Your Honda Key Fob and Test All Buttons
Once you’ve swapped in that fresh CR2032, snapping your Honda key fob back together feels oddly satisfying, like closing a well-built tool case. I align the two halves carefully, then apply gentle pressure until I hear that crisp snap. If your fob has screws, I tighten them now, no skipping corners.
Swapping in that fresh CR2032 and snapping your Honda key fob back together feels oddly satisfying, like closing a well-built tool case.
Here’s what I check before celebrating:
- Snap both halves together firmly until fully seated
- Reinsert and tighten any screws if present
- Retract the metal key completely if removable
- Stand near the vehicle and test lock, unlock, and trunk
- If any button fails, I recheck battery orientation and reseat the motherboard
That final press of the lock button hearing the horn chirp, that’s when I know I’m back in the driver’s seat where I belong.
Recommended Products


4 pack of Energizer 2032 Batteries, 3V Lithium Coin Batteries. Packaging may vary

✅12 Pack CR2032 Battery Sets perfect for NES, SNES N64 and GameCube, Super Mario RPG game save battery replacement
How to Complete Battery Replacement If Your Key Fob Fell Apart
What happens when your key fob explodes into a dozen pieces mid-repair? I’ve been there, and it’s fixable. Grab your spare key first; it becomes your roadmap for putting everything back together.
Start with the buttons. Pop each one into its correct slot, then slide the crossbar between the top button spaces with the curve facing outward. This keeps everything aligned properly.
Next, place the battery into the motherboard with the positive (+) side facing you. Lay the rubber film flat between the motherboard and buttons; this prevents misfires.
Now seat the motherboard carefully, keeping that rubber layer pressed against the buttons. Snap both halves together firmly. Stand next to your vehicle and test every button. If they all respond, you’ve earned that satisfying click of success.
Recommended Products

Perfect Fit for Honda Key Fobs - Designed to match a wide range of Honda models, including the Civic, Accord, CRV, Pilot, Odyssey, HRV, Fit, Passport, Ridgeline, Crosstour, Insight, Clarity, CR-Z this CR2032 battery set ensures a precise fit for your key fob. Say goodbye to compatibility worries and hello to a hassle-free solution.
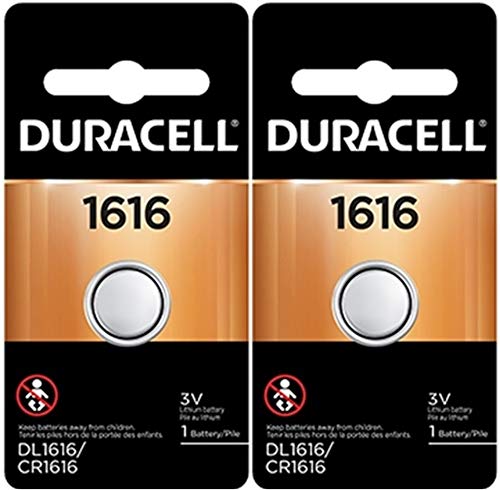
Duralock Power Preserve Technology to preserve power in storage, guaranteed

CONFIRM FIT **Please confirm compatibility using the fitment guide located in the product images** This battery will only fit your key fob if it exactly matches one of the examples in the compatibility guide.