When your F150 displays a trailer brake module fault, do you know what steps to take? This frustrating issue can compromise your towing capabilities and pose serious safety concerns when hauling heavy loads.
Troubleshooting this common F150 problem requires understanding both the diagnostic codes and potential physical causes. From corroded connectors and damaged wiring harnesses to relay failures and blown fuses, several components may trigger the fault warning. With systematic diagnosis and the right replacement parts, you’ll restore your truck’s towing functionality and get back on the road with confidence.
Understanding F150 Trailer Brake Module Faults
The F150 trailer brake module controls your truck’s ability to safely slow down when towing heavy loads. When this critical component fails, it compromises your towing capabilities and potentially creates dangerous driving conditions.
Common Symptoms of a Failing Brake Module
Recognizing trailer brake module issues early helps prevent more serious problems on the road. The most obvious indicator appears as a direct “Trailer Brake Module Fault” message on your dashboard display. Your truck may also display general brake warning lights accompanied by diminished or completely non-functional trailer braking. Many F150 owners report experiencing sudden trailer sway during deceleration when the module begins failing. Unusual electrical behavior in the trailer lighting system often coincides with brake module problems. The truck’s computer might store error codes related to the brake system even when no visible warnings appear on the dashboard.
These symptoms don’t always occur simultaneously—you might notice just one or two warning signs before complete module failure. Regular diagnostic scanning catches potential issues before they evolve into roadside emergencies.
What Triggers These Faults
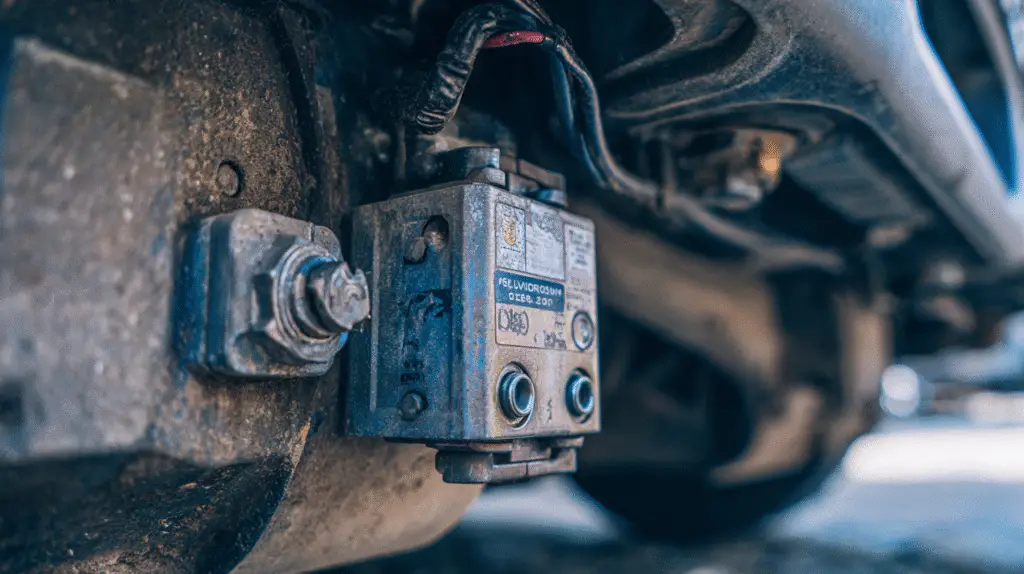
Multiple causes contribute to F150 trailer brake module faults. Electrical issues rank among the most common culprits, with corrosion or damage to connectors creating connectivity problems that trigger fault messages. The trailer brake module itself can fail internally due to environmental exposure or normal wear over time. After multiple diagnostic steps yield no results, assessing the module’s condition becomes crucial.
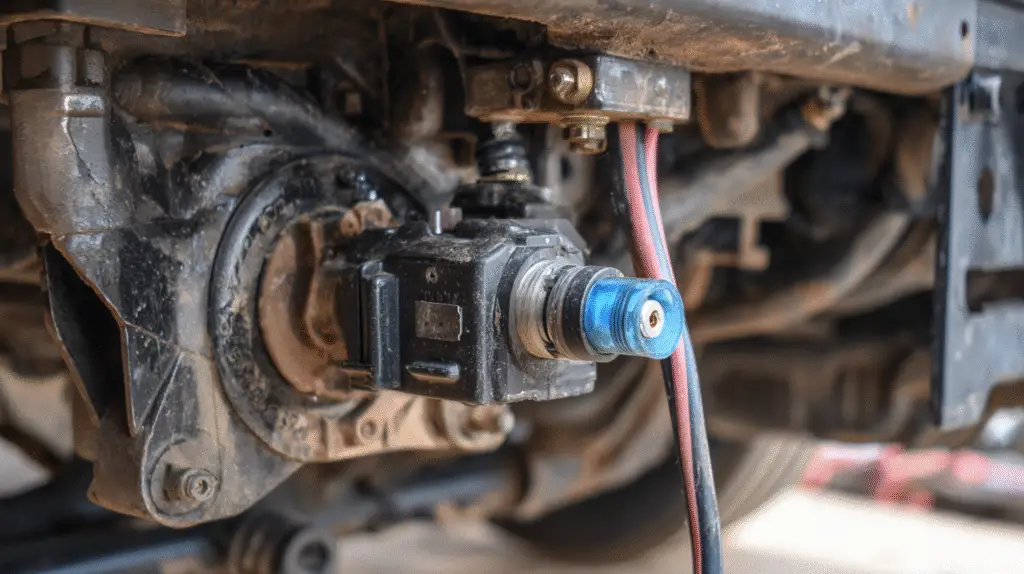
Relay problems in the underhood fuse box disrupt the trailer brake system’s operation. When relays don’t function correctly, they hinder the module’s performance and generate fault codes. Physical damage to the trailer harness from water intrusion, rust, or impacts directly affects module functionality. Blown fuses protecting the brake and electrical systems prevent proper current flow to the module.
Environmental factors accelerate module deterioration, with moisture and road salt being particularly destructive to electrical components. Extreme temperature fluctuations stress internal components, especially during seasonal changes. Understanding these underlying causes equips you to approach repairs systematically and prevent recurring issues.
Diagnostic Tools and Materials Needed

Diagnosing an F150 trailer brake module fault requires exact tools and materials to effectively identify and repair the issue. These essential items help pinpoint electrical problems, test connectivity, and replace damaged components in your truck’s trailer braking system.
Essential Tools for Troubleshooting
Proper diagnosis of trailer brake module faults depends on having the right diagnostic equipment. A multimeter serves as your primary tool for testing voltage and continuity throughout the wiring harness. Generic scan tools connect to your truck’s diagnostic port, retrieving trouble codes that indicate exact issues with the brake controller. Wire strippers and connectors help repairs when you encounter damaged wiring during your inspection.
Electrical contact cleaner removes corrosion from trailer connections, improving conductivity between components. Torx or Allen wrenches provide access to securely mounted connectors that might require removal during testing. Trailer plug cleaners eliminate buildup on both the truck and trailer connection points, addressing a common source of intermittent faults. Fuse testers quickly identify blown fuses in the under-hood fuse box without requiring removal, saving valuable diagnostic time.
Replacement Parts to Have on Hand
Keeping certain replacement components available streamlines the repair process once you’ve identified the source of the trailer brake module fault. A compatible trailer brake module becomes necessary if testing confirms internal failure of the original unit. Spare fuses for the trailer braking system prevent delays when blown fuses are discovered during diagnosis.
Replacement relays address electrical control issues that frequently trigger fault messages. New trailer plugs and sockets resolve connection problems caused by physical damage or severe corrosion. Complete wiring harnesses or sections may be required if you discover extensive damage during your inspection. Connectors and pigtails restore proper connections when original components show signs of damage or deterioration from environmental exposure.
Grounding test kits verify proper electrical grounds, essential for trailer brake controller operation. Having these parts readily available transforms a potentially frustrating diagnostic session into an efficient repair process, getting your F150’s towing capabilities back in working order quickly.
Step-by-Step Troubleshooting Process

Resolving an F150 trailer brake module fault requires a methodical approach to identify and fix the root cause. Following these structured steps helps isolate the problem efficiently and restore your truck’s towing capabilities safely.
Initial Inspection and Checks
Start your troubleshooting with a thorough physical inspection of all components. Examine both the trailer and truck connectors carefully for signs of corrosion, physical damage, or dirt accumulation that could prevent proper electrical contact. Ensure the trailer plug makes a firm connection to the truck socket without any looseness or wiggling.
Pay close attention to any warning messages displayed on your dashboard. These messages often provide valuable clues about the nature of the trailer brake module fault, especially if they appear alongside other alerts that might indicate related electrical issues.
Test your brake controller functionality without the trailer connected. This isolated test helps determine if the issue lies with the truck’s systems or the trailer itself. Note any unusual behavior during manual adjustments of the controller, such as erratic responses or non-responsive controls.
Using Diagnostic Tools Effectively
Conduct a comprehensive circuit evaluation using a multimeter to test the integrity of your trailer brake system. Investigate the wiring harness leading to the trailer brake module, testing for continuity in different positions to identify any breaks or shorts in the electrical pathways that might trigger fault messages.
Examine all relevant fuses in the under-hood fuse box and check relays associated with the braking system. A practical troubleshooting technique involves swapping relays with known working ones from non-essential systems to verify proper operation without purchasing new parts immediately.
Consider environmental factors that might affect your trailer brake module’s performance. Moisture intrusion and road salt exposure commonly corrode wiring and connectors, particularly in trucks used in harsh weather conditions or coastal areas.
If standard diagnostics don’t resolve the issue, try resetting the module completely by pulling the appropriate fuse (such as #9991) and allowing the system to fully power down before reconnecting. This power cycle often clears temporary electronic glitches that can trigger fault messages.
For persistent problems, use a circuit tester to verify continuity between the trailer’s plug and its brake magnets. This test confirms whether the electrical signal is successfully traveling from your truck to the actual brake mechanisms on the trailer.
Common Causes of Trailer Brake Module Issues

Trailer brake module faults in the F150 often stem from several common mechanical and electrical issues. Understanding these root causes helps you diagnose and fix problems more efficiently.
Wiring Problems and Connection Failures
Electrical wiring issues represent the most frequent cause of trailer brake module malfunctions. Corrosion or water intrusion creates rust on connectors and pins, disrupting critical communication between your truck and trailer. Inspect both the truck-side and trailer-side plugs for visible signs of corrosion, as even minor rust can prevent proper electrical contact. Frayed or broken wires in the wiring harness also interrupt brake signal transmission, leading to fault messages on your dashboard. Environmental factors like road salt, moisture, and temperature fluctuations accelerate wire deterioration, particularly in connection points exposed to the elements.
Blown Fuses and Circuit Issues
Fuse failures directly impact trailer brake module functionality. Check all related fuses in the underhood fuse box, focusing on those connected to the trailer brake system. A blown fuse associated with the trailer toe light module can disrupt communication throughout the trailer electrical system. Testing fuses with a multimeter confirms their condition without relying on visual inspection alone. Circuit interruptions anywhere between the brake controller and trailer can trigger fault messages, even when the module itself remains functional. Regular fuse inspections prevent unexpected trailer brake failures during critical towing situations.
Module Failure Scenarios
The trailer brake module itself sometimes fails due to internal electronic issues or physical damage. Environmental exposure to moisture, heat, and vibration degrades internal components over time, especially in trucks regularly used for heavy towing. Software glitches within the module cause intermittent fault messages that may appear and disappear without apparent cause. Complete module failure typically requires replacement to resolve persistent fault messages. Diagnostic testing of other components before replacing the module prevents unnecessary parts replacement, as similar symptoms can result from wiring problems or blown fuses instead of actual module failure.
How to Fix F150 Trailer Brake Module Faults

Fixing an F150 trailer brake module fault requires systematic troubleshooting and targeted repairs. Addressing these issues promptly ensures your towing system functions safely and effectively.
Repairing Wiring and Connections
Damaged connections often cause trailer brake module faults in F150 trucks. Clean corroded connectors using electrical contact cleaner and a small wire brush to restore proper conductivity. Ensure the trailer plug connects firmly to the truck socket—loose connections interrupt signal transmission between your vehicle and trailer. Inspect the entire wiring harness for frayed or broken wires, paying special attention to areas where the wiring flexes during normal operation. Apply dielectric grease to all connections to prevent future corrosion and create a moisture-resistant seal. Replace any damaged connectors or pigtails that show signs of melting, cracking, or excessive wear.
Fuse Replacement Procedure
Blown fuses frequently trigger trailer brake module faults in F150 trucks. Locate the underhood fuse box and identify fuses related to the trailer braking system, particularly fuse #9991 for the trailer tow light module. Remove suspected fuses using fuse pullers and examine them for broken filaments or discoloration. Test each fuse with a multimeter set to continuity mode—functioning fuses show continuity while blown fuses don’t register a reading. Replace any defective fuses with new ones matching the original amperage rating exactly. Reset the trailer brake module by pulling the fuse completely, waiting 30 seconds for the system to power down fully, then reinserting it. This simple reset often resolves temporary glitches in the trailer brake module’s operation.
Complete Module Replacement Guide
Internal module failure necessitates complete replacement of the F150 trailer brake controller. Purchase a replacement module compatible with your exact F150 model year and configuration. Disconnect the negative battery terminal before beginning work to prevent electrical shorts or damage to sensitive components. Locate the trailer brake module, typically mounted under the dashboard or in the center console area. Remove any screws or fasteners securing the module to its bracket using appropriate tools. Carefully disconnect all electrical connectors from the old module, noting their positions for correct reinstallation. Install the new module by securing it to the mounting bracket and reconnecting all wiring harnesses. Verify all connections are seated properly and fasteners are tightened appropriately. Reconnect the battery and test the system by starting your vehicle and checking that the trailer brake module fault message no longer appears on your dashboard. Connect your trailer and perform a brake test in a safe location to confirm proper operation before towing on public roads.
Preventative Maintenance Tips

Regular maintenance prevents F150 trailer brake module faults before they occur, saving time and money while ensuring safer towing experiences. Implementing these preventative measures reduces the likelihood of encountering brake module failures during critical towing situations.
Regular System Inspections
Regular system inspections identify potential problems before they develop into full module failures. Examine trailer and truck connections at least twice a year or before heavy towing sessions to check for corrosion, dirt, or damage that could disrupt communication. Thoroughly inspect wiring harnesses for wear, fraying, or breaks that might interfere with brake signals. Pay special attention to the trailer tow connector (connector C4099), as water intrusion or corrosion in this area frequently causes module faults. Look for signs of moisture damage or corrosion on electrical connections throughout the system. During colder months, inspect more frequently as road salt accelerates corrosion on exposed connectors and wiring components.
Proper Trailer Connection Practices
Proper trailer connection practices significantly reduce the occurrence of brake module faults. Always clean both the truck and trailer connectors before making connections to remove dirt or debris that could prevent solid electrical contact. Apply dielectric grease to plugs and connection points to prevent moisture intrusion and corrosion while maintaining consistent electrical flow. Secure the trailer wiring harness completely before starting your vehicle to prevent signal interruptions that trigger fault messages. Avoid forcing connections if they don’t align properly, as this damages pins and creates intermittent electrical issues. Double-check that connections remain tight after traveling over rough terrain, as vibrations can loosen plugs and connectors. Taking these precautionary steps creates reliable electrical connections between your F150 and trailer, minimizing the chance of encountering the dreaded brake module fault during your travels.
Conclusion
Addressing F150 trailer brake module faults doesn’t have to be intimidating. With the right tools diagnostic approach and preventative maintenance you’ll be able to identify and resolve issues efficiently whether they stem from corroded connections blown fuses or module failure.
Taking proactive steps like regular inspections proper connection practices and timely repairs will significantly extend your system’s lifespan. Remember that your safety and the safety of others on the road depends on properly functioning trailer brakes.
By following the troubleshooting methods and maintenance tips outlined in this guide you’ll maintain optimal towing performance and avoid potentially dangerous situations on the road. Your F150’s towing capabilities are too valuable to compromise with faulty brake modules.
Frequently Asked Questions
What are the signs of a trailer brake module fault in an F150?
Common symptoms include a “Trailer Brake Module Fault” message on your dashboard, general brake warning lights, reduced trailer braking power, unexpected trailer sway during deceleration, and unusual behavior in the trailer lighting system. Recognizing these early warning signs can help prevent more serious issues and ensure safer towing.
What causes F150 trailer brake module failures?
The most common causes include electrical issues (corroded connectors, wiring damage), internal module failure, blown fuses, relay problems in the fuse box, and physical damage to the trailer harness. Environmental factors like moisture, road salt, and temperature fluctuations can accelerate deterioration of components and connections.
Can I drive my F150 with a trailer brake module fault?
It’s not recommended to tow with a faulty trailer brake module. Without proper trailer braking, you’ll have significantly reduced control when slowing or stopping, creating dangerous driving conditions. This puts both you and other drivers at risk, especially when towing heavy loads. Address the issue before towing for safety.
What tools do I need to diagnose trailer brake module problems?
Essential tools include a multimeter for testing voltage and continuity, a scan tool for retrieving trouble codes, wire strippers for repairing damaged wiring, replacement parts (module, fuses, relays, connectors), and a grounding test kit. Having these tools ready transforms a potentially frustrating diagnostic session into an efficient repair process.
How do I troubleshoot a trailer brake module fault?
Start with a visual inspection of components for corrosion or damage. Test the brake controller without the trailer connected. Use a multimeter to evaluate circuits and check fuses and relays. Consider environmental factors affecting performance and try resetting the module. For persistent issues, verify continuity between the trailer plug and brake magnets.
How do I repair corroded trailer brake connections?
Disconnect the battery, then locate and disconnect the corroded connectors. Clean them thoroughly using electrical contact cleaner and a wire brush for stubborn corrosion. Apply dielectric grease to prevent future corrosion before reconnecting. Ensure connections are tight and secure. This maintenance helps prevent recurring electrical issues.
When should I replace the entire trailer brake module?
Replace the module when you’ve ruled out simpler issues like wiring problems, blown fuses, or relay failures, and the fault persists. Other indicators include physical damage to the module, internal electronic failure confirmed by diagnostic testing, or when repair attempts have failed to resolve persistent faults.
How can I prevent future trailer brake module issues?
Perform regular system inspections at least twice yearly or before heavy towing. Practice proper trailer connection by cleaning connectors, applying dielectric grease, and securing wiring. Store your trailer in a protected environment when possible and consider disconnecting the trailer plug during extended parking to reduce environmental wear.
How do I reset the trailer brake module on my F150?
Disconnect your trailer. Turn the ignition to the “On” position without starting the engine. Press and hold the brake pedal while simultaneously pressing the trailer brake controller’s manual override button for about 10 seconds. Release both and turn off the ignition. Wait 30 seconds before reconnecting the trailer and testing.
Is trailer brake module replacement a DIY job?
Yes, for those with basic automotive knowledge and proper tools. Disconnect the battery, locate the module (typically under the dash on the driver’s side), remove mounting screws, disconnect wiring harnesses, install the new module, reconnect wiring, and test functionality. If uncomfortable with electrical components, professional installation is recommended.
Related Posts:
