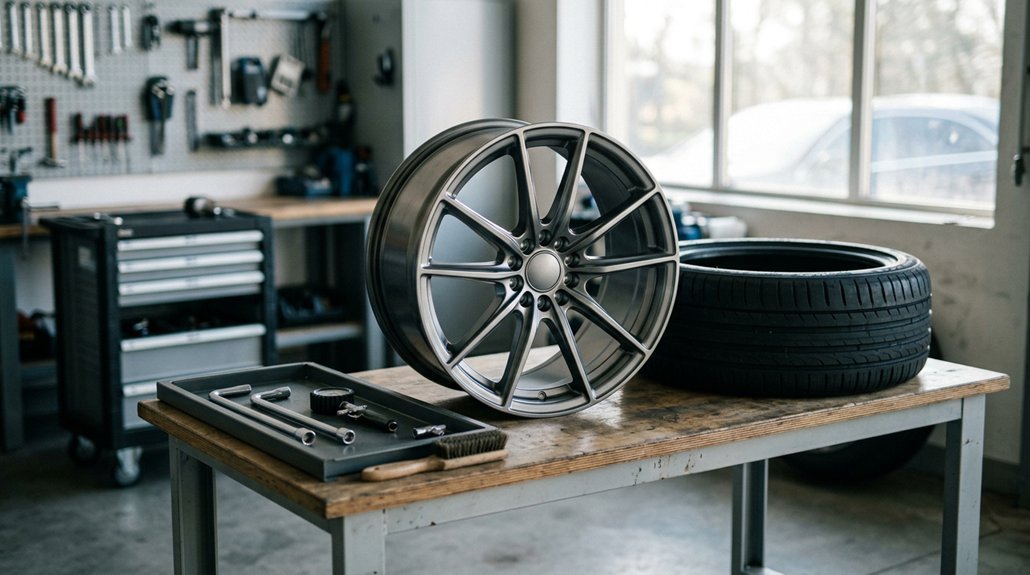
I’ve mounted hundreds of tires in my garage, and let me tell you, one wrong move can turn a simple Saturday project into an expensive trip to the tire shop. The process looks straightforward: match sizes, lube the beads, pop them on, but the devil’s in the details most guides gloss over.
What separates a safe, balanced wheel from a vibration nightmare or worse, a blowout at highway speeds?
Verify Tire-Rim Size Match and Inspect for Damage
Why risk a blowout over something you’d catch in thirty seconds? I always start with tire-rim size match, comparing the markings on both tire and rim. A 225/45R17 tire belongs on a 17-inch rim, period. Mismatches mean failed bead seating and dangerous pressure loss.
Rim inspection comes next. I run my fingers along the rim, feeling for rust, rough patches, or bends. Damage here compromises the seal. I check valve stems too, replacing them with new tires since old ones harden and leak.
Clean, debris-free bead seats matter more than you’d think. I wipe them down, removing corrosion and grit that blocks proper bead seating. The tire gets a once-over for cuts or bulges. These thirty seconds of prep save hours of headaches, and keep you rolling with the crew that knows their stuff.
Install the Valve Stem and Apply Tire Lubricant Properly
Where’s the valve stem going to sit? I insert it from inside the rim, poking through the outside hole, then pull it tight with pliers until it seats firmly. I add a dab of tire lubricant to the valve stem itself; this helps it slide through during installation without tearing.
Next, I lay the rim flat and position the tire on top, aligning the lower bead with the rim lip. I coat both the tire bead and rim edge generously with tire lubricant, covering the inner edges completely. This makes bead seating much smoother.
I skip dish soap or automotive grease; they break down or attract dirt. I buy proper tire lubricant from my local auto parts store, about $8 for a 32-ounce bottle. It lasts multiple tires.
Recommended Products

High Quality: TR412 tire valve stems are constructed of high temperature brass valve cores and ozone resistant EPDM rubber,100% Ozone tested and leak tested

All Tool You Need - 1 pcs valve stem puller installer Tool, 10 Pcs TR412, 6pcs TR413, 6pcs TR414 valve stems with 20 pcs valve stem cores, 1 pcs single head valve core tool, 1 pcs double heads valve core remover tool, 1 pcs 4 way valve tool.

Installs from the OUTSIDE of the wheel!
Seat the Lower Tire Bead on the Rim by Hand
With the valve stem seated and both surfaces lubed, I’m ready to push the first bead into place. I stand the rim flat on the ground and position the tire so the lower bead aligns with the rim’s upper lip. This setup gives me the leverage I need for proper bead seating.
I step onto the tire with both feet, pressing the lower bead over the rim lip. My hands slide the stubborn sections under if my weight isn’t enough. I hop and shift my weight around the circumference until the tire beads pop fully into position. A helper steadies the rim if it wobbles.
After mounting tires this way dozens of times, I’ve learned that patience beats force. I inflate slightly to confirm the lower bead stays put before moving forward.
Mount the Upper Tire Bead Without Pinching or Tearing
How do I get that stubborn top bead over the rim without destroying a $200 tire? I’ve learned it’s all about preparation and patience, not brute force.
I start by applying generous bead lubricant to both the upper bead and rim edge; this cuts friction dramatically and prevents the rubber from tearing. With the lower bead already seated, I angle the tire about 45 degrees and guide the upper bead under the rim edge, working gradually around the circumference.
My tire mounting machine helps here. I use the mounting arm and knuckles as intended, never forcing when resistance builds. That resistance means stop, reposition, because pushing through risks pinch injuries and ruined sidewalls. For stubborn sections, I carefully use a pry bar, watching constantly to avoid catching the bead.
Once bead seating completes, I inflate gradually, listening for those two sharp pops that confirm everything locked in properly.
Inflate Until the Beads Pop, Then Balance Professionally
I connect the air compressor hose to the valve stem and start inflating slowly, keeping my hands clear of the tire sidewall. I apply soapy water around the tire beads to help with bead seating, watching for both beads to clear the rim lips. I listen closely for one or two sharp pops; that’s the sound of the tire seating properly against the rim.
I don’t rush this step. I inflate to manufacturer specs, checking that both beads are locked evenly. Incomplete bead seating causes leaks and blowouts, so I verify before moving on.
After tire mounting, I balance professionally. Imbalance triggers vibrations at 45 mph and wears suspension components. Proper wheel alignment depends on balanced wheels. I finish mounting only after balancing, following torque values for safe, even rotation.
Recommended Products

Contents: One Haltec PC-5 one piece O-ring style passenger tire bead seater
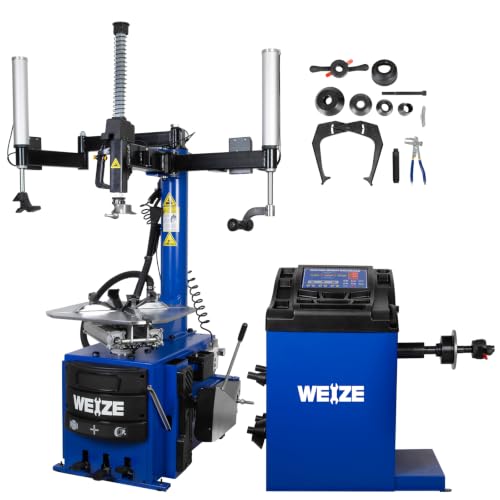
Universal Tire Changer Machine for Diverse Rims & Tires: This heavy-duty tire changer and wheel balancer combo features an external clamping range of 10-22'' and internal range of 12-24'', handling tire widths up to 16'' (406mm). Designed for passenger cars, light trucks, and heavy-duty tires up to 41'' (1040mm) in diameter, it is powered by a robust 2 HP motor that ensures high-torque, reliable performance for all your tire mounting and changing needs.

Contents: One Haltec PC-70 one piece O-ring style truck tire bead seater