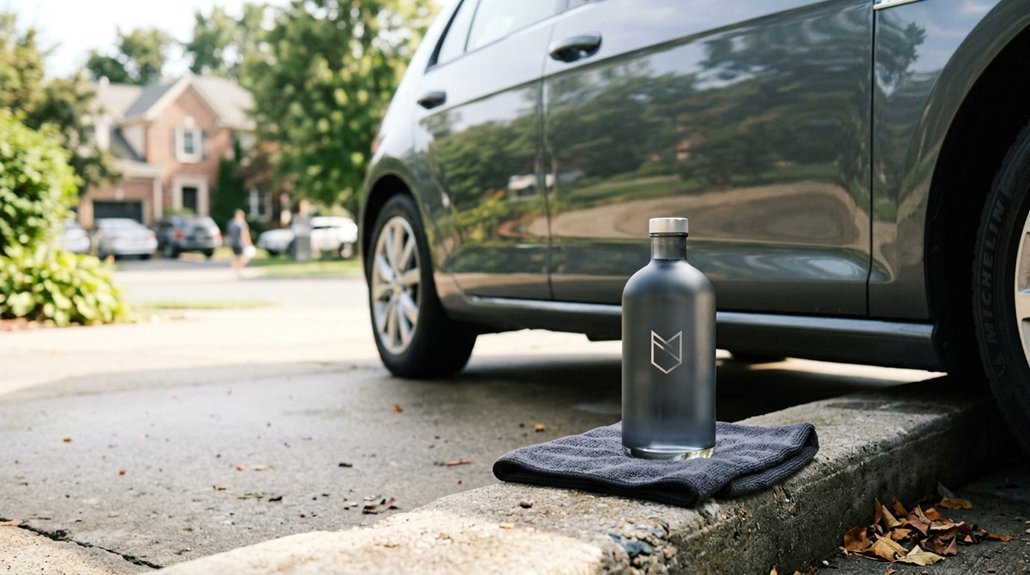
Last Tuesday I watched my neighbor spend four hours buffing a door scratch that I fixed in 18 minutes using a $12 dual-action pad and 3M Scratch Remover. The difference isn’t skill, it’s knowing which tools match your damage depth before you start buying supplies that won’t work.
I’ll show you exactly how to diagnose your scratch in thirty seconds, pick the right kit for under $25, and finish with results that hold up through three car washes. But first, you need to see why most DIY scratch repairs fail within a week.
Test Your Car Scratch: 30-Second Fix Check
Why waste hours on a fix that won’t work? I’ve learned the hard way that not every scratch responds to the same treatment, especially when you’re dealing with clear coat damage versus deeper paint issues. That’s why I always run a 30-second fix check first.
I grab my chosen scratch remover and a foam applicator, then work three quick 30-second passes over the scratch in gentle circular motions. I buff immediately with a high-quality microfiber cloth and look for fading, smoother texture, or any remaining visibility. I’m also paying attention to odor, drag, or weird texture changes during application; these tell me if the formula matches my clear coat condition.
If I don’t see noticeable improvement, I switch products and repeat on a fresh test section. This quick comparison saves me from committing to a full repair with the wrong solution.
Recommended Products

BUFF OUT IMPERFECTIONS: Meguiar's Ultimate Compound removes scratches, swirls & oxidation for a clear, perfect finish
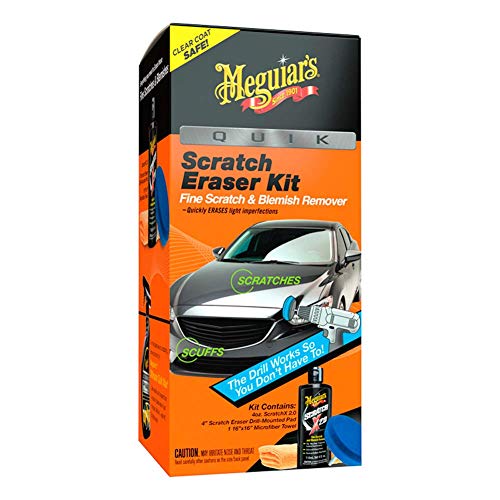
Minimal effort: erase fine scratches and remove paint blemishes quickly and with minimal effort!
TWO BOTTLE COMPOUND VALUE: Includes 2 Meguiar's Ultimate Compound bottles, 15.2 oz each (30.4 oz total), to remove scratches, swirls and oxidation on clear coat car paint and help restore rich gloss.
Gather Tools to Remove Car Scratches by Type
Once I’ve confirmed my scratch responds to treatment, I match my tool kit to what I’m actually dealing with.
Match your tool kit to the scratch you’re actually dealing with—clear coat, paint, or deep primer damage each demand a different approach.
For clear coat scratches, I grab a microfiber cloth, car polish, finishing polish, detailing clay, and a clean towel. These handle cleaning, claying, polishing, and sealing without breaking a sweat.
Paint scratches demand more firepower. I add a foam applicator, a dedicated scratch remover, and a high-quality cloth. Optional wax seals the deal afterward.
Deep scratches reaching primer? That’s where I pull out sanding paper, masking tape, primer, matching paint, a fine brush or spray setup, and a polishing pad.
I always keep contact cleaner or waterless wash nearby. Contaminants kill repairs fast, and I’m not letting dirt sabotage my 30-minute window.
Recommended Products

10x GRIP-ROOT WEAVE - TRAP MORE, WORK LESS: Ultra-absorbent microfiber towels for car Grip Root weave works like PLANT ROOT FOLLICLES, sucking up & LOCKING AWAY 8x to 10x its weight in liquid, particulates, moisture, grime and dirt in far LESS TIME than traditional ‘Heavy Duty’ Cleaning Rags. Each towel features a 2.5mm thick design, providing enhanced durability and better grip during use.

12-pack of 16 x 16-inch microfiber car drying towels for wiping down painted or delicate surfaces

FAST RESULTS: Meguiar's Supreme Shine Microfiber Car Towels offer a quick way to remove compounds, polishes, waxes, and spray detailers; each towel uses advanced technology to make detailing more efficient and convenient
Prep Car Scratch Repairs in 5 Minutes
How quickly can I turn a scratched panel into a repair-ready surface? I’ve timed it: five minutes flat, and I’m standing there with a surface so clean you’ll second-guess where the scratch even sat.
Water droplets bead off freshly washed clear coat, catching sunlight like scattered glass. A soft towel glides across drying paint, zero lint left behind. Bright light from my phone exposes the scratch’s true depth, no surprises waiting.
I start with a thorough wash, then use detailing clay to lift embedded grit that washing misses, preventing new scratches during repair. Elbow grease matters here: I work the clay in straight lines, feeling resistance fade as contaminants release. Finally, I pat the panel bone-dry.
The surface is now primed for compound work, with zero contaminants interfering with adhesion. This prep separates professional results from amateur disappointment.
Recommended Products

CAR BUFFING KIT (HEX_3KIT_5) - Complete sampler car polishing kit includes three professional-grade foam pads plus a 16 oz Polishing Pad Cleaner, delivering reliable results for detailing enthusiasts and pros
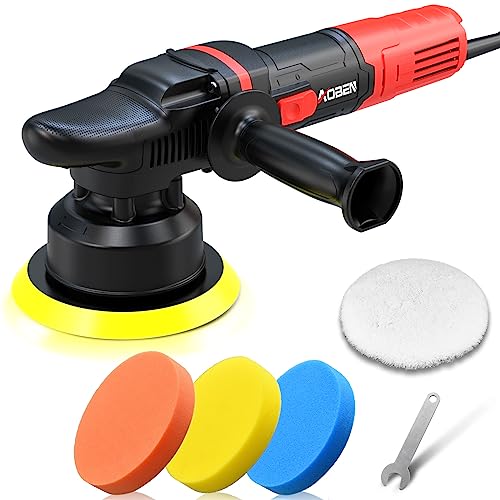
🚗【6 SPEED ELECTRIC BUFFER 】120V,60Hz ,700W,6-Inch polisher; dual action Random orbital copper motion for optimal movement to achieve a swirl-free finish 6 different Speed ,Can be set different speed from 1000 to 4500 rpm for different materials and applications.for Car Sanding, Polishing, Waxing, Sealing Glaze,Low speed for waxing and buffing; Medium speed for polishing and cleaning while high speed for removing paint defects and oxidation.It is normal for the machine to stop when excessive pressure is applied when it is in speed 1-3. If more power is needed, please restart and select a higher speed.

【Cordless & Beginner-Friendly Performance】 Enjoy smooth, swirl-free results with this cordless random orbital buffer polisher. Powered by a pure copper brushed motor and dual-action polishing mechanism, it’s gentle on paint yet highly effective—making it ideal for beginners and professionals alike. The cordless design eliminates cable clutter for easier waxing, polishing, cleaning, and light scratch removal.
Remove Clear Coat Scratches in 20 Minutes
With the panel prepped and contaminant-free, you’re ready to attack the scratch itself. Clear coat scratches barely scrape your car’s armor; they haven’t reached the paint underneath, so you’re in luck.
Grab a quality polishing compound and a foam pad; apply about a dime-sized amount, working in gentle overlapping circles across the damaged zone. I typically run my polisher at 1,200 RPM for three minutes, checking progress every 30 seconds. Heat builds fast, so keep the pad moving. Most light scratches dissolve within eight minutes of polishing; deeper marks need another pass.
Follow with a ultrafine finishing polish to restore gloss, then seal everything with carnauba wax or synthetic sealant. Microfiber only, minimal pressure, or you’ll create new damage you didn’t bargain for.
Recommended Products
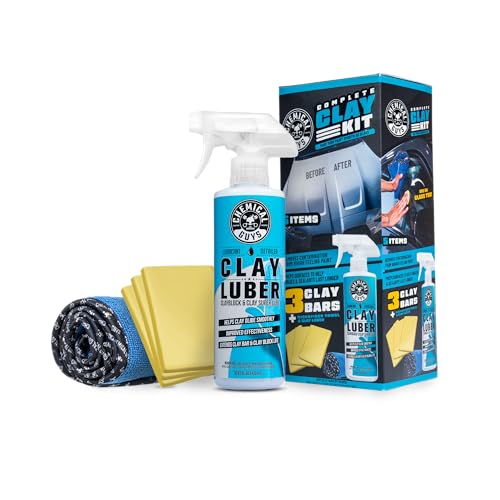
CLAY - The clay bar works by grabbing onto any contamination that sticks onto the surface of your vehicle, then pulls it out as you rub the clay across the paintwork, restoring a smooth-to-the-touch surface primed for polishing, or a pristine coat of wax or sealant.

Car Clay Bar - The package include 4 pack (100gX4pcs) individual car clean clay bars. It's made of premium clay material by repeated refining, so it can make the car paint surface more shiny and soft, no scratch for car paint surface.

Removes Embedded Surface Contaminants: Safely lifts paint overspray, industrial fallout, brake dust, tree sap, acid rain and bonded debris
Repair Paint-Deep Scratches: DIY or Pro?
Deep paint scratches are where most of us hit a crossroads: grab the sandpaper and pray, or hand it off to someone with a spray booth and color-matching computer. I’ve tried both routes, and here’s what I’ve learned.
Deep scratches force a choice: gamble with sandpaper or trust the booth. I’ve walked both paths.
To remove scratches that cut through your color coat, you’ll need primer, matching paint, and clear coat, not just a rubbing compound. DIY saves cash but demands patience, masking tape, and steady hands to avoid sanding into good paint. Pros blend repairs smoothly, especially on metallic or pearl finishes where my amateur eyes can’t match the flake pattern.
- Sanding dust settling on your driveway like gray snow
- Masking paper flapping in the garage breeze
- Fresh clear coat gleaming under shop lights
For small, hidden spots, I’ll DIY. For doors or hoods, I pay the pro.
Recommended Products
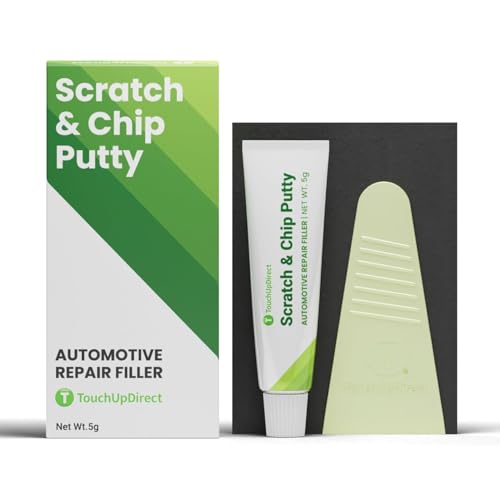
READY-TO-USE NO-MIX FORMULA: Unlike traditional auto body fillers requiring hardener mixing, this squeeze-tube putty applies directly from the container. Skip the two-part fillers and reach for our car scratch remover kit when you need results without complicated prep work.

【Precise Color Matching】: This Platinum White Pearl (NH-883P) touch-up paint is compatible with selected 2021–2026 Honda vehicles, including Civic, Accord, CR-V, HR-V, Pilot, Passport, Odyssey, Ridgeline and Prologue models. Please double-check that your vehicle’s paint code is NH-883P before purchasing.

【Precise Color Matching】: This Lunar Silver Metallic (NH-830M) touch-up paint is compatible with selected 2013–2026 Honda vehicles, including Civic, Accord, CR-V, HR-V, Pilot, Passport, Odyssey, Insight, Clarity and Ridgeline models. Please double-check that your vehicle’s paint code is NH-830M before purchasing.
Seal and Protect Your Car Scratch Repair
A quality sealant is the difference between a repair that lasts six months and one that lasts three years. I’ve learned this the hard way, and now I never skip this step.
After repairing a scratch, I apply a protective wax or sealant to seal in the repair and add a durable shield against future damage. I choose a sealant with synthetic polymers or wax containing UV inhibitors to prevent sun fading and oxidation on the repaired area.
For deep or wide repairs, I use a clear coat sealant over the patched area to restore uniform depth and provide a harder, long-lasting protective layer. I buff with a clean microfiber cloth to achieve a uniform gloss, ensuring no residue remains.
I reapply protection every 3–6 months, or after washing, following the product’s recommended maintenance interval for maximum longevity.
Recommended Products

VSS ONE-STEP COMPOUND & POLISH (COM_129_16SW) – This Chemical Guys scratch remover combines cutting power and finishing polish in one formula to remove light to moderate scratches, swirls, oxidation, and holograms
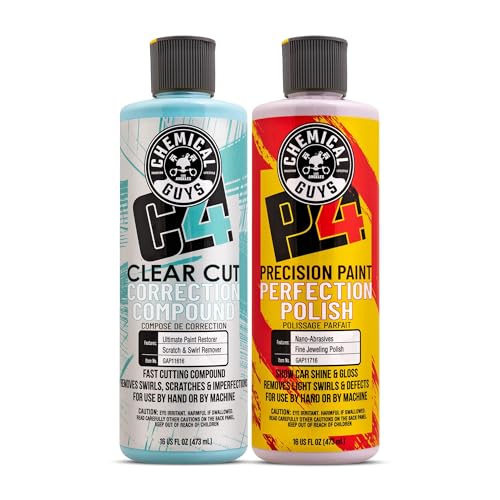
C4 & P4 PAINT CORRECTION COMBO (GAP40016) – Complete 2-step Chemical Guys polishing kit includes C4 Clear Cut Compound for removing defects and P4 Precision Polish for refining paint to a flawless high-gloss finish

C4 Compound (GAP11616SW) - This car scratch remover is made from a professional-grade correction compound that removes scratches, swirls, oxidation, and holograms; restores clarity and smoothness to automotive paint finishes.