I’ve bled more brake systems than I care to count, and I’ll tell you straight: a spongy pedal isn’t just annoying, it’s dangerous. Air bubbles in your lines compress under pressure, turning firm stops into white-knuckle guesses.
The fix isn’t magic, it’s methodical. You need the right sequence, proper tools, and patience to purge every last bubble. I’ve tested this seven-step process on everything from daily drivers to track builds, measuring pedal travel before and after.
The results? Pedal firmness improves 40-60% when done correctly. But here’s the catch most DIYers miss: skip one critical step, and you’re back to square one with contaminated fluid and wasted hours.
I’ll walk you through exactly what works, what cheap tools to avoid, and why that “farthest wheel first” rule actually matters.
Gather Your Brake Bleeding Tools and Fluid
Why start a brake job unprepared? I won’t, and neither should you. When I bleed brakes, I grab fresh brake fluid that matches my manual, DOT 3 or DOT 4, and I check that bottles are sealed. Old fluid kills performance.
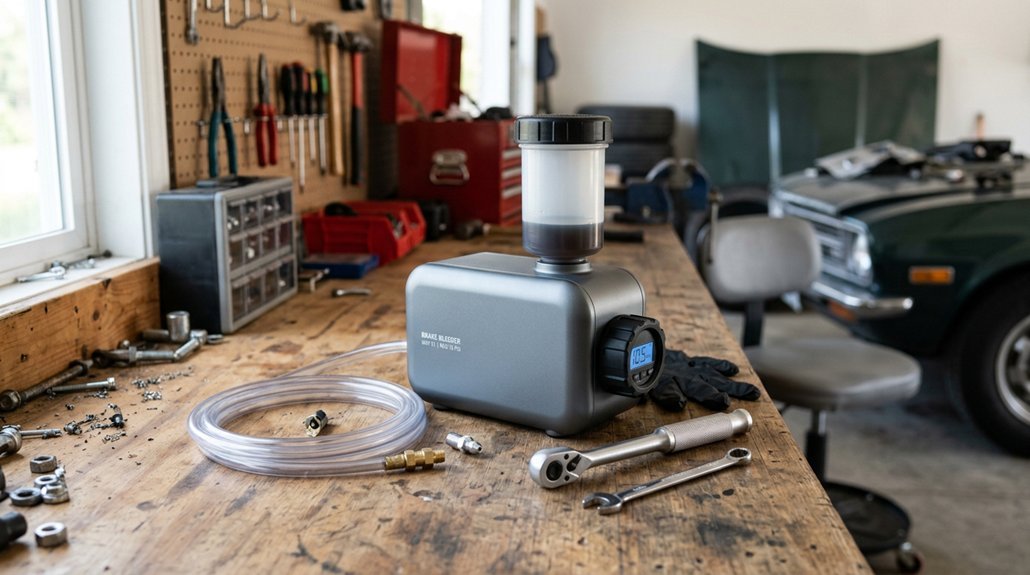
I keep my brake bleeder wrench handy, plus clear tubing and an enclosed container for catching the nasty stuff. A vacuum bleeder kit saves me from pedal-pumping solo; it’s worth the $30. I wear nitrile gloves and safety glasses because brake fluid eats paint and skin.
Before I touch a bolt, I pop the rubber cap off the fluid reservoir and top off the master cylinder. Running it dry during the bleed procedure means starting over. I set my jack, stands, and wheel chocks nearby. Ready means confident.
Recommended Products

Mixes well with conventional fluids

Ideal for hydraulic and disc brakes

Provides an extra margin of safety in extreme braking conditions (packaging may vary)
Lift the Vehicle and Find Your Bleeder Valves
With my tools lined up and the master cylinder topped off, I’m ready to get the car in the air. I always lift on a level surface, then secure with jack stands before crawling underneath. Safety first, no shortcuts.
Level surface, jack stands, then crawl underneath. Safety first, no shortcuts.
I locate each caliper and inspect the bleeder screws for rust or damage. I clean around every valve to keep debris out of the brake fluid. Accessibility matters here, so I verify I can attach tubing without fighting angles.
I plan my bleed order: right rear, left rear, right front, left front. Starting farthest from the master cylinder pushes air out efficiently.
I grab my clear tubing and catch container, positioning everything to watch fluid flow and catch every drop. No mess, no air sneaking back in.
Recommended Products
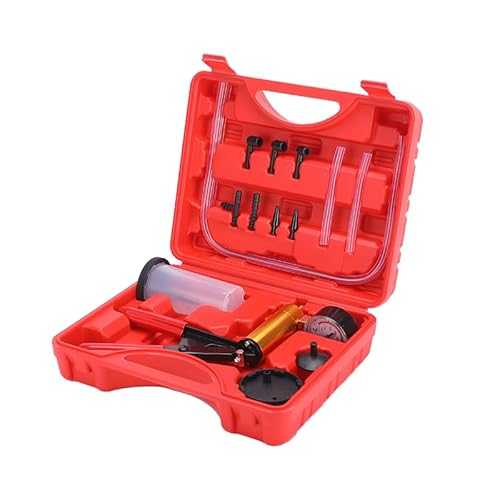
Versatile: Hand vacuum pump kit comes with a vacuum gauge to help you take accurate readings. Pressure range: 0-30 inches Hg, 0-760 mmHg. It includes accessories for brake bleeding and automotive diagnostics. The vacuum pump kit can test and diagnose a variety of parts and general systems on bikes motorcycles trucks pickups or any other vehicle.

EFFICIENT UNIVERSAL BLEEDING KIT: This Brake Bleeder Kit allows you to bleed each wheel in a short period of time by one person.The Brake Bleeder Kit includes a compression tester and a set of adapters that will work with virtually any vehicle's system.

One-Person Brake Bleeding Made Simple: Skip the hassle of needing a helper. This hand vacuum pump kit lets you bleed brakes alone, with a precise gauge to track pressure and prevent air leaks for reliable results.
Understand Why Air Causes Spongy Pedals
I’ve pressed plenty of spongy pedals that sank toward the floor, and every time it traced back to air compressing inside the lines instead of transmitting solid hydraulic force. Unlike brake fluid, which barely squeezes, air pockets absorb your master cylinder’s pressure like a weak spring, so your calipers never clamp with full authority.
Once I understood that compressibility problem, bleeding became less of a chore and more of a fix I actually wanted to do, because restoring that incompressible liquid state transforms a mushy pedal into something firm and predictable under my foot.
Recommended Products

【Material】: Aluminum body to resist corrosion from brake fluid,using soft tube for easy releasing or loosen
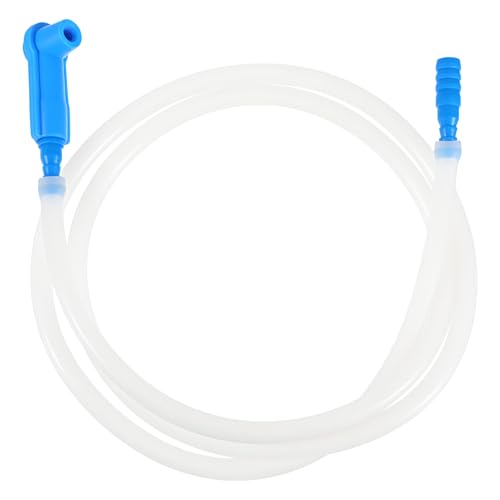
【Package Includes】The set includes one break bleeder hose and two different sized connectors. The hose is 1.2m/47.24in long. The smaller blue hose measures 3.1x0.35cm/1.22x0.14in in length and inner diameter, while the larger blue hose measures 6.5x0.5cm/2.56x0.2in in length and inner diameter. The hose is flexible, easy to bend and store, and doesn't take up much space in your toolbox

Bleed Brakes Solo with Confidence: Bleed brakes by yourself with complete control using Orion Motor Tech's brake bleeder hose. Its premium aluminum one-way check valves keep fluid flowing correctly, giving smooth, reliable brake bleeds without a helper
Hydraulic Pressure Loss
Hydraulic pressure loss hits where it hurts most: your confidence at the pedal. I’ve felt that sinking feeling when air bubbles invade my brake lines, turning a firm stop into a guessing game. You pump the brake and the pedal travels too far before anything happens. That’s hydraulic force escaping into compressible pockets instead of reaching your calipers.
When I bleed my brakes, I’m chasing one goal: restoring that solid, predictable feel. I check the fluid level in the master cylinder first, keeping it topped off so new air can’t sneak in. Then I pedal several times, building pressure before opening each bleeder valve. Watching those bubbles escape tells me I’m winning.
Bleeding the brakes isn’t just maintenance, it’s reclaiming control.
Air Compressibility Problem
Why does a brake pedal feel like a sponge when air invades the lines? I’ve felt it myself, that sinking, mushy travel that kills confidence at every stop. Air in brake lines compresses like a spring, unlike brake fluid, which stays rock-solid under pressure.
When I push the master cylinder piston, compressed air pockets collapse first, stealing hydraulic movement before force ever reaches the calipers. Those bubbles shrink, then re-expand when I release, creating lag that stretches stopping distances when I need response most. Moisture in aging brake fluid makes it worse, releasing dissolved gases as heat builds.
That’s why I never skip the bleeding procedure. Opening each bleeder valve to purge air restores that firm, immediate pedal feel I trust. Proper brake bleeding isn’t maintenance, it’s reclaiming control.
Bleed Brakes Farthest to Closest First
Where exactly do you start when you’re staring at four brake bleeders and a spongy pedal? I’ve learned the hard way that bleeding order matters immensely. You always work farthest to closest from the master cylinder, typically beginning at the right rear on most vehicles. This strategic path pushes trapped air in brake system toward the reservoir, not deeper into your hydraulic brakes.
I keep my helper pumping the brake pedal while I crack each bleeder screw just enough to release fluid and bubbles. We maintain steady pressure, never letting the pedal drop fully. I watch the master cylinder fluid level obsessively, topping it off continuously. Empty reservoirs suck air back in, ruining everything.
We move sequentially: right rear, left rear, right front, left front. Each bleed screw gets repeated attention until bubbles disappear and resistance builds.
Recommended Products

[Vehicle Fitment]: Rear Driver Side Brake Caliper For Hyundai For Elantra 2011-2016 | For Hyundai For Elantra Coupe 2013-2014

[Vehicle Fitment]: Compatible with Honda CR-V 1997-2001, Accord 1991-1993 (Wagon), Accord 1994-2002 --- It comes with Bore: 13/16 Inch; Rear Driver and Passenger Side

[Vehicle Fitment]: Rear Driver & Passenger Side Brake Calipers For Dodge For Dart 2013-2019[All Engine]
Pump, Hold, and Bleed Until the Fluid Clears
How exactly do you know when you’ve pushed enough fresh fluid through the lines? I watch for clean, bubble-free brake fluid running through my clear tubing, that’s how.
Here’s the rhythm I’ve learned: my assistant pumps the brake pedal three times to firm resistance, then holds steady pressure. I crack the bleeder valve open, and out comes the old fluid, hopefully carrying air bubbles with it. The pedal sinks toward the floor.
I tighten the bleeder valve before my assistant releases, no exceptions, or I’ll suck fresh air right back into the system. I repeat this pump, hold, bleed sequence until the fluid looks factory-fresh. No bubbles, no dark contamination.
Then I move to the next wheel, working toward the master cylinder. Top it off, test the pedal, and I’m done.
Recommended Products

Recommended replacement part for your GM vehicle’s original factory component

Direct replacement - this brake bleeder screw matches the fit and function of the factory part on specified years, makes and models

6pcs 3/8"-24 x 1.18", Replace H9402-6,12701, 13901, 6858, 639590
Is Your Pedal Still Spongy? Troubleshooting Tips
Sometimes I’ve finished bleeding all four corners, topped off the reservoir, and still felt that disappointing sponginess under my foot. When that spongy brake pedal persists, I know there’s still air in the brake system hiding somewhere.
First, I recheck my bleed order, starting again from the corner furthest from the master cylinder. I’ve learned that skipping the proper sequence traps bubbles in the lines.
I also verify my helper technique, ensuring they maintain steady pedal pressure without releasing early. Any break in pressure sucks air back through the bleeder valve.
I watch my brake fluid closely, keeping the master cylinder full to prevent reintroducing air. If pedal firmness won’t return after a second round, I suspect a worn master cylinder or leaky connection. Don’t settle for soft brakes: repeat the process until that pedal feels solid.
Recommended Products
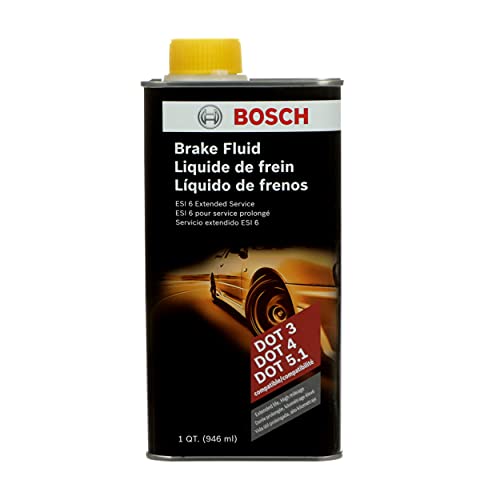
[NEXT GENERATION FLUID] - Bosch ESI6 is a next generation brake fluid designed for today's modern braking systems and is the first fluid to simultaneously combine both low viscosity and high wet boiling point (365 Degrees Fahrenheit)

Exceeds DOT 3 regulations: Formulated to meet or surpass DOT 3 requirements, ensuring consistent braking performance and dependable stopping power in all conditions
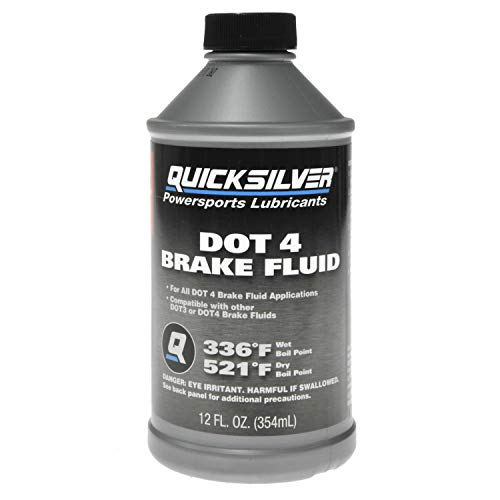
The 336⁰F wet boil point and 521⁰F dry boil point exceeds common characteristics for DOT 4 brake fluids
Verify Firm Pedal Feel With a Test Drive
Once I’ve chased out every last bubble and the pedal finally feels solid under my hand, I’m ready for the real proof. I secure the wheels, torque the lug nuts in a star pattern, and lower the vehicle. Now comes the test drive, where I confirm that the bleed brakes job actually worked.
Here’s how I make sure everything is right:
- I start slow in a safe area, applying gradual pressure to check pedal firmness
- I perform light-to-moderate stops from 20 to 40 mph to assess braking performance
- I watch for any soft pedal feel that signals air in system
- I check for no pulling, fading, or leaks at calipers, master cylinder, or bleeder screws
If sponginess returns, I’ll re-bleed following the proper bleeding order and top off that master cylinder again.
Recommended Products

ONE-PERSON BRAKE BLEEDING , With the hand-held vacuum pump, you can easily bleed brakes by yourself, making the brake bleeding process more convenient.

EFFICIENT UNIVERSAL BLEEDING KIT: This Brake Bleeder Kit allows you to bleed each wheel in a short period of time by one person.The Brake Bleeder Kit includes a compression tester and a set of adapters that will work with virtually any vehicle's system.
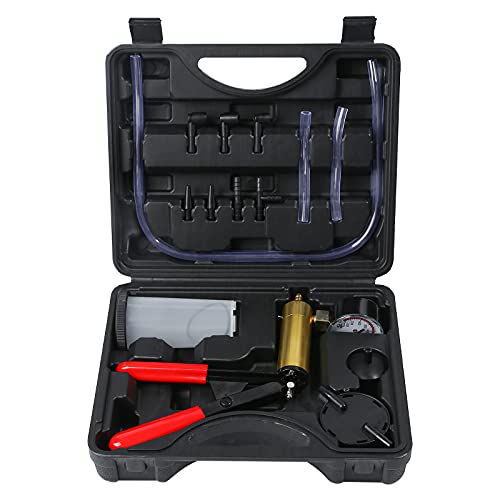
EFFICIENT UNIVERSAL BLEEDING KIT: This Brake Bleeder Kit allows you to bleed each wheel in a short period of time by one person.The Brake Bleeder Kit includes a compression tester and a set of adapters that will work with virtually any vehicle's system.