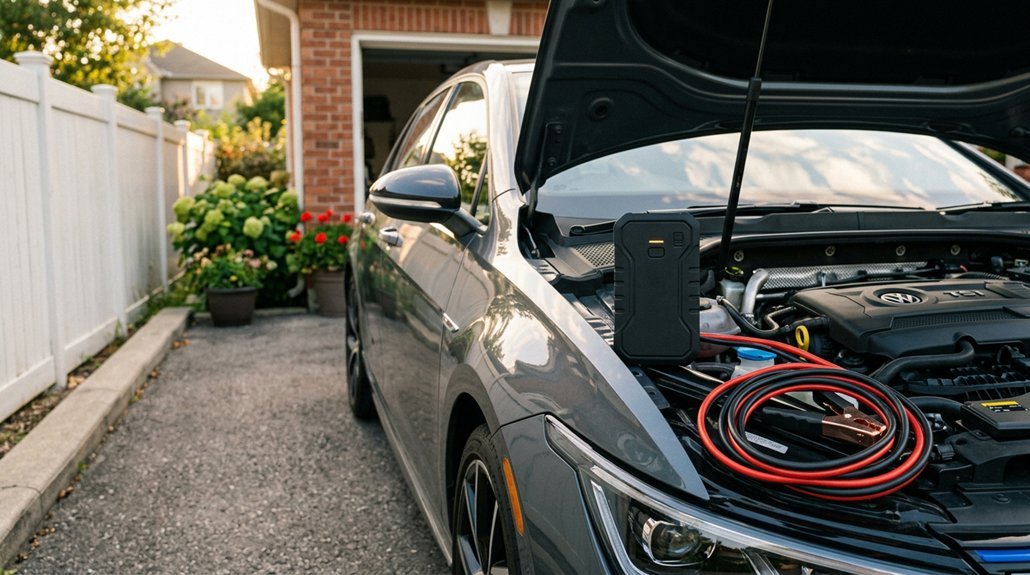
I’ve jump-started dozens of batteries over the years, and I’ve learned that preparation beats panic every time.
The right portable jump starter, one with at least 400 cold cranking amps, reverse polarity protection, and a built-in flashlight, can save you from flagging down strangers in a parking lot.
I’ll walk you through the three steps that actually matter, plus the one cable connection mistake that still catches experienced drivers off guard.
Check Your Manual and Match the Voltage
Before I grab any cables or call for help, I always crack open the glove box and flip through the owner’s manual, because that thin booklet holds the exact roadmap my specific vehicle needs. The manual reveals where my battery hides, what voltage it demands, and any special precautions I must follow.
Some vehicles, like EVs, hybrids, or diesel trucks, need non-standard voltage. The guidelines warn when 12 volts won’t cut it. I check compatibility before proceeding; mismatched voltage fries electronics fast.
My manual also recommends a portable jump starter as backup. These compact units free me from hunting for another vehicle. I follow every instruction precisely, because skipping steps turns a simple rescue into an expensive mistake. The manual keeps me prepared, confident, and ready to roll.
Recommended Products
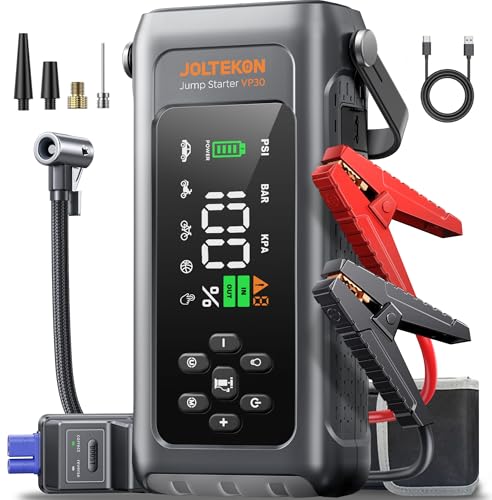
【8-IN-1 CAR BATTERY JUMP STARTER】This 12V Jump Box highlights highly integrated advanced functions but is more portable, transcending general battery booster. It's a portable car jump starter, tire pump, pressure gauge, portable power bank, flashlight, SOS signal, white strobe, red strobe as triangle warning light. Portable, versatile and must-have kit, your ultimate companion for emgencies, adventures and daily use!

【Powerful Battery Starter】The OXILAM car jump starter delivers a powerful peak current of 6000A, capable of quickly reviving a dead car battery in just seconds—even in extreme temperatures. A single full charge provides up to 60 jumpstarts. 2024 upgraded jumper cables can safely start all gas engines and 12L diesel engines, including 12v vehicles, motorcycles, pickups, RVs, tractors, trucks, vans, ATVs, snowmobiles, yachts, and many more. Say goodbye to being stranded due to a dead battery

POWERFUL CAR BATTERY JUMP STARTER: The ET03 car battery jump starter can easily jump-start all 12V common vehicles with up to 8.0L gas and 7.0L diesel engines in seconds with its peak current reaching 4000 amps. Supports 50 jump starts at most on a single charge and suitable for lawnmowers, motorcycles, passenger cars, trucks, and even boats, etc.
Connect the Jumper Cables in the Right Order
Why do so many jump-start attempts go sideways? I’ve seen it happen: crossed wires, sparks flying, fried electronics. The order matters more than you’d think.
Here’s the sequence that keeps us all in the driver’s seat:
I grab the red clamp first, connecting it to the dead battery’s positive terminal, then to the working vehicle’s positive terminal.
Next comes the black clamp to the good battery’s negative terminal. I ground the final black clamp to bare metal on the dead car, never the negative terminal itself.
When finished, I reverse this order completely: black off ground, black off good battery, red off good battery, red off dead battery.
This jumper cables routine takes 90 seconds but saves hours of headaches. Get the order wrong, and you’re not just stranded, you’re shopping for new electronics. We’ve all got somewhere to be.
Recommended Products
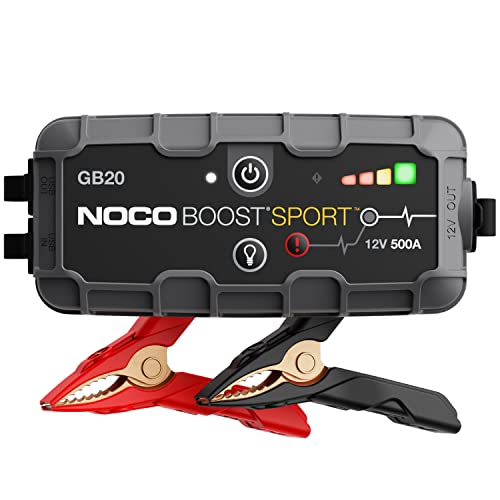
START DEAD BATTERIES — Instantly start dead batteries with 500 amps of peak lithium power. Up to 20 starts per charge on engines up to 4.0L gas.
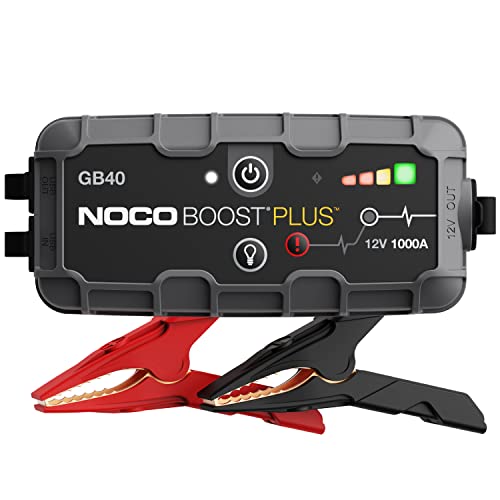
START DEAD BATTERIES — Instantly start dead batteries with 1000 amps of peak lithium power. Up to 20 starts per charge on engines up to 6.0L gas and 3.0L diesel.

【8000A Peak Power & Universal Compatibility】This high-performance car battery jump starter delivers 8000A peak current to revive dead 12V batteries in seconds. It's the reliable portable jump starter for car, truck, RV, and boat engines, making it an essential jump pack for any vehicle emergency.
Start the Good Car, Then Troubleshoot
With the cables locked in place, I’m ready to fire up the working vehicle and let it idle for two to three minutes. This gives the dead battery a solid charging boost before I attempt anything else.
I’ve got my jumper cables hooked correctly: red clamp to positive terminal, black to negative terminal on the good car, with the other black clamp grounded to metal on the dead vehicle. While the good car runs, I keep both parking brakes set and double-check my connections.
Now I try to start engine on the dead car. If it doesn’t catch, I wait a minute, then try again. I’m avoiding excessive cranking that could strain the working alternator.
Once it fires up, I let it run 15 to 20 minutes, monitoring for overheating. Then I remove cables in reverse order: black from dead car, black from good car, red from dead car, red from good car.
Recommended Products

Battery jumper cable designed to serve as a jump starter replacement cable clamp set ,Compatible with most car 12V jump portable starters, and mobile chargers to jump-start a dead or weak car battery.
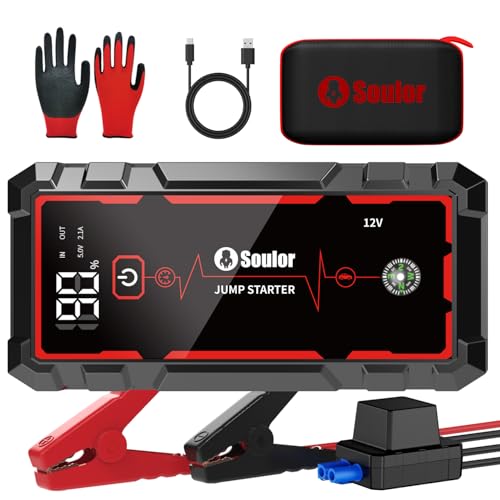
Dead Battery Jump Starting:It can jump-start 12V vehicles (cars, motorcycles, etc.) up to 40 times on a single full charge. Operates stably in extreme temperatures from -4°F to 140°F, ensuring consistent performance when you need it most. The built-in Forced Start function enables successful ignition even when the car battery is severely depleted, keeping you prepared for any roadside emergency.

Self-Reliant Jump-Start: The jump starter allows you to jump-start your vehicle with a weak or dead battery in emergencies without relying on another vehicle or a stranger. Designed as a third-party adapter, the car battery charger is not officially authorized but is fully compatible with supported battery models(Battery Not Included)