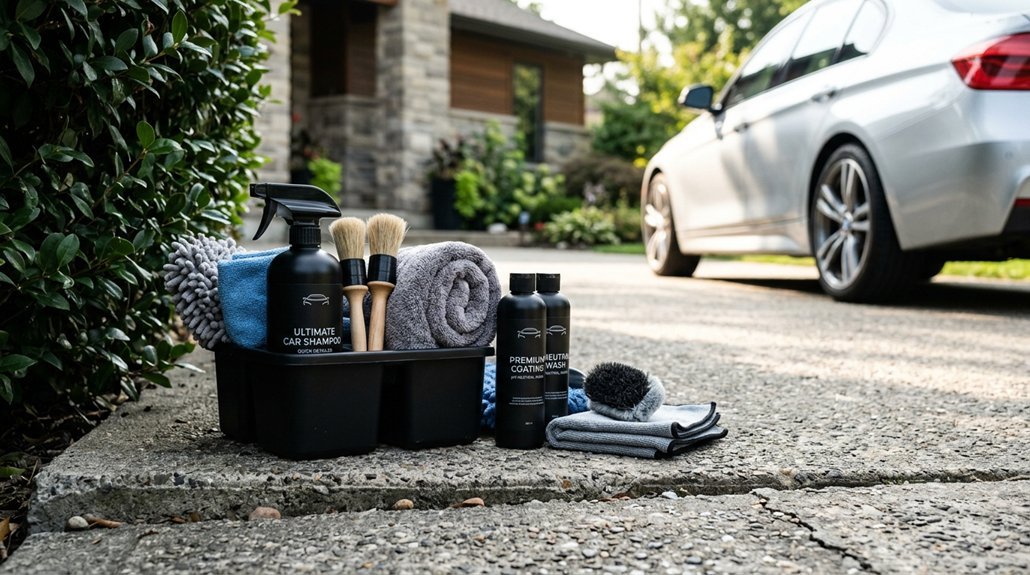
I still remember the first time I ran my hand across a freshly detailed hood, feeling glass-smooth paint where swirl marks had been. Car detailing isn’t a fancy wash, it’s a multi-step restoration process that removes bonded contaminants, corrects paint defects through machine polishing, and locks in protection with wax, sealant, or ceramic coatings that last months, not days.
The interior gets equal attention: steam cleaning, extraction, and conditioning of every surface. You’re looking at 4-8 hours for a quality job, sometimes longer for correction work.
What’s the real difference between a $150 detail and a $600 one? That depends on what your paint actually needs, and most drivers don’t know until it’s too late.
What Is Car Detailing: and How Long Does It Take?
Why settle for a drive-through wash when you can get results that actually last? I define car detailing as a thorough, technical process that cleans, restores, and protects all vehicle surfaces, inside and out. It addresses contaminants, wear, and defects that a standard wash simply misses.
The timeframe varies with your service level and vehicle condition. A basic exterior detail typically takes 2 to 4 hours. Advanced paint correction or ceramic coating demands longer. I’ve watched larger SUVs and neglected vehicles stretch these windows significantly.
Multiple detailing packages let you match services to your budget and goals, from standard cleans to full restoration. Time and outcomes shift with what you select. Understanding this upfront helps you plan realistically and choose a provider who respects both your schedule and your standards.
Recommended Products

Advanced Clay Towel Decontamination Technology: Uses rubber polymer technology to safely remove bonded contaminants from paint, glass, and metal surfaces faster than traditional clay bars

Car Clay Bar - The package include 4 pack (100gX4pcs) individual car clean clay bars. It's made of premium clay material by repeated refining, so it can make the car paint surface more shiny and soft, no scratch for car paint surface.

Removes Embedded Surface Contaminants: Safely lifts paint overspray, industrial fallout, brake dust, tree sap, acid rain and bonded debris
Exterior Car Detailing: From Pre-Wash to Final Protection
How do I get paint that looks wet without being anywhere near water? I start with exterior detailing, and I’m taking you through my process from pre-wash to final protection.
I always begin with a pre-wash to loosen contaminants, then grab two buckets and a pH-balanced shampoo, working top-to-bottom to avoid scratching. Decontamination comes next: clay or a synthetic mitt pulls bonded grime away, leaving glass-smooth paint. Polishing corrects swirls and minor defects, restoring clarity and prepping for protection.
Here’s where I choose my armor:
- Wax for warm, deep gloss and easy reapplication
- Sealant for months of durability and solid hydrophobic action
- Ceramic coating for years of hardcore defense and insane water beading
- Tire dressing for that fresh-from-the-lot contrast
- Trim restoration to eliminate faded, chalky plastic
Protection isn’t optional in my book. I finish with exterior glass, dressed rubber, and restored trim. The result? Showroom presence that lasts.
Recommended Products
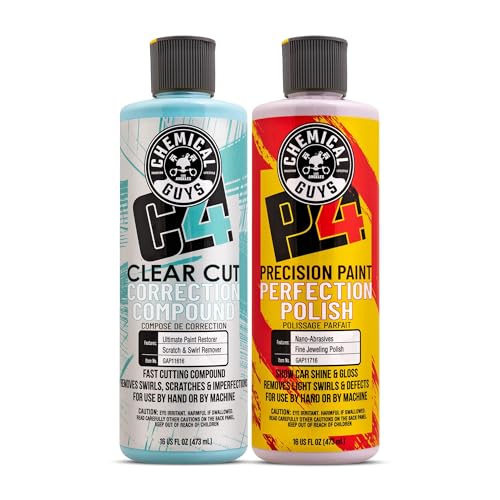
C4 & P4 PAINT CORRECTION COMBO (GAP40016) – Complete 2-step Chemical Guys polishing kit includes C4 Clear Cut Compound for removing defects and P4 Precision Polish for refining paint to a flawless high-gloss finish

ALL-IN-ONE POLISHING KIT (BUF503X) – Favored by detailers and DIYers, this complete 9-piece kit includes the TORQX Chemical Guys polisher, pads, polishes, and compounds to restore gloss and remove imperfections on any vehicle
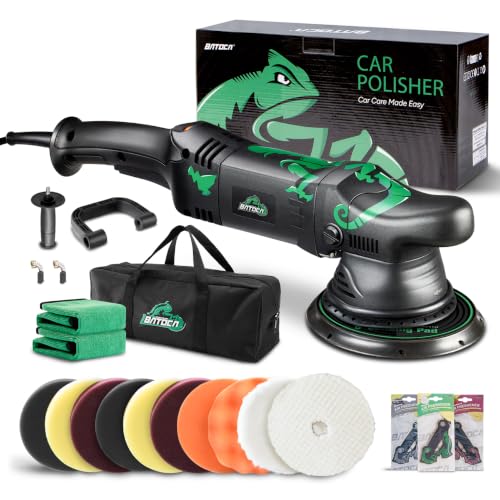
Long-life Motor & Constant Power Supply: Pure copper wire with high quality motor, durable and strong power. Built-in carbon brush structure safety, long service life, will not encounter the orbital buffer or polishing machine doesn't work half the work. Perfect for polishing and removing swirls, scratches, and defects from all painted vehicles, make your car look brand new everyday.
Interior Car Detailing: Deep Cleaning Every Surface
I start every interior detail with aggressive vacuuming that pulls debris from under seats, behind pedals, and inside those narrow console gaps most people miss. From there, I’ll hit each surface with cleaners matched to the material, whether that’s pH-balanced solutions for leather, enzyme treatments for fabric stains, or plastic-safe protectants for the dash and trim.
This two-stage approach, thorough extraction followed by targeted treatment, is what separates a quick wipe-down from a proper restoration that actually lasts.
Recommended Products
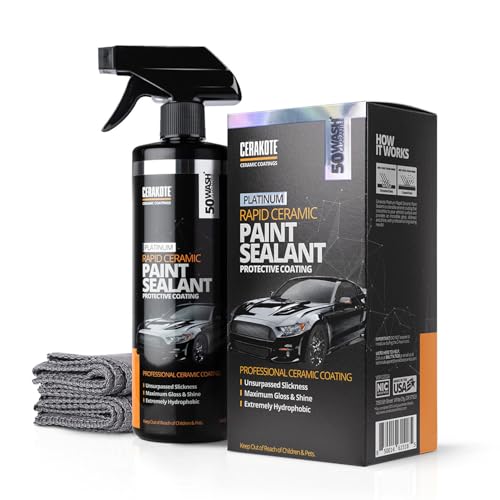
CERAMIC COATING FOR CARS: Delivers an extremely glossy, mirror-like finish on clean paint. Use as a standalone paint sealant or as a quick ceramic topper that deepens color and adds slickness. Not a one-step miracle coating and not a paint corrector

LONG-LASTING PROTECTION: Ceramic wax polymers form a durable shield for your paint, protecting against UV rays, dirt and road contamintants, keeping your car cleaner for longer in between washes

LONG-LASTING PROTECTION: Ceramic wax polymers form a durable shield for your paint, protecting against UV rays, dirt and road contamintants, keeping your car cleaner for longer in between washes
Vacuuming and Prep
Where exactly does a proper interior detail begin? It starts with the prep phase of interior detailing: a methodical vacuuming that reaches under seats, into crevices, and behind floor mats. You’ll want to pull those mats entirely and clean them separately, because hidden debris undermines everything that follows.
Here’s what separates amateur efforts from professional results:
- Deep crevice tools for tight spaces between seats and consoles
- Separate cleaning protocols for rubber, carpet, and all-weather mats
- Materials-specific cleaners for dash, console, and trim surfaces
- Leather conditioning and targeted fabric stain removal
- Ammonia-free, streak-free glass products with UV protection
This isn’t busy work. I establish a clean base through proper prep, ensuring subsequent decontamination and protection steps actually perform. Skip this foundation, and you’re polishing over dirt.
Surface-Specific Cleaning
Once the vacuuming’s done and mats are pulled, I’m ready to tackle what actually makes an interior feel new again: surface-specific cleaning. Interior detailing isn’t about one cleaner for everything. It’s about matching the product to the material.
I hit high-touch zones first: dash, console, and trim get dedicated cleaners that cut through oils and grime without leaving residue. For upholstery, I switch approaches entirely. Leather gets conditioning to restore suppleness and color, while fabric needs targeted stain removal that lifts without saturating. Glass demands ammonia-free, streak-free formulas for clarity and UV protection.
This methodical approach restores original appearance and hygiene. It prevents premature wear, eliminates odors at their source, and protects your investment long-term. Surface-specific cleaning transforms interiors from tired to genuinely refreshed.
Washing Methods Compared: Traditional, Waterless, and Rinseless
I’ve tested all three washing methods side by side, and each fills a specific niche based on your water access, soil level, and time. Traditional hose washing gives the deepest clean with a two-bucket setup and full rinse, but it uses a lot of water and demands space.
Waterless washing cuts consumption to nearly zero using spray encapsulation and microfiber wipes, though I’d limit it to light dust to avoid grinding grit into the paint. Rinseless washing strikes a practical middle ground, diluting detergent in about 5 gallons for a mitt-and-dry approach that skips the hose yet handles moderate dirt better than waterless.
Your choice depends on apartment parking, drought restrictions, or sheer convenience, not just marketing hype.
Recommended Products
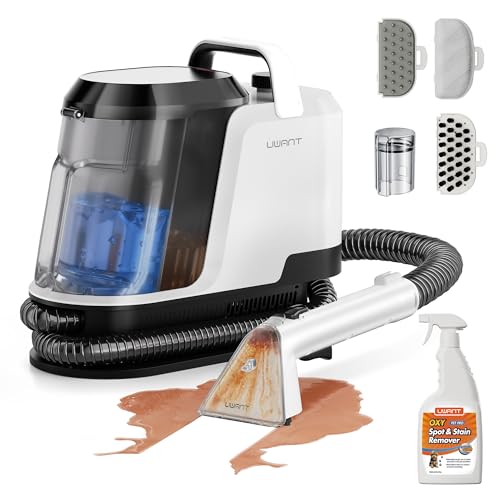
Upgrade 18Kpa Powerful Suction:The 18Kpa spot cleaner can make residual stains invisible, leaving no dirt in any dead corner. Improve cleaning efficiency by 50% compared with 15Kpa, which can make carpet dry faster without bad smell.

EVERY PURCHASE SAVES PETS. BISSELL proudly supports BISSELL Pet Foundation and its mission to help save homeless pets.
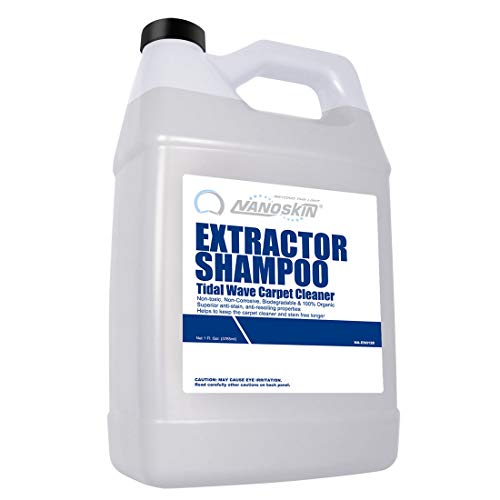
✅ SAFER CHOICE CLEANING POWER: Nanoskin Extractor Shampoo is a non-toxic, non-corrosive, biodegradable & 100% organic low foaming carpet cleaner Scented with natural citrus essential oil, this product meets U.S. EPA DfE Product Criteria for a certified safer cleaning choice.
Traditional Hose Washing
Most car owners I’ve worked with still reach for the garden hose first, and there’s solid reasoning behind that instinct. Traditional hose washing remains the gold standard for surface dirt removal among washing methods, especially when you’re dealing with heavily soiled vehicles that need serious cleaning before any real detailing begins.
I use the two-bucket method myself: one for soapy water, one for rinsing. This setup minimizes recontamination and keeps your wash mitt cleaner as you work. The running water lifts and carries away grime through manual scrubbing, though you’ve got to stay mindful about technique. Drag contaminants across the paint, and you’ll introduce micro-scratches.
Here’s what I’ve learned from years of hands-on testing:
- Requires 10-15 gallons per wash, so plan your water access accordingly
- Two-bucket setup adds equipment but dramatically reduces scratch risk
- Best performance on muddy, salt-covered, or heavily contaminated vehicles
- Water spots form fast if you don’t dry immediately with proper technique
- Dedicated washing area prevents runoff issues and keeps neighbors happy
You’ll need hoses, buckets, quality mitts, and space to work. The trade-off is worth it for vehicles that waterless or rinseless methods simply can’t handle safely.
Waterless Wash Method
Switch to a waterless wash when you’re dealing with tight spaces, apartment living, or winter restrictions that shut down your hose access. I’ve used this method countless times when my driveway was frozen solid, and it works well when you understand its limits.
Waterless washing relies on a formulated product packed with surfactants and lubricating agents. You spray it on, let it dwell briefly, then wipe with a quality microfiber cloth. The chemistry encapsulates dirt, lifting it away while reducing friction that causes scratches. It’s practical, quick, and skips the rinsing phase entirely.
However, I won’t sugarcoat the trade-offs. This technique works best on lightly soiled vehicles. Heavy mud or abrasive contamination? You’re risking micro-scratches. Many professional detailing services reserve waterless washing for maintenance cleans between deeper treatments. Know your conditions, and this method earns its place in your arsenal.
Rinseless Wash Technique
A rinseless wash strikes the balance between the thoroughness of a traditional bucket wash and the convenience of going waterless. I’ve found this detailing technique works when I mix a few ounces of specialized solution into several liters of water, then dip my wash mitt and apply it directly. No hose, no runoff, no problem.
Rinseless washing keeps lubrication between the cloth and paint, reducing friction that causes micro-scratches. I use it in my garage during winter months when hoses freeze solid. It handles light to moderate dirt beautifully, though caked mud pushes its limits.
- Eliminates need for running water, perfect for apartments or cold climates
- Maintains lubricating film that protects clear coat during wiping
- Requires only buckets, solution, and quality microfiber towels
- Demands frequent solution changes to prevent contamination buildup
- Provides faster workflow than traditional two-bucket methods
For lightly soiled daily drivers, this method saves time without sacrificing safety.
Choose Your Protection: Wax, Sealant, or Ceramic Coating
How do I keep that freshly polished shine from fading after a weekend wash? I layer on protection that fits my lifestyle and budget.
Wax remains my go-to for accessible, warm gloss. I apply it twice yearly, working in thin coats that cure to a soft barrier against contaminants and oxidation. It’s forgiving, affordable, and rewards patience with depth you can feel.
Wax rewards patience: thin coats, twice yearly, delivers that deep, warm gloss you can actually feel.
When I want longevity without constant reapplication, I reach for sealants or ceramic coating. These synthetic options bond harder, repel water aggressively, and shrug off UV and chemical exposure for years, not months. Ceramic coating demands careful prep and higher upfront cost, but provides measurable hydrophobic performance, 2-4 year durability, and wash routines that take half the time.
My recommendation: start with quality wax to learn proper technique, then upgrade to ceramic coating once you’re committed to paint correction and long-term care. Match protection to your maintenance tolerance and driving conditions, not hype.
Recommended Products
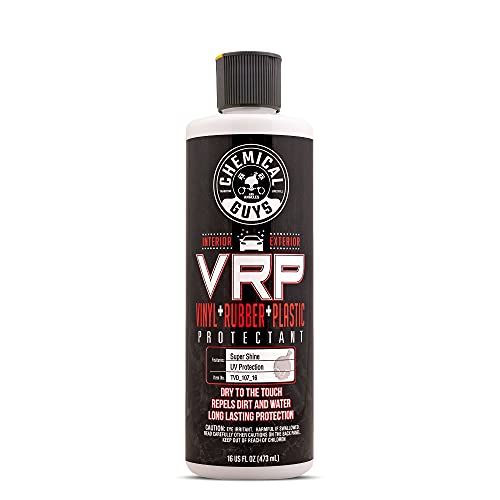
VRP VINYL, RUBBER & PLASTIC DRESSING (TVD_107_16) – Professional-grade tire dressing restores a rich, deep appearance to tires, trim, bumpers, dashboards, and more without leaving a greasy feel; also a vinyl, rubber, and car plastic restorerf
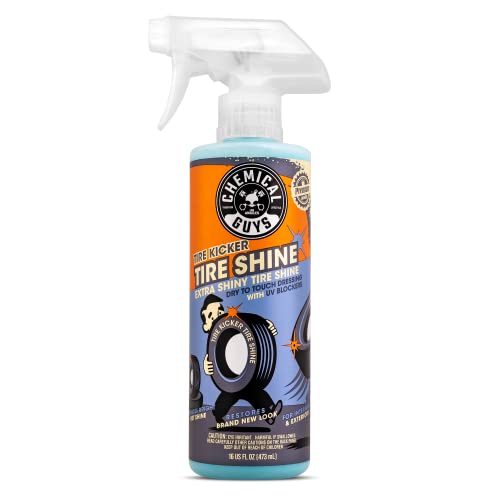
TIRE KICKER TIRE SHINE (TVD11316) – Sprayable tire dressing restores a deep, wet look to rubber, vinyl, and plastic surfaces while helping to protect against fading, cracking, and discoloration from the elements

Complete Kit (HOL503) - Includes 16 oz bottle of VRP Protectant and two WonderWave applicators, providing everything you need to restore and protect vinyl, rubber, and plastic surfaces with ease.
What Results to Expect From Professional Detailing
Where do I draw the line between a good weekend wash and what a pro actually provides? For me, it comes down to transformation versus maintenance. Professional detailing doesn’t just clean, it restores.
Here’s what I look for when I’m judging results:
- Paint correction that removes swirl marks and restores clarity, not just shine
- Interior and exterior protection that lasts months, not weeks
- Deep decontamination: iron, tar, and resin completely gone
- Hydrophobic coatings that bead water at 40+ mph
- Cabin surfaces that feel, look, and smell factory-fresh
I’ve learned that time equals quality. A thorough job takes 4-8 hours, paint correction adds more. My advice? Match your expectations to your budget, but don’t settle for less than measurable improvement you can see and feel.
Recommended Products
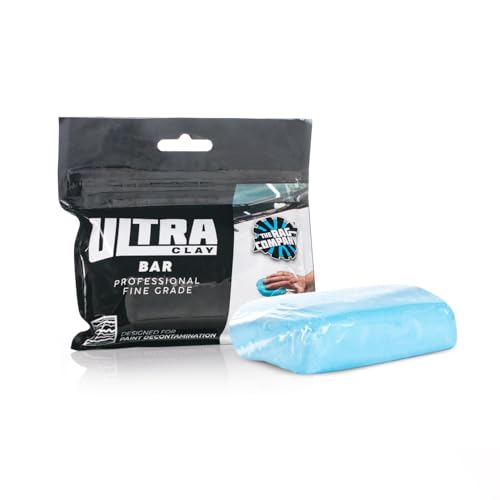
PROFESSIONAL-GRADE DECONTAMINATION: Safely and effectively removes stubborn environmental contaminants like rail dust, brake dust, and industrial fallout that are lodged in your vehicle’s clear coat, leaving a smooth, clean surface ready for polishing or waxing.
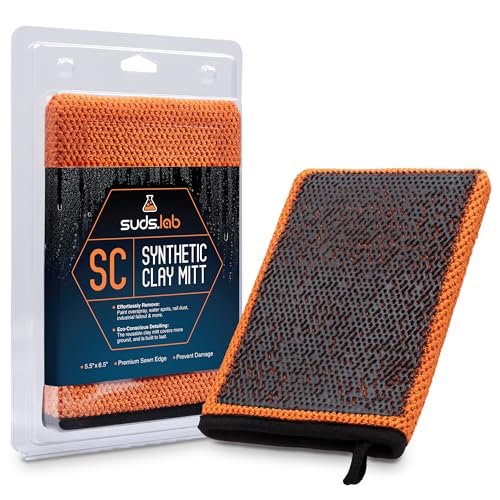
Comprehensive Cleaning: With Suds Lab Car Clay Mitt for Auto Detailing, you can remove paint overspray, water spots, tree sap, rail dust & other contaminants from automotive paint, glass, moldings & plastic—leaving a scratch-free finish every time.

✅ REMOVES ENVIRONMENTAL DEPOSITS WITH MINIMAL DAMAGE! – The Adam’s Clay Mitt allows any person who is detailing their vehicle the option to clay the entire car in a fraction of the time. A Traditional clay bar typically takes 2 hours but with this newly designed mitt, claying your vehicle becomes a lot easier. This clay mitt is made with medium grade clay material (Moya and Microfiber) that is slightly more aggressive than our Visco Clay Bar.