The harmonious balance of spices and herbs creates a memorable dining experience that will have everyone asking for your secret.
This Pork Tenderloin Rub Recipe brings together the flavors of smoky paprika, aromatic garlic, and a hint of sweetness from brown sugar.
Whether you’re preparing a casual family dinner or hosting a special celebration, this recipe delivers impressive results with straightforward preparation.
I discovered this recipe during my travels through the southern United States, where local chefs have perfected it through generations of careful refinement.
With a few simple ingredients and minimal effort, you’ll achieve a tender and flavorful pork dish that will impress your guests.
The History and Cultural Significance
• Pork Tenderloin Rub traces its origins to the southern United States, where it was originally created by pitmasters perfecting the art of barbecue.
• The dish evolved over decades as new spices and techniques were introduced, eventually becoming the beloved version we know today.
• In southern culture, this dish traditionally appears at family gatherings and summer barbecues, symbolizing community and hospitality.
• While many variations exist across different regions, the authentic version maintains a smoky and sweet flavor profile that sets it apart from imitations.
Recipe Overview
Nutritional Information (per serving)
Essential Equipment Guide
Meat Thermometer: Ensures the pork reaches the perfect internal temperature for safe consumption while retaining juiciness. Alternatives include an instant-read thermometer, but ensure it accurately measures within a range suitable for meats.
Cast Iron Skillet: Provides even heat distribution and a perfect sear on the pork. Alternatives are non-stick pans, but they may not achieve the same crust.
Mixing Bowls: Essential for combining spices evenly to ensure each piece of pork is coated. Opt for stainless steel or glass for easy cleaning.
Ingredients
For the Rub
|
|
| Amount | Ingredient | Notes |
|---|---|---|
| 2 tablespoons | paprika | adds smoky flavor |
| 1 tablespoon | brown sugar | adds sweetness |
| 1 teaspoon | garlic powder | adds depth |
| 1 teaspoon | onion powder | enhances umami |
| 1 teaspoon | salt | enhances overall flavor |
| 1/2 teaspoon | black pepper | adds mild heat |
Preparation Methods
Dry Rub Technique: This involves coating the meat with a blend of spices, which helps to develop a flavorful crust as it cooks. The key is to ensure the rub is evenly distributed and massaged into the meat.
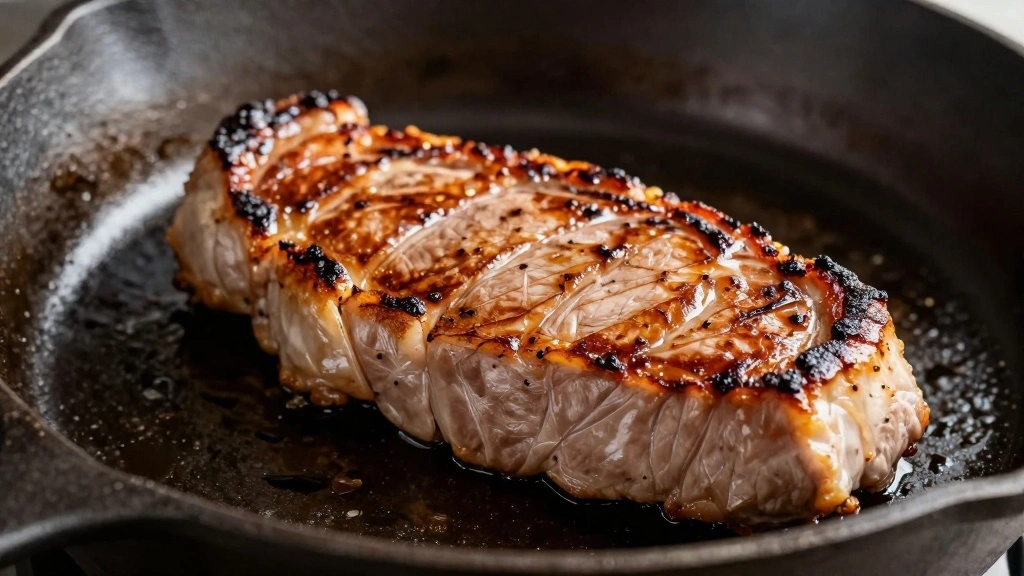
Searing: A method of cooking that involves browning the meat's surface in a hot pan to enhance flavor and texture. Use a preheated cast iron skillet for the best results, and avoid overcrowding the pan.
Resting: Allowing the meat to sit after cooking so juices redistribute throughout the pork. This step is crucial for maintaining moistness and should not be skipped.
Step 1: Prepare the Rub

Combine paprika, brown sugar, garlic powder, onion powder, salt, and black pepper in a mixing bowl.
Mix the ingredients thoroughly to ensure an even distribution of flavors.
Check for any clumps and break them up with a spoon.
Store the rub in an airtight container if not using immediately.
Step 2: Coat the Pork Tenderloin

Pat the pork tenderloin dry with paper towels to remove excess moisture.
Generously apply the rub mixture on all sides of the tenderloin.
Use your hands to massage the spices into the meat for even coverage.
Ensure the pork is completely coated with the rub.
Step 3: Preheat the Skillet

Place a cast iron skillet on the stove over medium-high heat.
Allow the skillet to heat for 3-5 minutes until it is very hot.
Test the heat by sprinkling a few drops of water; they should sizzle and evaporate immediately.
Adjust the heat if necessary to avoid burning the rub.
Step 4: Sear the Pork
Add a tablespoon of oil to the hot skillet and swirl to coat the bottom.
Place the seasoned pork tenderloin in the skillet.
Sear each side for about 2 minutes until a brown crust forms.
Rotate the tenderloin to ensure even searing on all sides.
Step 5: Finish Cooking in the Oven

Preheat the oven to 375°F (190°C).
Transfer the skillet with the pork to the preheated oven.
Bake for 10-12 minutes until the internal temperature reaches 145°F (63°C).
Use a meat thermometer to check the temperature in the thickest part of the pork.
Step 6: Rest the Pork

Remove the skillet from the oven and transfer the pork to a cutting board.
Cover the pork loosely with aluminum foil.
Let it rest for 5-10 minutes to allow the juices to redistribute.
Do not cut the pork immediately to avoid losing moisture.
Step 7: Slice the Pork

Uncover the pork tenderloin and use a sharp knife to slice it.
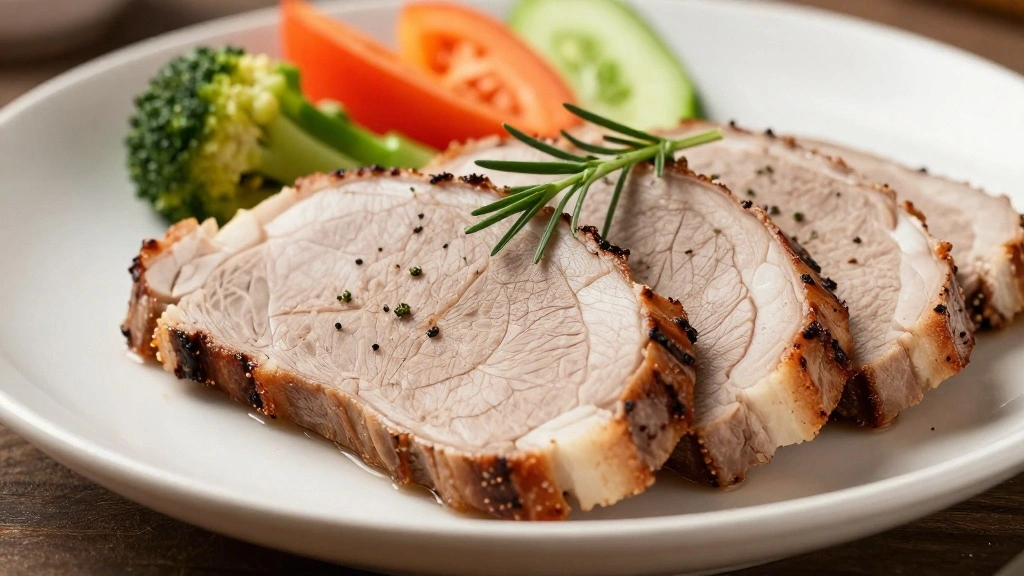
Cut the pork into 1/2-inch thick slices.
Arrange the slices on a serving platter.
Ensure even thickness for consistent cooking and presentation.
Step 8: Serve and Enjoy
Transfer the sliced pork to a serving dish.
Garnish with fresh parsley or thyme for added color.
Serve with your choice of sides like roasted vegetables or mashed potatoes.
Enjoy the flavorful and juicy pork tenderloin with family and friends.
Critical Timing and Temperature Guide
Searing: Sear the pork for 2 minutes on each side at medium-high heat. Look for a deep brown crust as an indicator of proper searing. Avoid overcrowding the pan to prevent steaming.
Oven Cooking: Bake at 375°F (190°C) for 10-12 minutes until the internal temperature is 145°F (63°C). Use a meat thermometer for accuracy and avoid overcooking.
Resting: Let the pork rest for 5-10 minutes after cooking. Visualize juices pooling if cut too early, which indicates insufficient resting time.
Pro Tips for Pork Tenderloin Rub
• Ingredient Selection: Choose high-quality paprika and fresh garlic powder for the most vibrant flavors. These spices are key to the rub's signature taste.
• Preparation Secret: Apply the rub at least 30 minutes before cooking to allow flavors to penetrate the meat.
• Temperature Management: Ensure the skillet is hot before searing to avoid sticking and to develop a proper crust.
• Texture Enhancement: Rest the meat after cooking to maintain juicy and tender slices.
• Flavor Layering: Combine sweet and smoky elements in the rub for a complex flavor profile that complements the pork.
• Make-Ahead Strategies: Prepare the rub in advance and store it in an airtight container for up to 3 months.
• Restaurant-Quality Finishing Touches: Garnish with fresh herbs and a drizzle of olive oil for an elegant presentation.
• Equipment Optimization: Pre-season your cast iron skillet to enhance non-stick properties and flavor development.
Troubleshooting Common Issues
• Texture Too Tough: Overcooking is the primary cause. Ensure you monitor the internal temperature closely and remove the pork from the oven as soon as it reaches 145°F (63°C).
• Flavors Unbalanced: Check spice ratios in the rub. Increase brown sugar for more sweetness or paprika for smokiness if needed.
• Burnt Crust: Indicates too high heat during searing. Reduce the heat slightly and monitor the searing process closely.
• Dry Pork: Usually from insufficient resting time or overcooking. Allow the pork to rest and ensure it is not overcooked.
• Uneven Cooking: Caused by uneven pork thickness. Ensure the tenderloin is evenly thick or pound to even out before cooking.
Variations and Regional Differences
• Memphis Style: This version includes a tomato-based sauce added during baking, resulting in a tangy and sweet flavor profile.
• Caribbean Jerk: Features bold spices like allspice and Scotch bonnet peppers for a spicy kick, often grilled instead of baked.
• Korean BBQ: Utilizes soy sauce, sesame oil, and ginger in the rub, and is typically served with kimchi and rice.
• Mexican Adobo: Incorporates chipotle and cumin in the rub, providing a smoky and slightly spicy taste, served with tortillas.
Food Science Behind the Recipe
• Maillard Reaction: This chemical reaction between amino acids and reducing sugars gives the pork its brown crust and complex flavors during searing.
• Brining Effect: Salt in the rub helps retain moisture in the pork by breaking down proteins and allowing water to be absorbed.
• Flavor Infusion: Dry rubs penetrate the meat surface, infusing flavors as they dissolve and interact with meat proteins.
Frequently Asked Questions
What's the most common mistake people make when preparing Pork Tenderloin Rub? Overcooking the pork is the most common mistake, leading to dry and tough meat. Always use a meat thermometer to ensure proper cooking.
Can I use a different cut of pork? Yes, pork loin or even pork chops can be used, but cooking times will vary. Adjust accordingly based on thickness and size.
How can I add more spice to the rub? Increase the amount of black pepper or add cayenne pepper for more heat without altering other flavors significantly.
Is it necessary to let the rub sit on the pork before cooking? Yes, allowing the rub to sit for at least 30 minutes enhances flavor penetration and improves the final taste.
Can I grill the pork instead of baking? Absolutely, grilling adds a smoky flavor and is a popular alternative. Just ensure the internal temperature reaches 145°F (63°C).
What sides pair well with this dish? Roasted vegetables, mashed potatoes, or a fresh salad are excellent accompaniments to balance the flavors.
How do I store leftovers? Store in an airtight container in the refrigerator for up to 3 days. Reheat gently to avoid drying out.
Serving and Presentation Guide
• Traditional Presentation: Arrange slices on a platter, garnished with fresh herbs, and serve family-style.
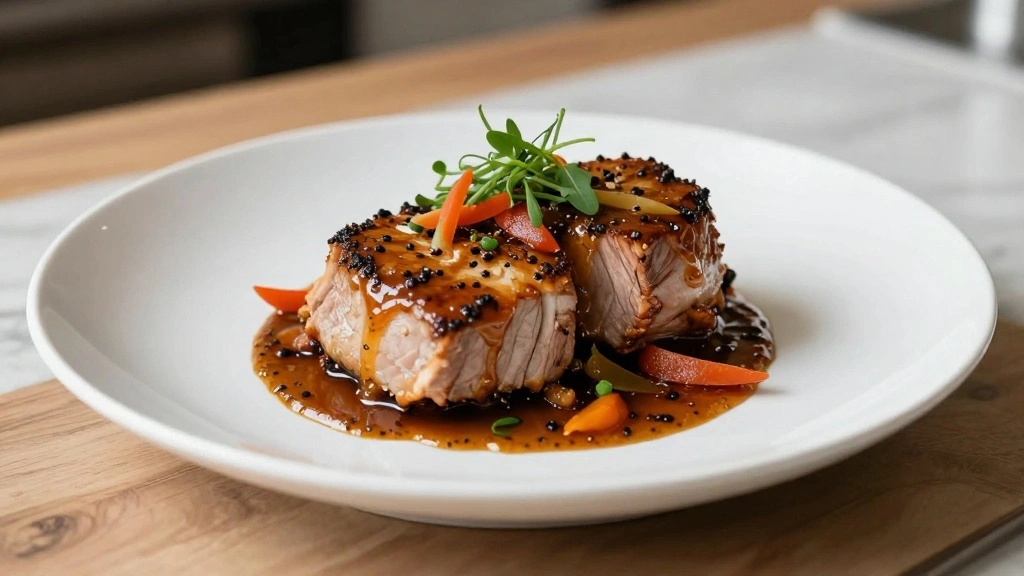
• Modern Plating: Stack slices vertically and drizzle with a reduction sauce for a restaurant-style presentation.
• Casual Serving: Serve slices with a side of coleslaw and crusty bread for a relaxed meal.
• Themed Presentation: Present with sides that match regional variations, like kimchi for Korean style or tortillas for Mexican style.
Conclusion
This Pork Tenderloin Rub Recipe is a delightful way to bring bold flavors to your dinner table.
Its simplicity and quick preparation make it an ideal choice for both weeknight meals and special occasions.
Give it a try and watch your guests savor every bite.
With the tips and techniques shared, you're sure to achieve perfect results every time.