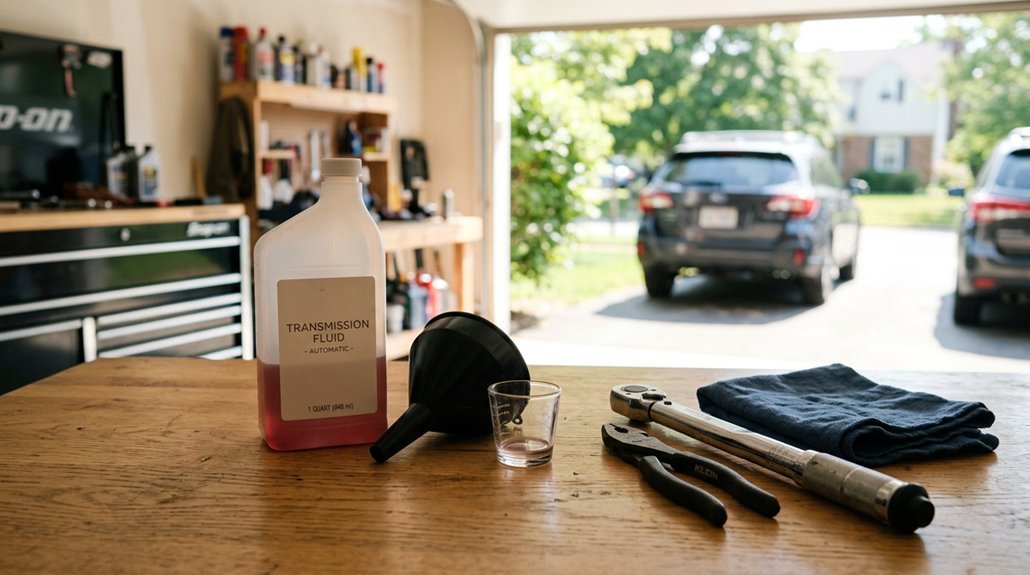
Last Tuesday, my neighbor’s 2015 Honda Accord started jerking at stoplights because he’d ignored his transmission fluid for 80,000 miles. I’ve learned that checking and changing this fluid isn’t rocket science, but it does demand precision: the wrong viscosity or overfilling by even half a quart can toast your transmission.
You’ll need basic hand tools, a torque wrench, and the specific fluid your manufacturer demands, not generic substitutes. The real test comes after the refill, when you cycle through gears and verify hot levels. I’ll walk you through ten steps that balance thoroughness with speed, because nobody wants their car stranded over a preventable $40 maintenance job.
How Often to Change Transmission Fluid
How often should you really change your transmission fluid? I’ve learned it depends on what you’re driving. Automatic transmissions typically need fresh transmission fluid every 60,000 to 100,000 miles. Manuals are thirstier, demanding changes every 30,000 to 60,000 miles.
Don’t just mark your calendar and forget it. I always peek at my fluid first. Good stuff runs clear or pink. When it turns deep red or brown, it’s time to act, no matter the mileage.
Your owner’s manual is your bible here. Every make and model carries its own quirks. I tow occasionally and crawl through brutal stop-and-go traffic, so I check more frequently. Severe conditions punish your transmission harder than gentle highway cruising. Stay ahead of it, and you’ll avoid expensive headaches down the road.
Recommended Products

Note About Funnel Size - Please look at the 2ND picture before ordering. Will this funnel size work for your application? Be aware, it will not hold an entire quart of fluid, and is better suited for small/medium volume fluid changes. For most small to medium sized vehicles, this kit will be adequate for adding up to 5 quarts. If you plan to use this for larger applications (5+ quarts), it may take a bit longer to add all that fluid.

Allows color matching of caps for dedicated adapters.

【Upgraded Funnels For Automotive Use】 Compared with other automotive funnel sets, the KJE funnel set is additionally equipped with 9 gas can spout replacements.
Warning Signs Your Transmission Fluid Is Bad
Why wait for a breakdown to discover your transmission fluid has turned against you? I’ve learned to spot trouble before it strands me.
Don’t wait for a breakdown—spot transmission trouble before it strands you.
First, I check the color. Clean fluid runs clear or pink, but when I see deep red or brown, I know contamination has set in. That’s my first transmission fluid contention with neglect.
Then I use my nose. A burning smell near the transmission tells me the fluid’s degrading or overheating. I don’t ignore that.
Performance clues matter too. When my transmission slips, whines, or grinds, or the engine revs high before engaging gears, the fluid’s failing me. Trouble shifting into reverse seals my suspicion.
Finally, if my engine runs hot alongside these symptoms, I know circulation’s compromised. I act fast, because waiting costs far more than prevention.
Recommended Products
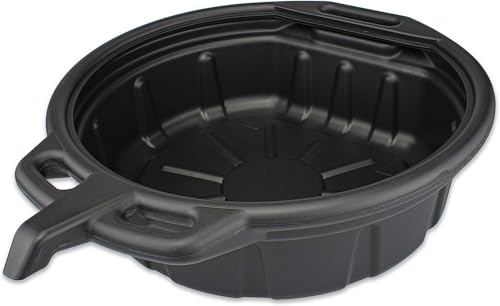
[QUALITY]: Oil drip tray is constructed of high quality, recyclable polythene plastic that is resistant to corrosion so your oil pan will remain durable for carrying oil, gasoline, and antifreeze.

Reusable Rectangle Oil Pan: This plastic oil drain pan is crafted with extra-thick material, ensuring high durability and long-lasting performance. It can withstand the of oil and resist impacts during automotive repair and maintenance tasks, the risk of cracks or leaks. Whether you are a mechanic or a DIY car enthusiast, this robust construction makes it a reliable choice for your workshop

Low‑clearance access: easily slide under ATVs, tractors, lawn mowers and motorcycles thanks to the low‑profile design under 5 inches, ideal for tight automotive spaces
Tools You Need for a Transmission Fluid Change
Once I’ve confirmed my transmission fluid needs changing, I gather my gear. I grab my car jack, jack stands, drain pan, wrench set, gloves, and goggles. These basics keep me safe and efficient.
I check whether my vehicle has a drain plug or requires removing the transmission pan bolts, usually six to eight of them. This determines my approach. I also verify the exact transmission fluid specification in my owner’s manual or on the dipstick label before starting. Wrong fluid damages transmissions.
For refilling, I use a funnel into the transmission port, matching my manual’s capacity precisely. Finally, I plan my used transmission fluid disposal at a recycling center or auto parts store. Proper tools and preparation make this job straightforward, clean, and worth doing right.
Recommended Products

EASY TO READ :Clear marks on the metal tip promise easy-to-read oil levels.
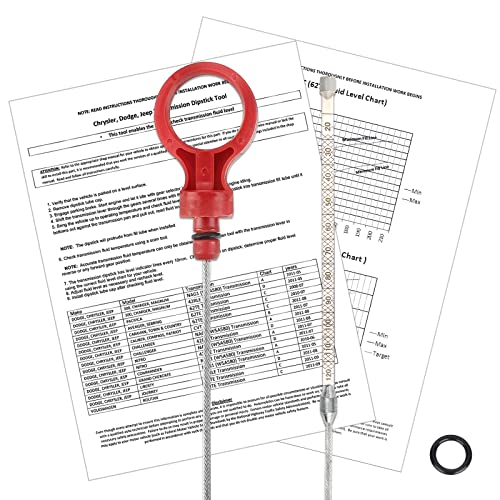
*Now, 3mirrors New Dipsticks are upgraded design that adds grids between the scales, making the fluid stick to the dipstick easily. More Clear marks for better, easier, and more accurate reading. It definitely outperforms any other similar product! The package comes with detailed manual instructions, No worries. You can also download the PDF from Technical Specification.

📣【Dip Stick Compatibility】 This automatic transmission dipstick is 21.65" length and 0.2" width, replacement OEM#31086-JA00A, 31086-JA000. And compatible with Nissan 2008-2020 Quest, 2008-2020 Altima, 2006-2022 Maxima, 2006-2022 Murano, 2015-2021 Rogue. Please confirm the OEM and car model before purchase so that you can get this convenient inspection tool.
Warm the Engine and Position Your Vehicle Safely
I start by running the engine for three to five minutes, just long enough to bring the transmission fluid up to its normal operating temperature of roughly 175°F to 195°F, which gives me an accurate level reading and lets the fluid flow freely during draining.
I then park on level ground, engaging the parking brake fully, because even a slight incline throws off my dipstick measurements and creates a rollover risk if I’m sliding underneath. When I need extra clearance, I position my hydraulic jack at the manufacturer-specified lift points, typically marked by notched rails or reinforced pinch welds, and I never trust the jack alone, always lowering the vehicle onto rated jack stands with a 3-ton capacity minimum before I start wrenching.
Recommended Products
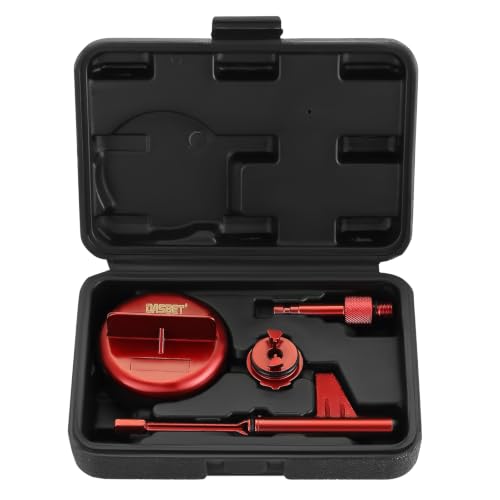
Complete Transmission Service Kit: Includes everything needed for effortless transmission fluid replacement — 8mm oil pan spanner, fluid drain tool, M12 x 1.5 ATF fill adapter, and a specialized 9G-Tronic ATF fill adapter. Comes neatly packed in a durable carrying case for organized storage and easy portability.

【Speedy Evacuator】EWK pneumatic ATF oil Extractor/Dispenser kit provides high speed extraction and an efficient way to change transmission fluids. Used on a wide range of automobiles. The pump is designed with dual control mechanism, simply trunning the valve to switch between extracting and dispensing. Allows to prevent reverse flow.

Run Engine Briefly
How do you get your transmission fluid reading right? I start by firing up the engine and letting it run for three to five minutes. This warms the fluid to operating temperature, usually around 175°F to 200°F, giving me an accurate level reading. Cold fluid contracts and sits lower on the dipstick, so I’d get a false low reading if I skipped this step.
Unlike engine oil, which I check cold, transmission fluid needs heat to expand and circulate properly. I keep the engine running during the actual check, with the transmission in Park for automatics or Neutral for manuals. I also throw on gloves and safety goggles before I get close to any moving parts.
Once warmed up, I’m ready to pop the hood and locate that red or orange dipstick.
Level Ground Parking
Where’s the best place to check transmission fluid? I always start with level ground parking. Warm pavement, your driveway, or any flat spot works if it’s truly level. Sloped surfaces throw off your readings completely.
Here’s my pre-check routine:
- Park on level ground and fire up the engine
- Let it idle a few minutes to circulate the fluid
- Turn it off and engage that parking brake
- Add wheel chocks for backup security
- Double-check that level ground parking spot before proceeding
I never skip this step. Two minutes of patience saves you from overfilling or underfilling your transmission, which leads to costly damage. Warm oil expands, so circulating it first gives you the true operating level.
Position matters more than most people realize. Once you’re locked in level and secure, you’re ready to access the dipstick and see what you’re actually working with.
Secure Jack Points
Why risk a crushed transmission or worse when a few smart moves keep you safe underneath? I always park on level ground, engage the parking brake, and warm the engine to operating temperature so the transmission fluid expands for an accurate reading. Then I grab wheel chocks for both sides.
I place my jack on a designated lift point, never guessing where the frame sits. Once raised, I immediately fit jack stands or drive onto ramps. The jack alone won’t hold me; that’s a gamble I won’t take.
With the vehicle secure, I locate the transmission pan and drain plug from below. I wear gloves and goggles, kill the engine, and remove the key before touching any parts. Safety first, always.
Check the Dipstick: Color, Level, and Smell
When I’m under the hood, the dipstick tells me everything I need to know about transmission health in about thirty seconds. I pull it out, wipe it clean, reinsert fully, then check again for an accurate reading.
Here’s what I look for every time:
- Color: Pink or clear means healthy transmission fluid; deep red or brown signals it’s dirty
- Level: I check with the engine warm and in Park or Neutral, per my manual
- Smell: A burning odor warns me the fluid’s overheating or degrading
- Consistency: I note if it’s gritty or contains metal particles
- Fill point: If it’s low, I add manufacturer-specified transmission fluid until full, then recheck after a brief run
This quick inspection saves me from costly repairs and keeps my transmission running smooth.
Recommended Products
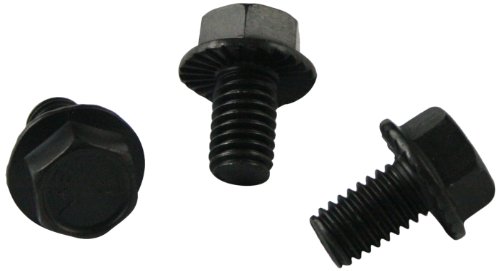
Part number: 38765

Complete set of (14) Grade 8 hardened black zinc plated flange bolts for the oil pan on Torqueflite automatic transmissions including: A727, A904, A999, 30RH, 32RH, 42RE, 44RE, 46RH, 46RE. Replaces Mopar 6036630AA, 6023355 and 4723548.

Transmission pan bolts for use with stock steel transmission pans Compatible with 4L60, 4L60E, 200R4, 700R4, 4L80E and AOD applications Not intended for use with Moroso fabricated aluminum pans M8 x 1.25 x 16mm, Grade 8.8 bolts Clear zinc finish for corrosion resistance 17 pieces
Drain the Old Fluid: Plug vs. Pan Removal
I start by crawling under the car to locate the drain plug on the transmission, which sits near the bottom of the housing. If I find one, I’ll crack it loose with a 3/8-inch ratchet to let the fluid flow into my drain pan.
When there’s no plug, I’m removing the pan itself, which means dealing with six to eight 10mm bolts and keeping the pan dead level so I don’t dump ATF all over my garage floor. Either way, I’m watching what comes out, since dark fluid with metal shavings or chunks means I’m calling a pro before I go any further.
Recommended Products
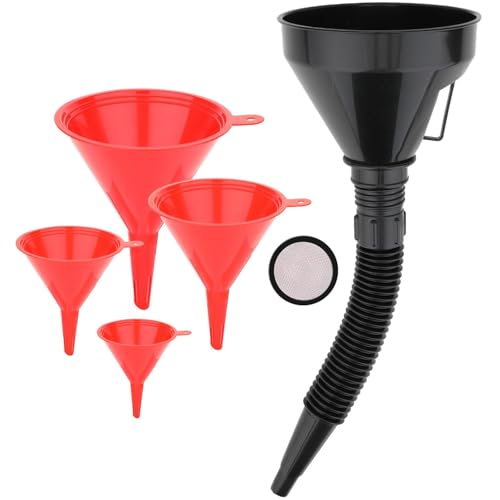
COMPLETE SET: Includes 5 different sized funnels and 1 flexible extension neck for hard-to-reach areas, plus a filter screen for straining contaminants
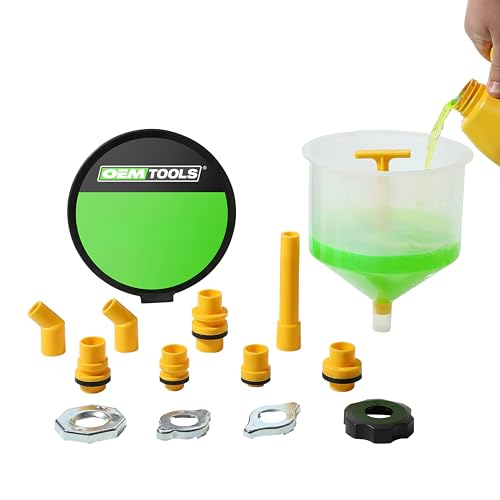
Prevents Spills: The no spill coolant funnel kit prevents spills and eliminates air bubbles during radiator refills, making it perfect for a clean, hassle-free coolant flush job.

INNOVATIVE DESIGN - The shielded tube structure of this oval plastic funnel set prevents any dust or debris from getting in, while the wide neck allows fluid to be poured at any angle.
Locating the Drain Plug
Where exactly should you look when it’s time to get that old transmission fluid out? I’ll show you how to spot that drain plug quickly.
Most drain plugs sit right at the bottom of the transmission pan, that flat metal pan bolted underneath your vehicle. You’ll need an 8–14 mm hex or Torx wrench depending on your model. I’ve found these plugs save serious time compared to full pan removal.
Here’s what to check before you start:
- Grab the correct wrench size, typically 8–14 mm hex or Torx
- Position your drain pan directly underneath
- Ensure your vehicle sits level on solid ground
- Warm up the fluid slightly for faster draining, but watch those hot surfaces
- Remember, some transmissions skip the plug entirely
Not every vehicle has one. If you’re staring at a smooth pan with no plug, you’ll need the bolt removal route instead.
Removing Transmission Pan
Two paths await you at this stage, and I’ve tested both enough times to know which I’d pick. If your transmission has a drain plug, that’s your fast lane: loosen it, let the fluid flow, and you’re halfway home. No drain plug means you’re committed to pan removal, which I consider the thorough route.
Removing the pan demands patience. Position your drain pan wide, keep rags stacked nearby, and expect a messy cascade when that seal breaks. I remove all six to eight bolts in a crisscross pattern, preventing warp that ruins the seal.
The pan drops, revealing what the drain plug hides: fluid pooled with debris that tells stories about your transmission’s health. Clean the pan completely, inspect your gasket, and reinstall snug, never over-tightened.
Inspecting Drained Fluid
How does that pool of old transmission fluid measure up against expectations? I always take a hard look at what comes out because it tells me exactly what my transmission’s been through.
Here’s what I’m hunting for in that drained fluid:
- Metal shavings, which signal internal wear that needs attention
- Dark, burnt smell or color indicating overheating damage
- Large debris chunks that demand a mechanic’s eyes immediately
- Cloudy or milky appearance suggesting coolant contamination
- Excessive sludge buildup from neglected maintenance intervals
When I pull the pan instead of using a drain plug, those 6–8 bolts give me bonus access. I inspect the filter for cracks or leaks, and I’m already planning its replacement.
I lubricate the new filter’s O-ring with fresh fluid before reinstalling, and I double-check that pan gasket for integrity.
Check Old Transmission Fluid for Metal Shavings
Why risk a $3,000 rebuild when a two-minute inspection could save your transmission? I’m looking at the fluid I’ve collected, and I’m checking carefully for metal shavings. These tiny metallic particles tell me exactly what’s happening inside my gearbox.
I know healthy transmission fluid should look clear pinkish or red when new. When I see dark brown or black color with metallic flecks, that’s contamination and serious wear talking. Small metal shavings on my dipstick or in my drain pan mean I stop right here. I’m pausing all fluid work and calling a professional.
Those shavings usually travel with a burning smell or slipping gears, a warning combo I never ignore. I’m documenting how much metal contamination I found, its color, and texture, so my mechanic has solid intel for diagnosis. This step protects my investment and keeps my ride shifting smooth.
Recommended Products

CAPACITY: 10-quart oil drain pan with angled neck design for efficient fluid collection and easy pouring

FLUID CATCH AND DRAIN - Collects up to 6.5 quarts (about 1.6 gallons) of used motor oil, coolant, or other shop fluids during routine maintenance and oil changes.

Heavy-duty plastic lift drain funnels extend the catch area of any lift drain.
Replace the Filter and Torque the Pan Bolts
Where exactly does my transmission filter hide, and how do I swap it without creating a leak? You’ll find it tucked inside the transmission fluid system, right behind the pan. Once I drop that pan, I inspect the old filter for cracks or clogs. If it’s damaged, I swap it out immediately.
Your transmission filter hides behind the pan—drop it carefully, inspect for damage, and swap immediately if you spot cracks or clogs.
Here’s what I always do:
- Pop out the old filter gently, watching for stuck debris
- Lubricate the new O-ring with fresh fluid for a tight seal
- Seat the new filter firmly until it clicks into place
- Align the pan evenly so every bolt catches properly
- Torque to spec, usually 10-15 lb-ft, in a star pattern
I never guess on torque. Uneven pressure warps the pan and guarantees a leak. Proper torque means the transmission fluid system stays contained, protecting your investment.
Recommended Products

【Vehicle Fitment】The Dipstick is compatible with Nissan Altima 2007-2023, Rogue 2013-2023, Maxima Murano 2006-2023 2.5L
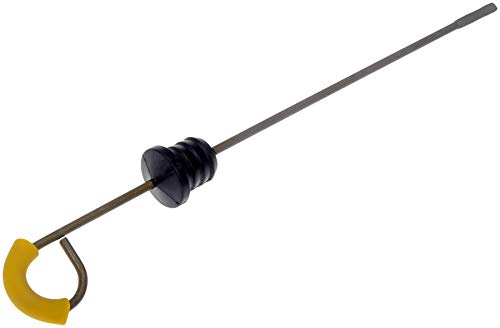
Direct replacement - this automatic transmission dipstick is designed to match the fit and function of the original dipstick on specified vehicles

【EASY TO USE: HOT and COLD】 markings let you check your fluid level easily without the need for remembering numbers and measurements.
Refill to the Correct Level, Then Run the Engine
With the pan torqued down and the new filter seated tight, I’m ready to pour in the fresh fluid. I add about six quarts to start, then fire up the engine and let it idle for three to five minutes. This circulates the new fluid through the transmission, filling the torque converter and cooler lines.
With the engine still running, I pull the dipstick, wipe it clean, and reinsert it fully to check the fluid level. The mark needs to sit between the hot and cold lines. If it’s low, I add half-quart increments, then recheck until I hit the sweet spot.
I keep an eye on the pan, drain plug, and cooler hoses for any seepage. Once the level holds steady and everything stays dry, I’m confident the job’s done right.
Recommended Products

【Upgraded 27 PCS Automatic Transmission Fill Tool】Our transmission fill adapter kit for gearbox/ transmission oil pump dispenser, different outlet angles and thread sizes can match the transmission exhaust pipe, suitable for different ATF systems, making the filling work more convenient, easy to install and without any leakage.

Kit includes: This kit contains four premium drain plugs and four dedicated L-shaped wrenches, providing immediate replacement and future spare protection for Honda 9-speed transmission system

For 5R55W Auto ---- For 5R55W automobile : The oil filling adapter is replaced with a necessary tool for 5R55W automatic oiling or filling. You need to use the Trans Fill Adapter Tool to fill or add fluid to the 5R55W automatic . It can well replace the old or damaged fluid filling adapter and install it directly
Final Check: Test Drive and Inspect for Leaks
How do I know the job’s really finished? I take the car for a short test drive, feeling for smooth shifting and listening for any new whining or grinding noises. Afterward, I check underneath for fresh, light-colored oil droplets that signal a leak.
Here’s my post-service checklist:
smooth gear changes, no fluid spots, recheck levels after cool-down, watch for overheating, and inspect for leaks if needed.
- Confirm smooth gear changes and quiet operation during the drive
- Scan the ground beneath the car for telltale fluid spots
- Re-check the transmission fluid level after cool-down, topping off if needed
- Monitor transmission temperature for overheating signs
- Inspect the pan gasket, drain plug, and filter if leaks appear
I torque everything to spec, knowing proper sealing prevents comebacks. This final verification protects my investment and keeps me rolling with confidence.
Recommended Products

【Compatible with】-- Chevrolet / GM TH350 TH400 Powerglide,Chevrolet TH350 TH400 Powerglide; Replacement for GM TH350 TH400 Powerglide; Replacement for Ford AOD FMX C4 C5 C6; Replacement for Chrysler Torqueflite 727 & 904.

Our hex head bolt set measures M6-1.0 x 17mm long. 10mm hex with 18mm washer, Grade 9.8 Black Phosphate.

【OEM Replacement Fit】:2307304 torque converter bolt is designed for GM vehicles with 4L60E, 4L65E, 4L80E and 700R4 automatic transmissions.OEM part number 2307304 for direct replacement. This wide compatibility makes them suitable for various automotive repair and maintenance tasks