
Wondering how to measure a lug pattern for your vehicle’s wheels? Getting this measurement right is crucial when you’re shopping for new wheels or rims – the wrong pattern means wasted money and frustrating returns.
Lug patterns (also called bolt patterns) are exact to your vehicle and consist of two key numbers: the number of lug holes and the diameter of the circle they form. Whether you’re upgrading your wheels, replacing a damaged rim, or simply want to understand your vehicle better, knowing how to accurately measure this pattern will save you time and prevent costly mistakes. Let’s jump into the simple methods you can use to find your exact lug pattern with tools you likely already have at home.
Understanding Wheel Lug Patterns
Wheel lug patterns are exact configurations that determine which wheels fit your vehicle. These patterns vary across different vehicle makes and models, requiring precise measurement for proper wheel fitment.
What Is a Lug Pattern?
A lug pattern (also called bolt pattern or pitch circle diameter) refers to the arrangement of wheel studs or bolt holes on your vehicle’s wheel hub. It’s expressed using two numbers – the first indicates how many lug holes the wheel has, and the second represents the diameter of the circle formed by these lugs. For example, a 5×114.3 pattern means there are 5 lug holes arranged in a circle with a 114.3mm diameter. Common patterns include 4×100, 5×114.3, 6×139.7, and 8×170, though dozens of variations exist across different vehicle manufacturers. The pattern dictates which wheels can physically mount to your vehicle’s hub assembly.
Why Lug Pattern Measurement Matters
Accurate lug pattern measurement prevents costly purchasing mistakes when buying new wheels. Many customers come into our shop frustrated after ordering wheels online that don’t fit their vehicles, as Liam Kohn often points out from his years in the automotive industry. Incorrect fitment leads to returns, restocking fees, and shipping delays that postpone your wheel upgrade project. Beyond the financial impact, installing wheels with the wrong bolt pattern creates dangerous driving conditions – improper mounting can cause wheels to detach while driving. Even a small measurement error of just 5mm can make the difference between a wheel that fits perfectly and one that’s completely incompatible. Taking precise measurements helps you communicate effectively with wheel retailers and ensures compatibility with your exact vehicle.
Tools Needed for Measuring Lug Patterns
Accurate measurement of your vehicle’s lug pattern requires exact tools to ensure precision. Having the right equipment makes the process straightforward and helps avoid costly mistakes when purchasing new wheels.
Required Measuring Tools
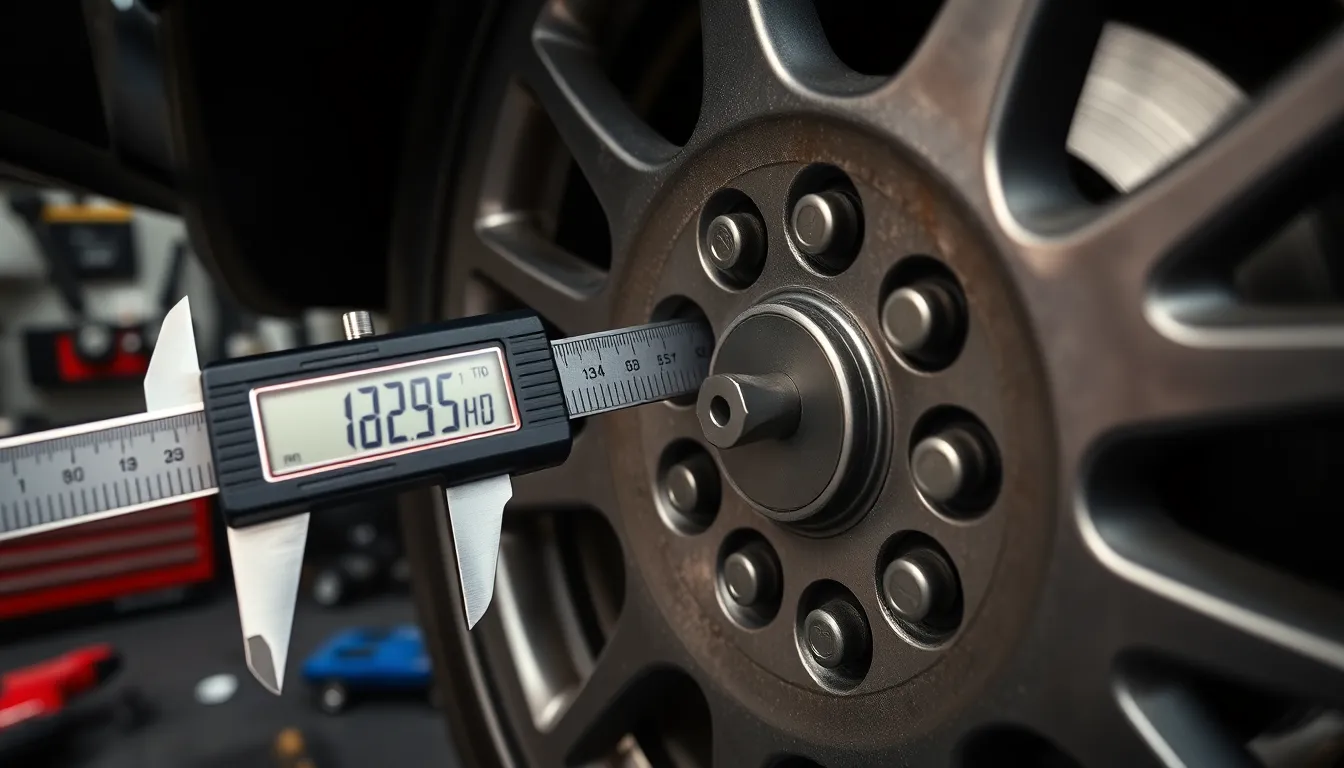
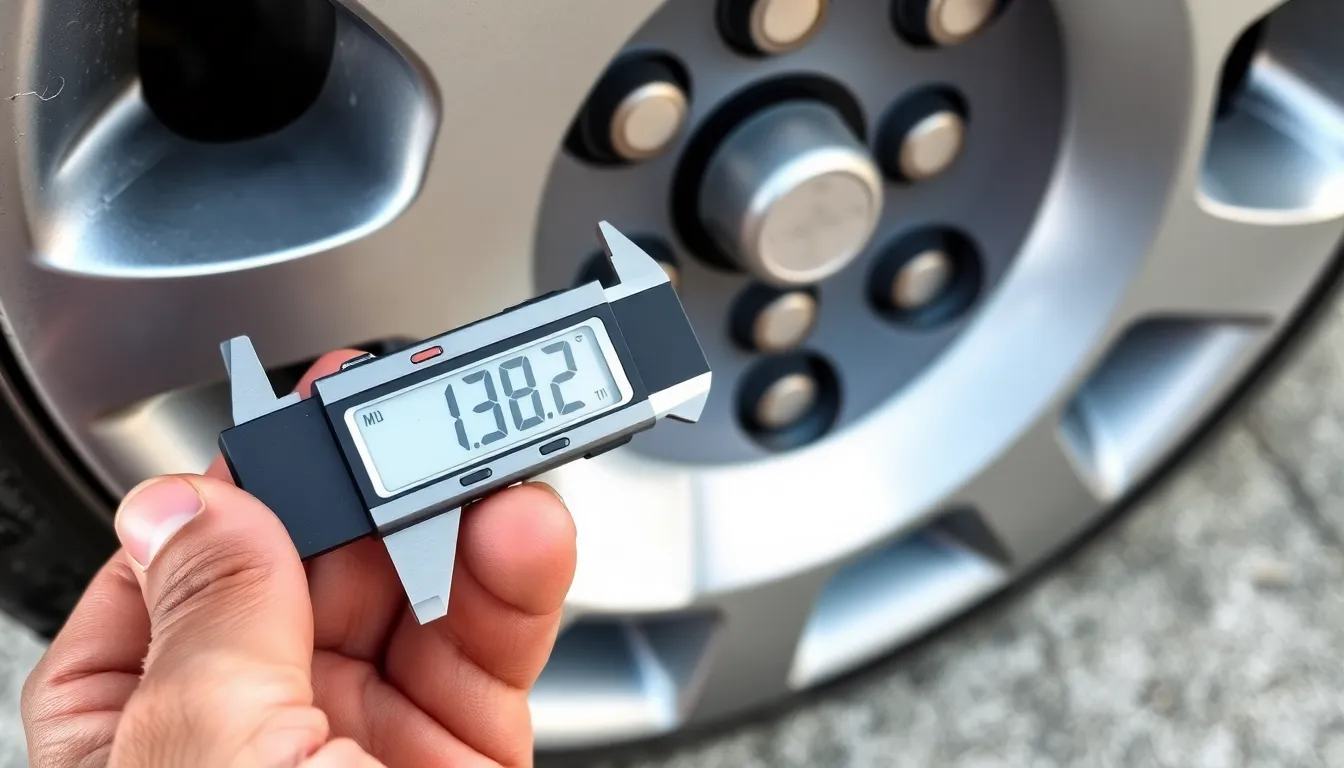
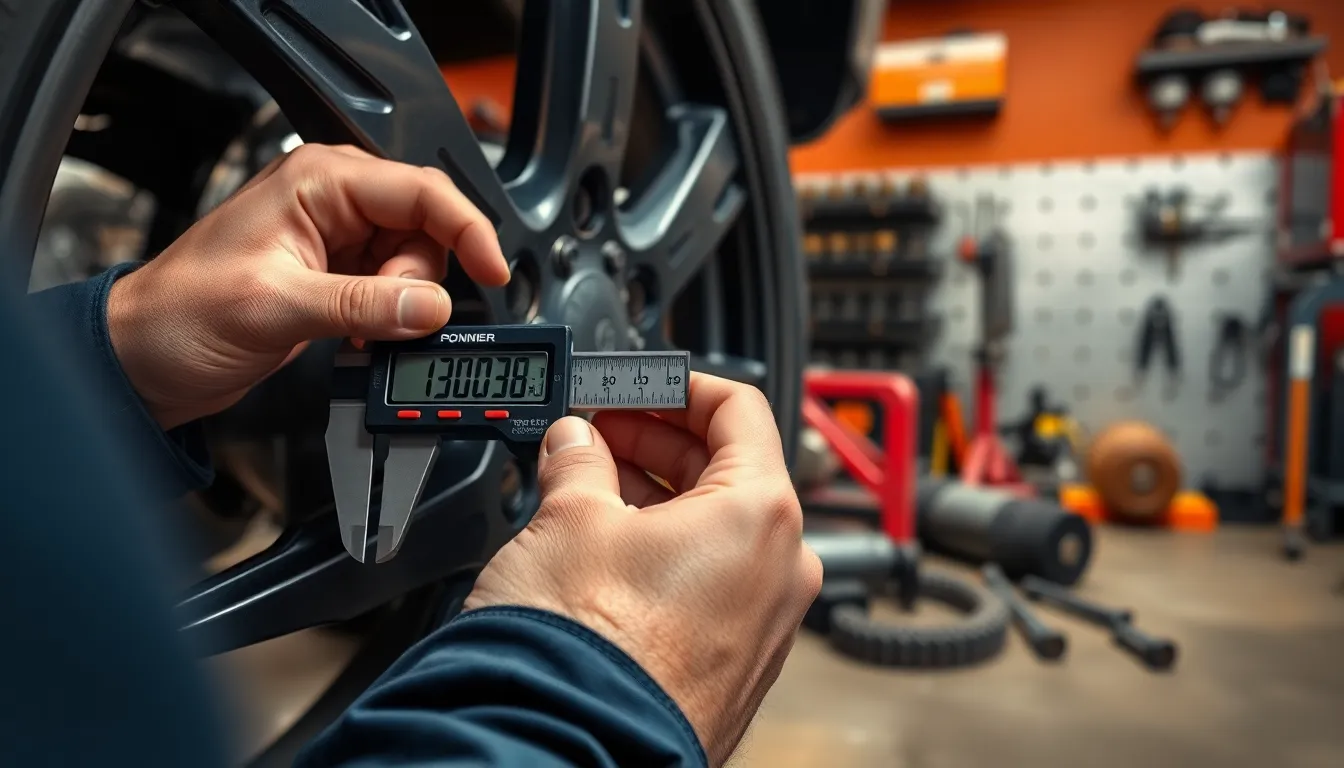
A ruler or tape measure serves as the most basic tool for measuring the distances between lug holes. This common household item lets you determine the bolt circle diameter with reasonable accuracy for most applications. Calipers provide significantly more precision when measuring center-to-center distances between lug holes, eliminating potential errors that could lead to incompatible wheel purchases. Digital calipers offer the most accurate readings, displaying measurements to the hundredth of an inch or millimeter, which is particularly important for vehicles with unusual or less common bolt patterns.
Optional Helpful Equipment
Bolt circle template gauges simplify the measurement process, especially for 5-lug wheels which can be trickier to measure. These specialized tools feature pre-marked patterns for common lug configurations, allowing you to match your wheel against known standards quickly. A marker helps create reference points and visualize the imaginary circle that passes through the center of all lug holes, making the measurement concept more tangible. Some auto enthusiasts also use a piece of cardboard or paper to create a template of their wheel’s bolt pattern, providing a physical reference when shopping for new wheels at local stores.
Step-by-Step Guide to Measuring Lug Patterns
Measuring a lug pattern accurately requires following exact steps to determine both the number of lugs and the bolt circle diameter. This comprehensive guide breaks down the process into three straightforward steps you can complete with basic tools.
Counting the Lug Nuts
Counting lug nuts is the first critical step in determining your wheel’s lug pattern. Simply count the total number of lug holes or studs on your wheel or hub. Most passenger vehicles come equipped with 4, 5, 6, or 8 lug holes, with 5-lug patterns being particularly common on many modern cars and SUVs. This number forms the first part of your lug pattern notation – for example, a wheel with 5 lug holes would start with “5” in its pattern description (such as 5×114.3mm). The count determines which measurement method you’ll need to use in the next steps.
Measuring Bolt Circle Diameter
The bolt circle diameter (BCD) measurement technique varies depending on whether your wheel has an even or odd number of lugs:
For 4, 6, or 8 lug wheels (even numbers):
- Locate two lug holes positioned directly opposite each other
- Measure from the center of one lug hole to the center of the opposite hole
- This straight-line measurement equals your bolt circle diameter
- Example: A measurement of 100mm on a 4-lug wheel gives you a 4×100mm pattern
For 5-lug wheels (odd numbers):
- Select any lug hole as your starting point
- Measure from the center of this hole to the farthest edge of the hole that’s two positions away
- This measurement represents your bolt circle diameter
- Example: A measurement of 114.3mm results in a 5×114.3mm pattern
The final measurement is typically expressed in millimeters, though some American vehicles use inches (converted to decimal format).
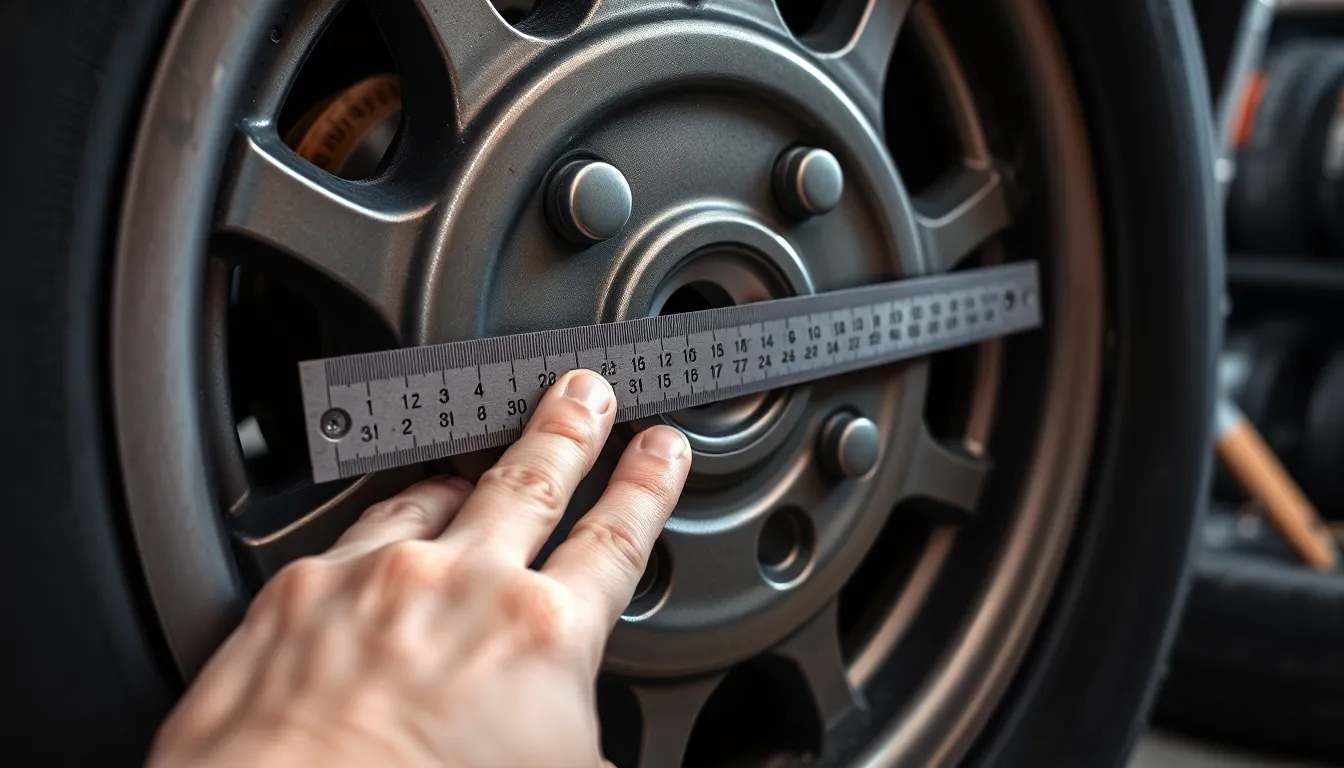
Using the Center-to-Center Method
The center-to-center method ensures maximum accuracy when measuring your lug pattern. Use a ruler, tape measure, or preferably calipers for precise results. Always measure from the center point of one lug hole to the center point of another – not from edge to edge. For even-numbered patterns (4, 6, 8 lugs), measuring directly across opposite holes gives you the exact BCD. With 5-lug patterns, measure from one lug center to the farthest point on the lug that’s two positions away, then use this measurement to determine your BCD.
Digital calipers provide the most accurate readings, displaying measurements to the hundredth of a millimeter. Your final lug pattern is always noted as the number of lugs followed by the bolt circle diameter (in millimeters), such as 5×114.3 or 4×100.
Common Lug Pattern Sizes and Notation
Lug patterns come in various standardized sizes that differ between vehicle types and manufacturers. Understanding these common patterns helps you identify your vehicle’s specifications and ensures compatibility when purchasing new wheels.
Standard Measurements for Cars
Passenger cars typically feature smaller lug patterns with fewer bolts to accommodate their lighter weight requirements. Most compact cars use 4-lug patterns, with 4x100mm (3.94 inches) being extremely common across Japanese and European manufacturers. The 4x108mm pattern appears frequently on Ford and some European models. Midsize vehicles often use 5-lug wheels for added strength, with popular configurations including 5x100mm (found on many Subaru models), 5x112mm (common on Volkswagen and Audi vehicles), and 5×114.3mm (4.5 inches) which fits many Honda, Toyota, and Nissan models. These standardized measurements ensure proper fitment while maintaining adequate load-bearing capacity for everyday driving conditions.
Standard Measurements for Trucks and SUVs
Trucks and SUVs employ larger, more robust lug patterns to handle increased vehicle weight and towing demands. Six-lug configurations dominate this segment, with 6x135mm appearing on Ford F-150s and 6×139.7mm (5.5 inches) common on Toyota Tacomas, Chevrolet Silverados, and GMC Sierras. Heavy-duty trucks and larger SUVs often feature 8-lug patterns for maximum strength, including 8×165.1mm (6.5 inches) found on Ford Super Duty trucks and 8x170mm (6.7 inches) on newer Ford F-250 and F-350 models. These beefier patterns distribute weight more effectively across a wider bolt circle, providing the structural integrity needed for off-road use, hauling heavy loads, and withstanding the torque generated by larger engines and drivetrains.
Tips for Ensuring Accurate Measurements
Accurate lug pattern measurements require attention to detail and proper technique. Use a rigid ruler or caliper rather than a flexible tape measure to achieve the most precise results. Calipers provide superior accuracy, especially when measuring to the hundredth of an inch or millimeter.
Always measure from the center of each lug hole, not the edges, to obtain the true bolt circle diameter. This critical detail ensures your measurements match the manufacturer’s specifications and prevents fitment issues.
For 5-lug wheels, follow the proper skip-one method by measuring from the center of one lug hole to the center of the third hole (skipping one lug in between). This technique compensates for the asymmetrical layout of odd-numbered lug patterns.
Double-check all measurements at least twice before finalizing your results. Taking multiple measurements from different lug holes helps verify consistency and identify any potential errors in your technique.
Consulting your vehicle’s manual or the wheel manufacturer’s specifications serves as an excellent way to validate your measurements. These resources often provide exact lug pattern information exact to your make and model.
Document your findings using the standard “X on Y” notation, where X represents the number of lugs and Y indicates the diameter of the circle they form (e.g., “5 on 4.5” or “5×114.3mm”). Using this universal format helps ensure clear communication when shopping for compatible wheels.
Converting Between Metric and Standard Measurements
Lug patterns are commonly expressed in both metric (millimeters) and standard (inches) measurements depending on the manufacturer and region. Converting between these two systems ensures you’re using the correct specifications when shopping for wheels.
Metric to Standard Conversion
Converting from millimeters to inches is straightforward using this formula:
- Divide the millimeter measurement by 25.4
For example:
| Metric Measurement | Conversion Calculation | Standard Measurement |
|---|---|---|
| 4x98mm | 98mm ÷ 25.4 | 4×3.86″ |
| 4x100mm | 100mm ÷ 25.4 | 4×3.94″ |
| 5×114.3mm | 114.3mm ÷ 25.4 | 5×4.5″ |
Standard to Metric Conversion
Converting from inches to millimeters uses the reverse formula:
- Multiply the inch measurement by 25.4
For example:
| Standard Measurement | Conversion Calculation | Metric Measurement |
|---|---|---|
| 5×4.5″ | 4.5″ × 25.4 | 5×114.3mm |
| 6×5.5″ | 5.5″ × 25.4 | 6×139.7mm |
| 8×6.5″ | 6.5″ × 25.4 | 8×165.1mm |
Understanding Regional Differences
European and Asian manufacturers typically list lug patterns in millimeters, while American manufacturers often use inches. Knowing how to convert between these measurements helps you accurately identify compatible wheels regardless of their origin or how they’re advertised in catalogs.
Many wheel retailers include both metric and standard measurements in their listings, but it’s helpful to verify these conversions yourself to avoid fitment issues. Always remember to measure from the center of one lug hole to the specified point for consistent and accurate results.
Conclusion
Measuring your vehicle’s lug pattern doesn’t need to be complicated. With the right tools and technique you can confidently identify the correct pattern for your vehicle and avoid costly purchasing mistakes. Remember to count the lugs carefully and measure the bolt circle diameter precisely using the appropriate method for your wheel configuration.
Always double-check your measurements and consider consulting your vehicle’s manual for verification. Document your findings using the standard “X on Y” notation and be mindful of metric versus standard measurements when shopping.
Armed with this knowledge you’ll navigate wheel purchases with confidence knowing you have the exact specifications your vehicle requires. Happy wheel shopping!
Frequently Asked Questions
What is a wheel lug pattern?
A wheel lug pattern (also called bolt pattern) is a measurement that indicates wheel compatibility with your vehicle. It consists of two numbers: the number of lug holes and the diameter of the circle they form. Common patterns include 4×100, 5×114.3, and 6×139.7. This measurement is critical when purchasing new wheels to ensure proper fitment.
Why is measuring my lug pattern accurately important?
Accurate lug pattern measurement prevents costly mistakes when buying wheels. Even small measurement errors can lead to wheels that don’t fit, resulting in returns, restocking fees, and wasted time. Incorrect wheel fitment can also create dangerous driving conditions. Precise measurements ensure you communicate effectively with wheel retailers and get compatible wheels the first time.
What tools do I need to measure my lug pattern?
Basic tools include a ruler or tape measure for standard measurements. For greater precision, calipers (especially digital ones) are recommended as they provide measurements to the hundredth of an inch or millimeter. Optional tools include bolt circle template gauges (particularly useful for 5-lug wheels) and markers or cardboard for creating reference points or templates.
How do I measure a 4, 6, or 8 lug pattern?
For even-numbered lug patterns (4, 6, or 8), simply measure the distance between two directly opposite lug holes. Measure from the center of one hole to the center of the opposite hole. This straight-line measurement gives you the bolt circle diameter, which is the second number in your lug pattern notation.
How do I measure a 5-lug pattern?
For 5-lug wheels, measure from the center of one lug hole to the farthest edge of the second hole over (not the adjacent hole). Multiply this measurement by 1.051 to get the bolt circle diameter. Alternatively, use the center-to-center method by measuring between two lug holes that are farthest apart and multiply by 1.701.
What are common lug patterns for passenger cars?
Passenger cars typically feature smaller lug patterns, with 4x100mm being common in compact cars. 5-lug configurations like 5x100mm, 5x108mm (5×4.25″), 5x112mm, and 5×114.3mm (5×4.5″) are standard in many sedans and crossovers. European manufacturers often use 5x112mm, while many Japanese vehicles use 5×114.3mm.
What are common lug patterns for trucks and SUVs?
Trucks and SUVs use larger lug patterns to support increased weight and towing capacity. Common configurations include 6x135mm, 6×139.7mm (6×5.5″), 8×165.1mm (8×6.5″), and 8x170mm. Full-size trucks from Ford often use 6x135mm or 8x170mm, while many Chevrolet and GMC trucks use 6×139.7mm patterns.
How do I convert between metric and standard measurements?
To convert millimeters to inches, divide by 25.4. For example, 114.3mm ÷ 25.4 = 4.5 inches. To convert inches to millimeters, multiply by 25.4. For example, 5.5 inches × 25.4 = 139.7mm. European and Asian manufacturers typically use millimeters, while American manufacturers often use inches. Always verify conversions to avoid fitment issues.
What’s the best way to ensure accurate measurements?
Use rigid rulers or calipers for the most precise measurements. Always measure from the center of each lug hole, not the edges. For 5-lug wheels, use the skip-one method for accuracy. Double-check your measurements and consult your vehicle manual or manufacturer specifications to validate your findings. Document measurements using the standard “X on Y” notation.
Can I determine my lug pattern without measuring?
Yes, you can find your vehicle’s lug pattern without measuring by checking your vehicle’s owner manual, contacting your dealer, or using online wheel fitment guides where you input your vehicle’s make, model, and year. Vehicle-specific forums and manufacturer websites also often provide this information, saving you time and ensuring accuracy.