There is nothing quite like a hearty casserole to bring warmth and comfort to your dining table.
My personal connection to this gluten-free chicken casserole stems from a family tradition of gathering around a meal that everyone can enjoy, regardless of dietary restrictions.
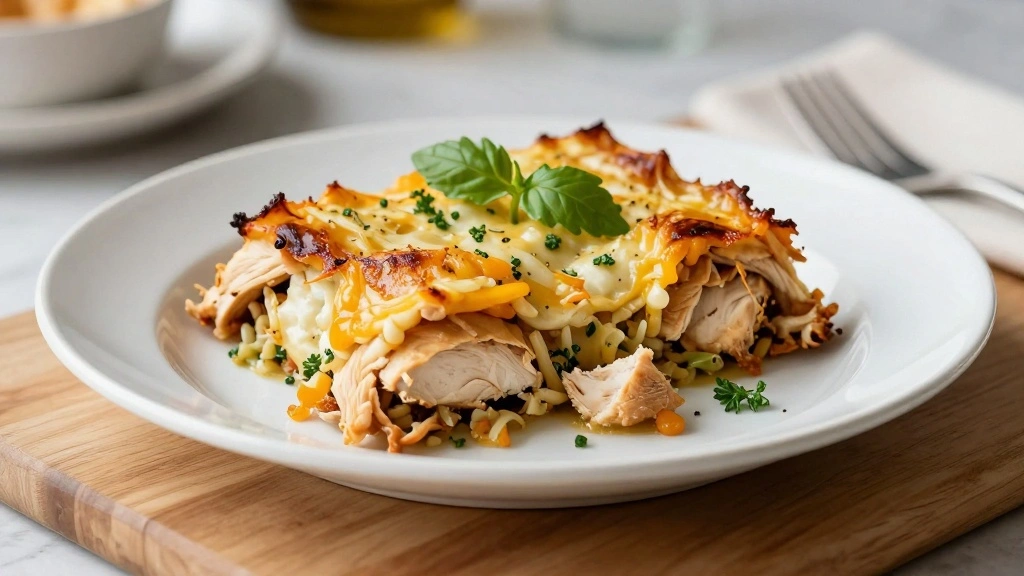
The creamy, savory flavors combined with tender chicken pieces create a dish that’s not only gluten-free but also incredibly satisfying.
This recipe strikes a perfect balance of taste and texture, making it a crowd-pleaser at any gathering.
Whether you’re cooking for a weekday dinner or a festive occasion, this casserole promises both simplicity in preparation and complexity in taste.
The History and Cultural Significance
• Gluten-Free Chicken Casserole traces its origins to mid-20th century America, where it was originally created by home cooks seeking to provide hearty meals that could cater to diverse dietary needs.
• The dish evolved over decades as gluten-free ingredients became more widely available, eventually becoming the beloved version we know today.
• In American culture, this dish traditionally appears at family gatherings and potlucks, symbolizing inclusivity and warmth.
• While many variations exist across different regions, the authentic version maintains a creamy sauce with tender chicken that sets it apart from imitations.
Recipe Overview
Nutritional Information
Essential Equipment Guide
Casserole Dish: A quality casserole dish is crucial for even cooking and heat retention, ensuring the dish bakes uniformly. Alternatives like a deep baking pan can work, but look for a dish with a lid for optimal results.
Mixing Bowl: A large mixing bowl helps in combining ingredients thoroughly, making sure the sauce coats the chicken and vegetables evenly. Stainless steel or glass bowls are ideal for easy cleaning and durability.
Whisk: A whisk is essential for creating a smooth and lump-free sauce. While a fork or spoon can somewhat substitute, a balloon whisk will yield the best texture.
Ingredients
For the Base
|
|
| Amount | Ingredient | Notes |
|---|---|---|
| 2 cups | cooked chicken | shredded, adds protein |
| 1 cup | gluten-free pasta | cooked al dente, adds texture |
For the Sauce
| Amount | Ingredient | Notes |
|---|---|---|
| 2 tablespoons | butter | adds richness |
| 3 tablespoons | gluten-free flour | thickens the sauce |
| 2 cups | milk | creates a creamy base |
Vegetables
| Amount | Ingredient | Notes |
|---|---|---|
| 1 cup | mushrooms | sliced, adds earthiness |
| 1 cup | peas | fresh or frozen, adds sweetness |
Seasonings
| Amount | Ingredient | Notes |
|---|---|---|
| 1 teaspoon | salt | enhances flavor |
| 1 teaspoon | thyme | dried, adds aroma |
Preparation Methods
Roux Making: Creating a roux is fundamental for a smooth, thick sauce. It involves cooking equal parts fat and flour until they achieve a light golden color. This technique ensures the sauce has a velvety texture.
Layering Ingredients: Proper layering ensures even cooking and flavor distribution. Start with a base layer of pasta, followed by chicken and vegetables, and finish with sauce for optimal integration.
Baking with a Lid: Baking with a lid traps moisture, ensuring a tender result. If your dish doesn't have a lid, cover it with foil to prevent drying out.
Step 1: Prepare Ingredients

Gather all the ingredients and ensure they are fresh and measured accurately.
Chop and slice the vegetables as indicated in the ingredients list.
Shred the cooked chicken into bite-sized pieces.
Cook the gluten-free pasta to al dente, following package instructions.
Step 2: Make the Roux

Melt the butter in a medium saucepan over medium heat.
Add the gluten-free flour and whisk continuously to form a paste.
Cook the roux until it turns a light golden color, about 2 minutes.
Ensure there are no lumps for a smooth sauce.
Step 3: Prepare the Sauce

Slowly pour milk into the roux while whisking constantly.
Continue to whisk until the mixture thickens and becomes smooth.
Add salt and thyme for seasoning.
Taste and adjust seasoning as necessary.
Step 4: Mix the Base
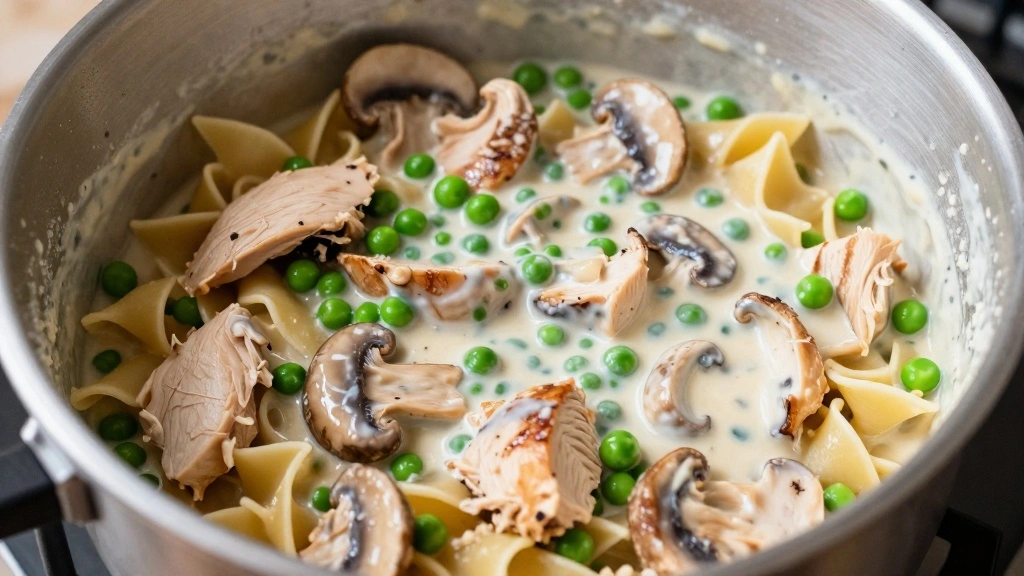
In a large mixing bowl, combine the shredded chicken, cooked pasta, and sliced mushrooms.
Add peas to the mixture.
Pour half of the prepared sauce over the mixture.
Gently fold everything together to ensure even coating.
Step 5: Assemble the Casserole

Preheat your oven to 350°F (175°C).
Grease a casserole dish with a bit of butter or oil.
Transfer the chicken mixture to the dish, spreading it evenly.
Pour the remaining sauce over the top, ensuring full coverage.
Step 6: Bake the Casserole

Cover the casserole dish with its lid or aluminum foil.
Place it in the preheated oven.
Bake for 30 minutes, allowing flavors to meld and the top to lightly brown.
Check halfway through and rotate the dish for even cooking.
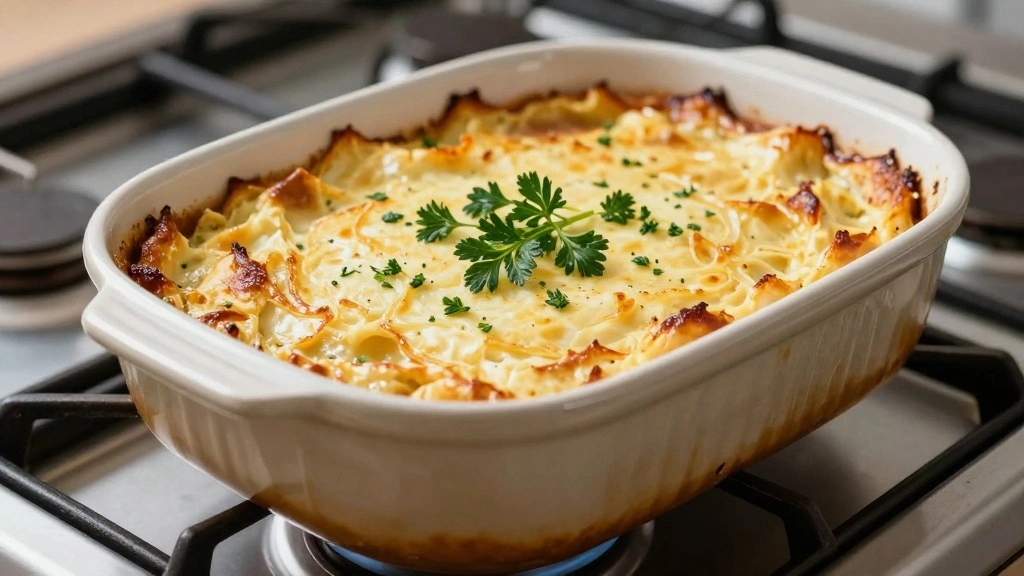
Step 7: Final Browning

Remove the lid or foil for the last 10 minutes of baking.
This allows the top to develop a golden-brown crust.
Keep a close eye to prevent burning.
Remove from oven when the top is bubbly and golden.
Step 8: Rest and Serve
Allow the casserole to rest for 5 minutes after removing from the oven.
This helps the sauce thicken slightly and settle.
Garnish with fresh thyme or parsley before serving.
Serve hot and enjoy the comforting flavors.
Critical Timing and Temperature Guide
Roux Preparation: Cook the roux for exactly 2 minutes over medium heat until golden. Avoid browning too much, which results in a bitter taste.
Baking Time: Bake at 350°F (175°C) for 30 minutes covered, then 10 minutes uncovered. Ensure the top is golden and the sauce is bubbling.
Resting Period: Let the casserole rest for 5 minutes post baking to allow the sauce to settle, which prevents it from being too runny when served.
Pro Tips for Gluten-Free Chicken Casserole
• Ingredient Selection: Choose high-quality gluten-free pasta that holds its shape and texture during baking.
• Preparation Secret: Toast the gluten-free flour slightly in the pan before adding butter for a deeper flavor.
• Temperature Management: Ensure ingredients like milk are at room temperature to prevent curdling when added to the roux.
• Texture Enhancement: Use a combination of cooked pasta and chicken for contrasting textures that make each bite interesting.
• Flavor Layering: Sauté mushrooms before adding them for a deeper umami profile.
• Make-Ahead Strategies: Assemble the casserole a day in advance and refrigerate, then bake fresh for best results.
• Restaurant-Quality Finishing Touches: Add a sprinkle of Parmesan cheese before the final bake for a crispy, golden top.
• Equipment Optimization: Use a convection setting if available for more even browning and cooking.
Troubleshooting Common Issues
• Texture Too Dense: This is often caused by overcooked pasta. Ensure pasta is cooked to al dente and not overmixed in the sauce.
• Flavors Unbalanced: If flavors are too strong or too bland, adjust seasonings gradually, especially salt and herbs.
• Sauce Too Runny: A runny sauce may result from insufficient roux cooking. Ensure the roux is properly cooked and the sauce thickened before baking.
• Top Not Browning: If the top isn't browning, increase oven temperature slightly for the last few minutes and monitor closely.
• Ingredients Not Evenly Cooked: Ensure even distribution of heat by preheating the oven and checking oven calibration regularly.
• Dry Casserole: Covering the dish during initial baking prevents moisture loss. Always use a lid or foil.
Variations and Regional Differences
• Southern Style: This version includes bell peppers and uses a cream of mushroom soup base instead of a homemade sauce, common in Southern U.S. cuisine.
• Italian-Inspired: Incorporates Italian herbs like oregano and basil, and adds a topping of mozzarella cheese for a fusion twist.
• Tex-Mex Variation: Adds corn, black beans, and a sprinkle of cheddar cheese, along with a hint of cumin for a Southwestern flair.
• Asian Fusion: Uses coconut milk in place of regular milk, with ginger and soy sauce for a unique flavor profile.
Food Science Behind the Recipe
• Role of Roux: The roux acts as a thickening agent by gelatinizing the starches in the flour, creating a creamy sauce that binds the ingredients.
• Emulsion Stability: The combination of fat and liquid in the roux creates an emulsion that stabilizes the sauce, preventing it from separating during baking.
• Maillard Reaction: Browning the top of the casserole triggers the Maillard reaction, enhancing flavors and creating a visually appealing golden crust.
Frequently Asked Questions
What's the most common mistake people make when preparing gluten-free chicken casserole? Overcooking the pasta is a common error that leads to a mushy texture. Always cook pasta to al dente.
Can I make this recipe dairy-free as well? Yes, substitute almond milk for regular milk and use a vegan butter alternative.
What gluten-free pasta works best in this recipe? Brown rice pasta or quinoa pasta hold up well during cooking and maintain a pleasant texture.
Is it possible to freeze this casserole? Absolutely, you can freeze it after assembling and bake from frozen, adding extra time as needed.
How can I add more vegetables to this dish? Feel free to include chopped bell peppers or zucchini, which blend well with the existing flavors.
Why is my sauce separating? Ensure milk is at room temperature before adding to prevent curdling, and whisk continuously while cooking.
Can I use leftover chicken for this recipe? Yes, leftover roasted or grilled chicken works perfectly, adding an extra depth of flavor.
Serving and Presentation Guide
• Traditional Presentation: Serve directly from the casserole dish, garnished with fresh thyme sprigs for a rustic look.
• Individual Portions: Spoon into small ramekins for personalized servings, ideal for formal dinners.
• Family Style: Present on a large platter with a side of mixed greens for a complete meal.
• Garnishing Tips: Top with fresh parsley or a sprinkle of chives for added color and freshness.
Conclusion
This gluten-free chicken casserole recipe is a testament to how delicious and inclusive comfort food can be.
Its rich flavors and hearty ingredients make it a standout dish at any meal.
Don't hesitate to give this recipe a try and enjoy the warmth and satisfaction it brings to your table.