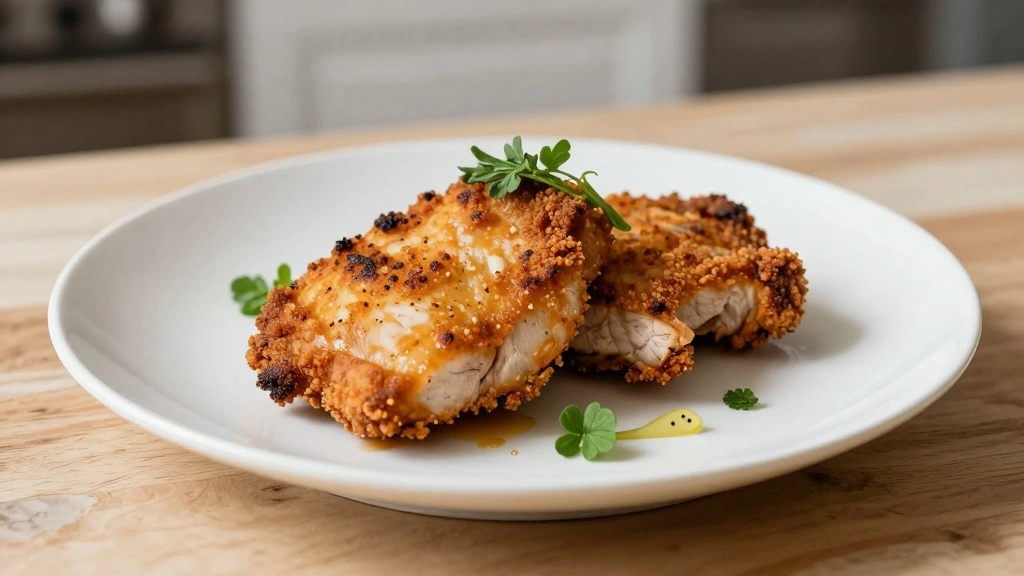
Crispy Breaded Pork Tenderloin is a delightful fusion of crunchy texture and savory flavor.
Each bite offers a satisfying contrast between the crispy exterior and the tender, juicy pork inside.
This dish holds a special place in my heart, reminiscent of family gatherings where it was always the star of the meal.
Perfect for both weeknight dinners and special occasions, this recipe is sure to impress your guests.
With straightforward preparation and a few simple ingredients, you can create a restaurant-quality dish at home.
Prepare to elevate your culinary skills as we dive into the world of Crispy Breaded Pork Tenderloin.
The History and Cultural Significance
• Crispy Breaded Pork traces its origins to Central Europe, where it was originally created by local chefs in the 19th century.
• The dish evolved over decades as cooks experimented with different breading techniques, eventually becoming the beloved version we know today.
• In Germany and Austria, this dish traditionally appears at Oktoberfest and other festive gatherings, symbolizing celebration and abundance.
• While many variations exist across different regions, the authentic version maintains a golden-brown crust that sets it apart from imitations.
Recipe Overview
Nutritional Information
Essential Equipment Guide
Meat Tenderizer: This tool is crucial for achieving the perfect tenderness in your pork. A rolling pin or a heavy skillet can work as alternatives, but a dedicated meat tenderizer with a flat side is ideal.
Deep-frying Thermometer: Ensures your oil is at the optimal temperature for frying. Alternatives include digital thermometers, but accuracy is key, so choose one that can handle high temperatures.
Bread Crumb Bowl: A shallow bowl or pie plate is best for even coating. Look for a wide base and low sides to make breading less messy.
Ingredients
For the Pork
|
|
| Amount | Ingredient | Notes |
|---|---|---|
| 4 pieces | pork tenderloin | about 1/2 inch thick, pounded |
| 1 teaspoon | salt | enhances flavor |
| 1/2 teaspoon | black pepper | for seasoning |
For the Breading
| Amount | Ingredient | Notes |
|---|---|---|
| 1 cup | all-purpose flour | for coating |
| 2 large | eggs | beaten |
| 1 cup | breadcrumbs | for a crispy texture |
For Frying
| Amount | Ingredient | Notes |
|---|---|---|
| 2 cups | vegetable oil | for frying, ensures even cooking |
Preparation Methods
Pounding: Use a meat tenderizer to pound the pork to an even thickness of about 1/2 inch. This ensures uniform cooking and tenderness. Avoid over-pounding to prevent tearing the meat.
Breading: The three-step breading process involves coating in flour, dipping in beaten eggs, and covering with breadcrumbs. This layering is essential for a crispy crust. Ensure each layer is even and shakes off excess.
Frying: Frying at the right temperature is critical for a crunchy crust without greasy results. Heat oil to 350°F and maintain it for best results. Use a thermometer for accuracy.
Step 1: Prepare Ingredients

Gather all your ingredients and equipment.
Ensure the pork is at room temperature before starting.
This helps in even cooking and better texture.
Measure all spices and prepare the breading station.
Step 2: Pound the Pork

Place each pork tenderloin between two sheets of plastic wrap.
Use a meat tenderizer to pound them to a uniform thickness of 1/2 inch.
This ensures even cooking and texture.
Be gentle to avoid tearing the meat.
Step 3: Season the Pork
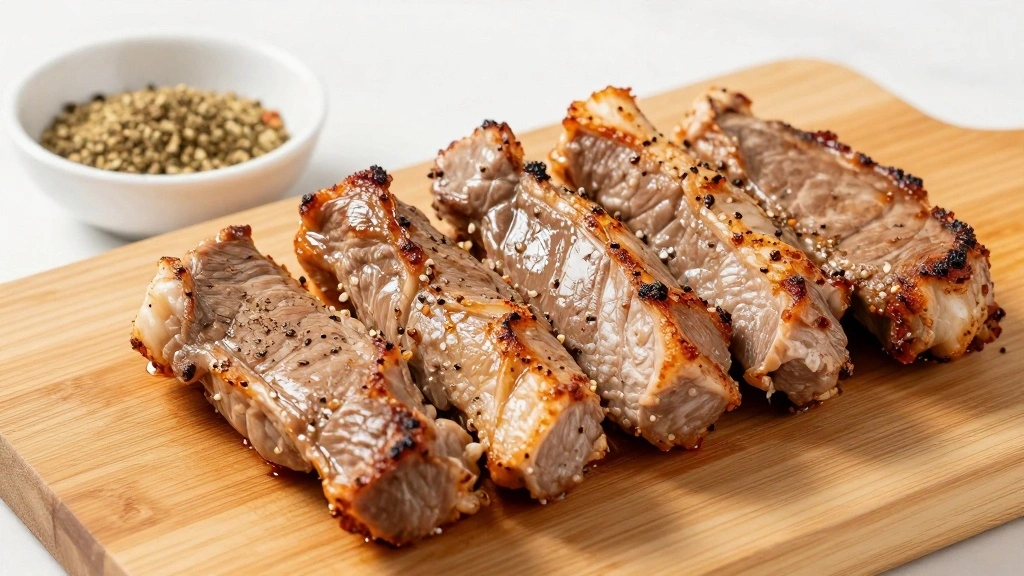
Sprinkle salt and pepper over both sides of the pounded pork.
Let it rest for a few minutes to absorb the seasoning.
This step enhances the flavor of the meat.
Ensure even distribution of the spices.
Step 4: Set Up Breading Station

Prepare three shallow dishes for flour, beaten eggs, and breadcrumbs.
Arrange them in a line for easy access.
This setup facilitates a smooth breading process.
Keep a clean plate or tray ready for the breaded pork.
Step 5: Coat with Flour

Dredge each piece of pork in flour, covering both sides.
Shake off any excess flour before proceeding.
This layer helps the egg adhere to the meat.
Ensure an even, light coating of flour.
Step 6: Dip in Egg Mixture

Dip the floured pork into the beaten eggs.
Ensure it's fully coated on all sides.
This step ensures the breadcrumbs stick well.
Let any excess egg drip off before moving to the next step.
Step 7: Bread with Breadcrumbs

Place the egg-coated pork into breadcrumbs.
Press down lightly to ensure a good coating.
Flip and repeat for the other side.
Ensure an even, thick layer of breadcrumbs for maximum crispiness.
Step 8: Heat the Oil

Pour vegetable oil into a deep pan, about 2 inches deep.
Heat over medium-high until it reaches 350°F.
Use a thermometer to ensure accuracy.
Proper oil temperature is crucial for a crispy crust.
Step 9: Fry the Pork
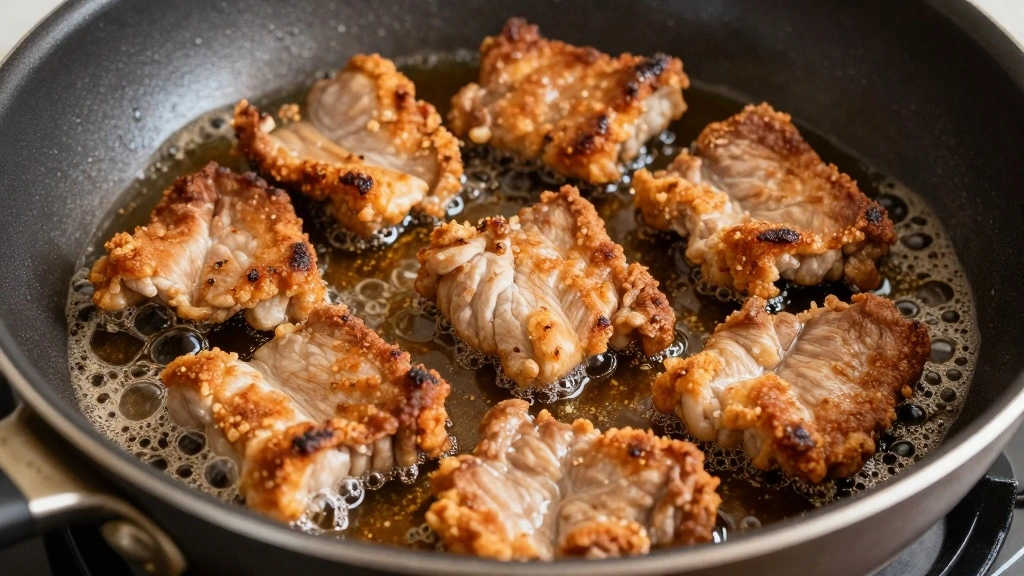
Gently place breaded pork into the hot oil.
Fry for about 3-4 minutes on each side.
Look for a golden-brown crust as an indicator of doneness.
Avoid overcrowding the pan for even cooking.
Step 10: Drain and Serve
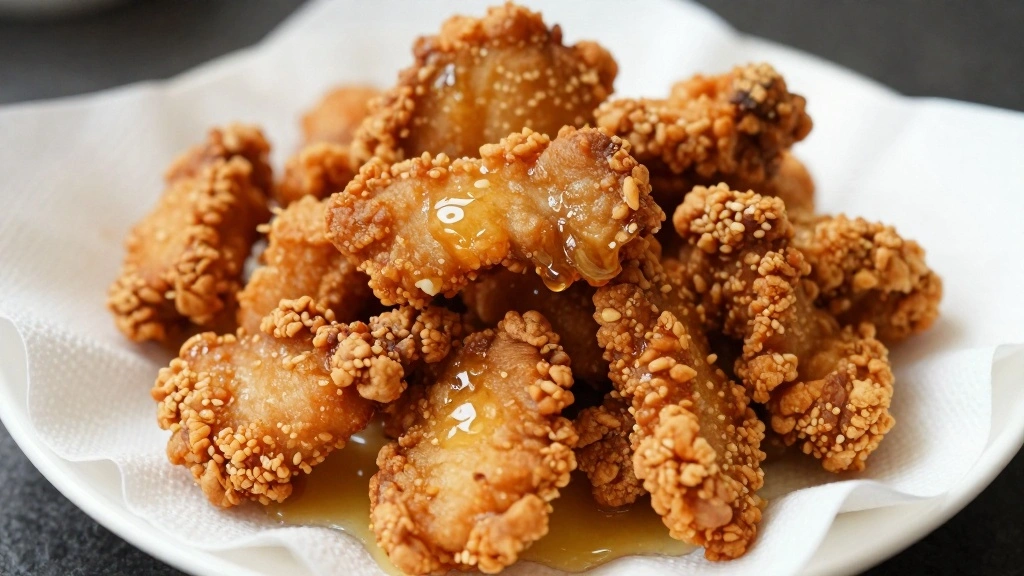
Remove fried pork from oil and place on a paper towel-lined plate.
Allow excess oil to drain off.
This step ensures a non-greasy finish.
Serve immediately for best texture and flavor.
Critical Timing and Temperature Guide
Breading Process: Each step of flouring, egg dipping, and breadcrumb coating should be done swiftly to prevent sogginess. Avoid letting breaded pork sit too long before frying.
Frying Temperature: Maintain oil at 350°F to ensure crispy results. Use a thermometer for accuracy; too low and the crust will be greasy, too high and it will burn.
Cooking Time: Fry each piece for 3-4 minutes per side. Look for a golden-brown color as a sign of readiness. Overcooking leads to dry meat, so monitor closely.
Pro Tips for Crispy Breaded Pork
• Ingredient Selection: Opt for fresh, high-quality pork tenderloin for the best flavor and texture.
• Preparation Secret: Allow the breaded pork to rest for a few minutes before frying to help the coating adhere better.
• Temperature Management: Keep the oil temperature steady at 350°F for optimal crispiness without burning.
• Texture Enhancement: Use panko breadcrumbs for a lighter, crunchier texture compared to regular breadcrumbs.
• Flavor Layering: Season each layer—flour, eggs, and breadcrumbs—for a more complex flavor profile.
• Make-Ahead Strategies: Bread the pork a few hours in advance and refrigerate, covered, until ready to fry.
• Restaurant-Quality Finishing Touches: Garnish with fresh herbs like parsley or thyme for a burst of color and flavor.
• Equipment Optimization: Use a heavy-bottomed pan for frying to maintain even heat distribution.
Troubleshooting Common Issues
• Texture Too Dense: This is often due to over-pounding the pork. Ensure even, gentle pounding to maintain integrity.
• Flavors Unbalanced: Ensure each breading layer is seasoned. Taste the breadcrumbs beforehand to adjust seasoning if necessary.
• Crust Falling Off: This can happen if the pork is too wet. Pat dry before dredging and ensure each layer is adhered properly.
• Greasy Finish: Results from oil not being hot enough. Verify oil temperature with a thermometer before frying.
• Overcooked Pork: Fry only until golden brown and check internal temperature for doneness, aiming for 145°F.
• Uneven Cooking: Avoid overcrowding the pan, which can lower oil temperature and lead to uneven results.
Variations and Regional Differences
• German Schnitzel: Often made with veal or pork, this version includes a squeeze of lemon and a side of potato salad, reflecting regional tastes.
• Japanese Tonkatsu: Uses panko breadcrumbs and is served with a sweet and tangy tonkatsu sauce, showcasing the Japanese love for umami flavors.
• Italian Cotoletta alla Milanese: Features a bone-in cutlet, coated in Parmesan-infused breadcrumbs, highlighting Italian culinary flair.
• Austrian Wiener Schnitzel: Traditionally made with veal, served with lingonberry sauce, emphasizing Austria's rich culinary traditions.
Food Science Behind the Recipe
• Maillard Reaction: This chemical reaction between amino acids and reducing sugars gives the breaded crust its golden-brown color and complex flavor.
• Oil Temperature Control: Maintaining the correct frying temperature prevents oil absorption, keeping the crust crispy and the meat juicy.
• Protein Denaturation: Pounding the pork tenderloin affects the protein structure, making it more tender and reducing cooking time.
Frequently Asked Questions
What's the most common mistake people make when preparing Crispy Breaded Pork Tenderloin? Overcrowding the pan during frying, which lowers oil temperature and results in a soggy crust.
Can I use a different type of meat? Yes, chicken or veal are great substitutes, though cooking times may vary.
How can I make this dish gluten-free? Use gluten-free breadcrumbs and flour to accommodate dietary restrictions.
Why is my crust not sticking? Ensure each layer of breading is applied evenly and that the meat is not too wet.
Can I bake instead of fry? Yes, bake at 400°F for about 20-25 minutes, but note the texture will differ slightly.
What sides pair well with this dish? Traditional sides include potato salad, coleslaw, or steamed vegetables.
How do I store leftovers? Store in an airtight container in the fridge for up to 3 days. Reheat in the oven to maintain crispiness.
Serving and Presentation Guide
• Traditional Presentation: Serve on a large platter with lemon wedges and fresh parsley for a classic look.
• Modern Plating: Slice the pork into strips and fan out on a plate with a drizzle of sauce for a contemporary touch.
• Family Style: Arrange the pork pieces on a bed of arugula or spinach, topped with shaved Parmesan for a hearty presentation.
• Casual Presentation: Pair with a side of fries or mashed potatoes for a comforting, casual meal.
Conclusion
Crispy Breaded Pork Tenderloin is a timeless classic that brings together texture and flavor in perfect harmony.
Whether you're an experienced cook or a novice, this recipe offers a satisfying culinary experience.
Take the time to master each step, and you'll be rewarded with a dish that's sure to become a favorite.
Embrace the tradition and enjoy the delicious results with your loved ones.